Island Object / Building
No-Drawing Church Building Tutorial
Published 2026-06-14
A no-drawing church tutorial covering arches, windows, pillars, flying buttresses and ground details.
Original Post Text
About This Design
A no-drawing church tutorial covering arches, windows, pillars, flying buttresses and ground details.
How to Use This Design
Draw and thicken an arch base, combine arches, windows and pillars into towers and doors, then add buttresses, copied components, vine stamps and flower ground details.
Tags
Related patterns
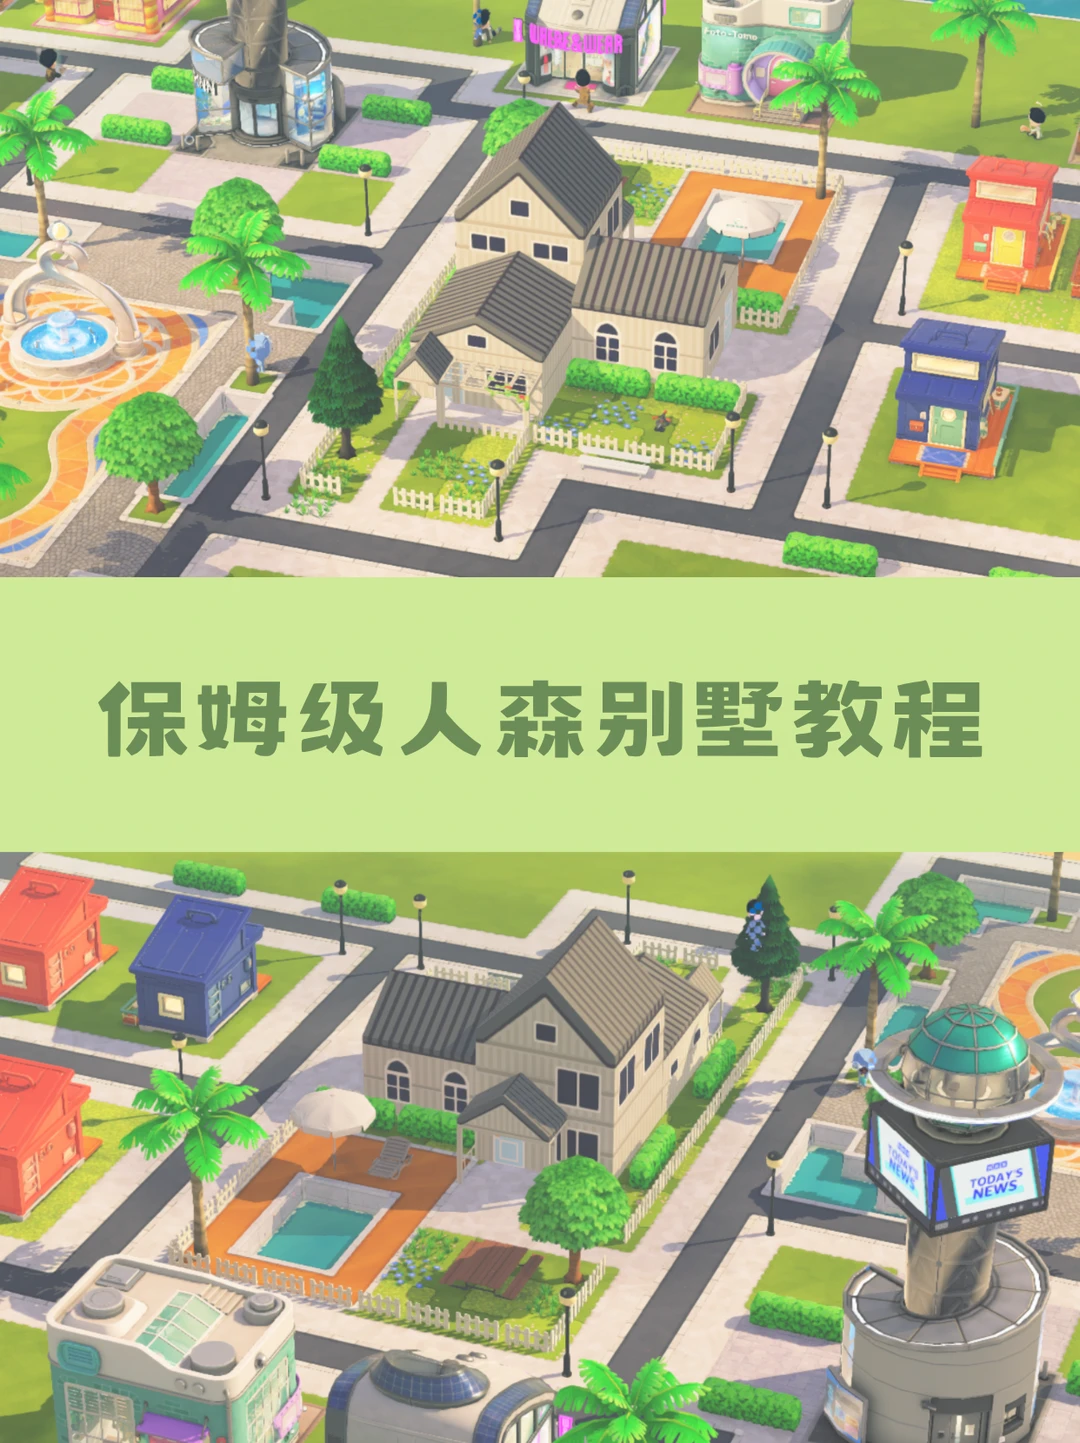
Build a Mini Villa for Your Mii on the Island
by bobo
A villa island build tutorial with overhead view and pattern sheets for each architectural component.
View Pattern Sheet →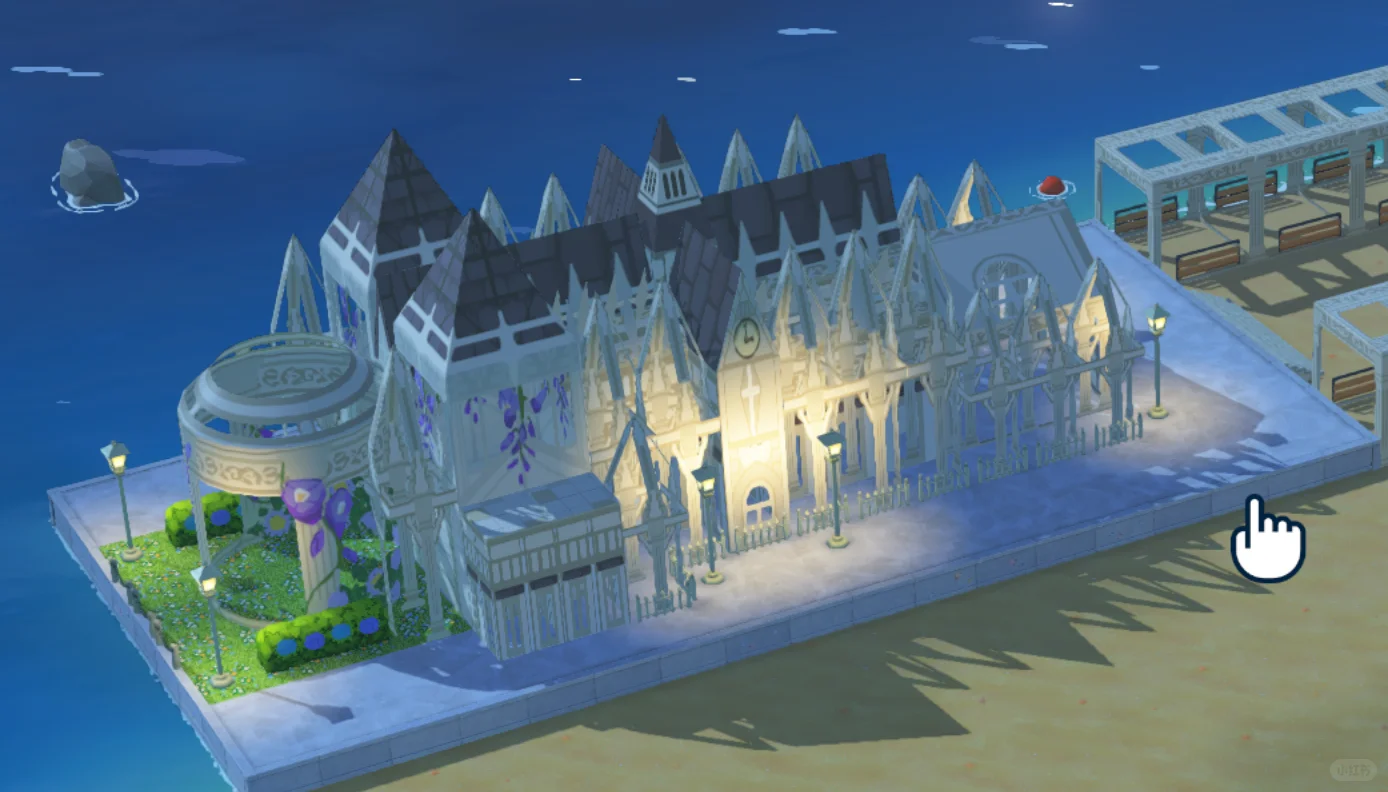
Tomodachi Life Island Build: Church Design
by RETURN
A church island build that looks especially stunning at night, using stone tile textures on all roofs.
View Pattern Sheet →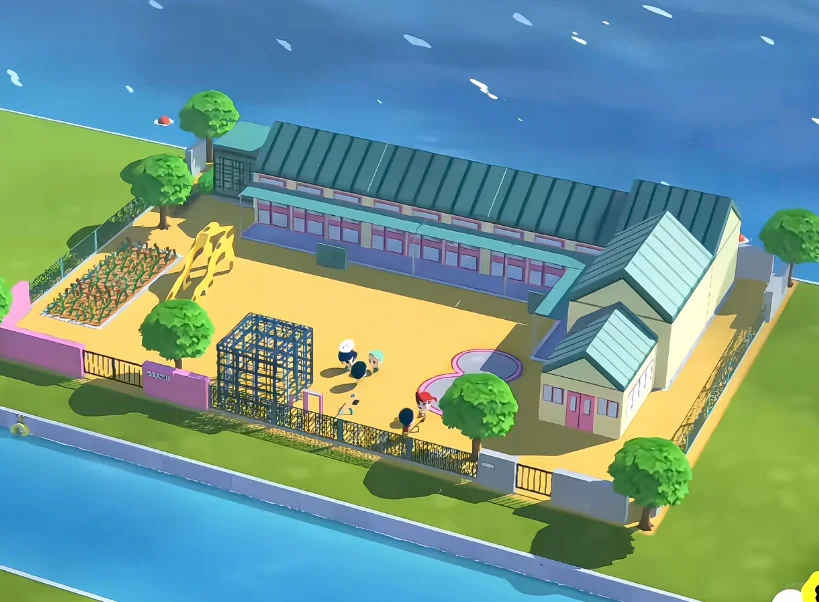
Futaba Kindergarten Build with Pattern Sheet Tutorial
by - ^ -
A kindergarten build with many parts included. Smaller pieces can be made freely without strictly following the pattern sheet.
View Pattern Sheet →
Frutiger Aero Island Build Pattern Sheets Shared
by 不是很懂
Pattern sheets and tutorials for Frutiger Aero-style island builds, including character figures, cylindrical buildings, and decorative elements.
View Pattern Sheet →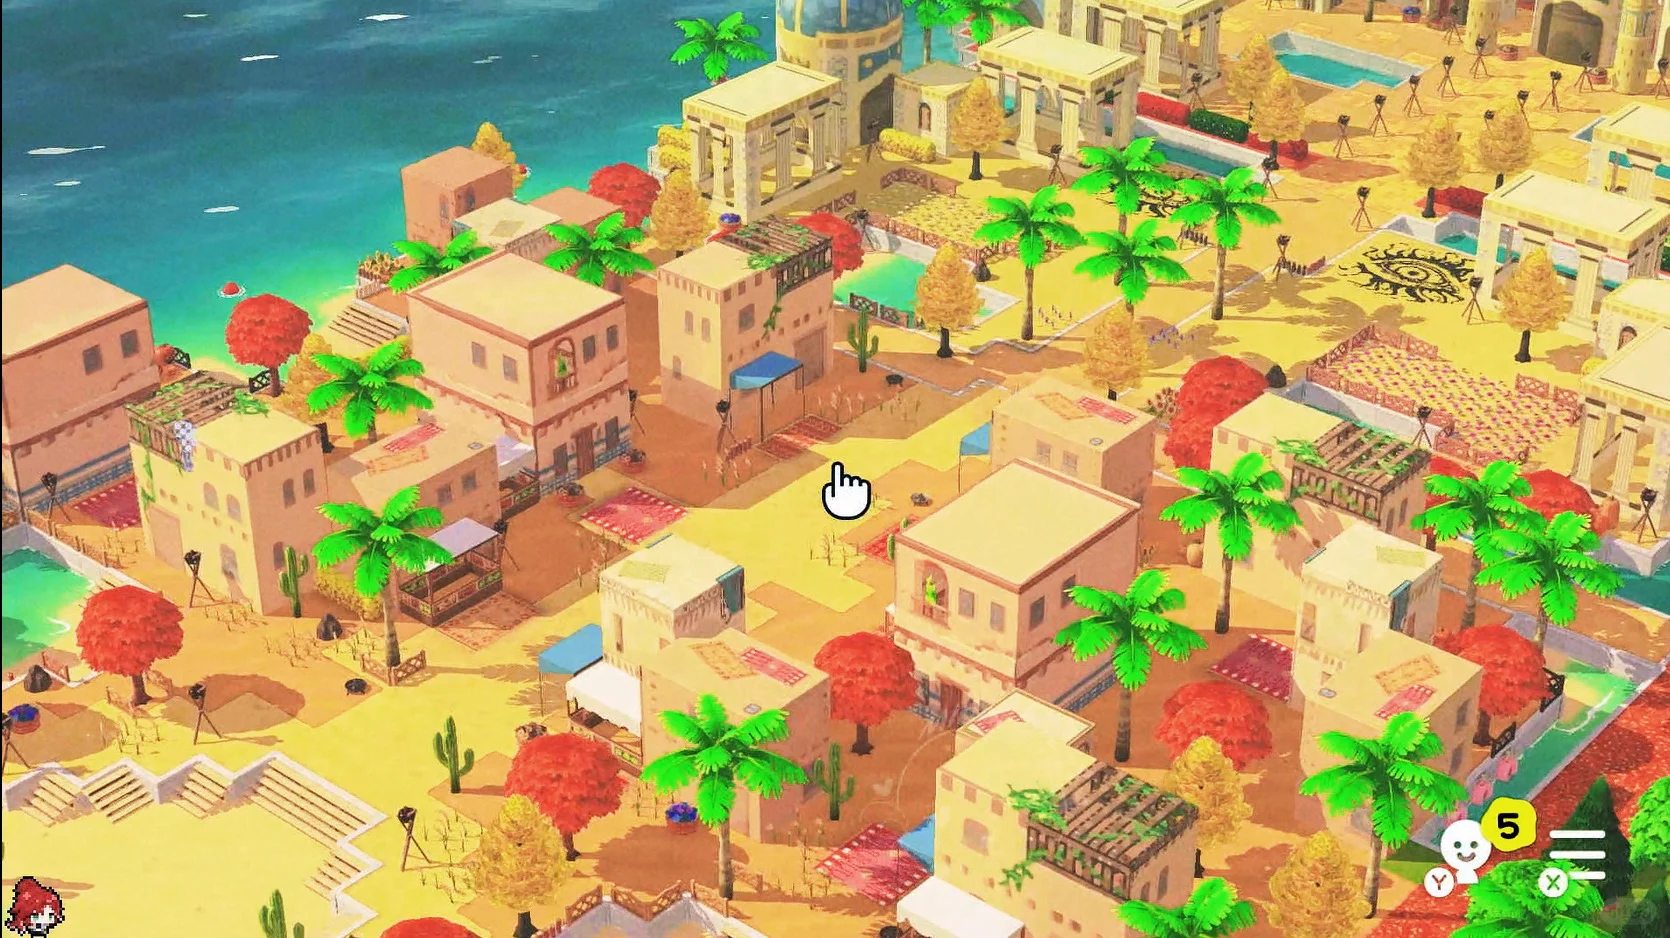
Tomodachi Life Suzhou and Middle Eastern Island Build Pattern Sheets
by 微明渺渺
Pattern sheets for a Suzhou and Middle Eastern themed island build. Video tutorial coming soon; all designs have original references.
View Pattern Sheet →