Editorial notes based on creator, source, or submitter information.
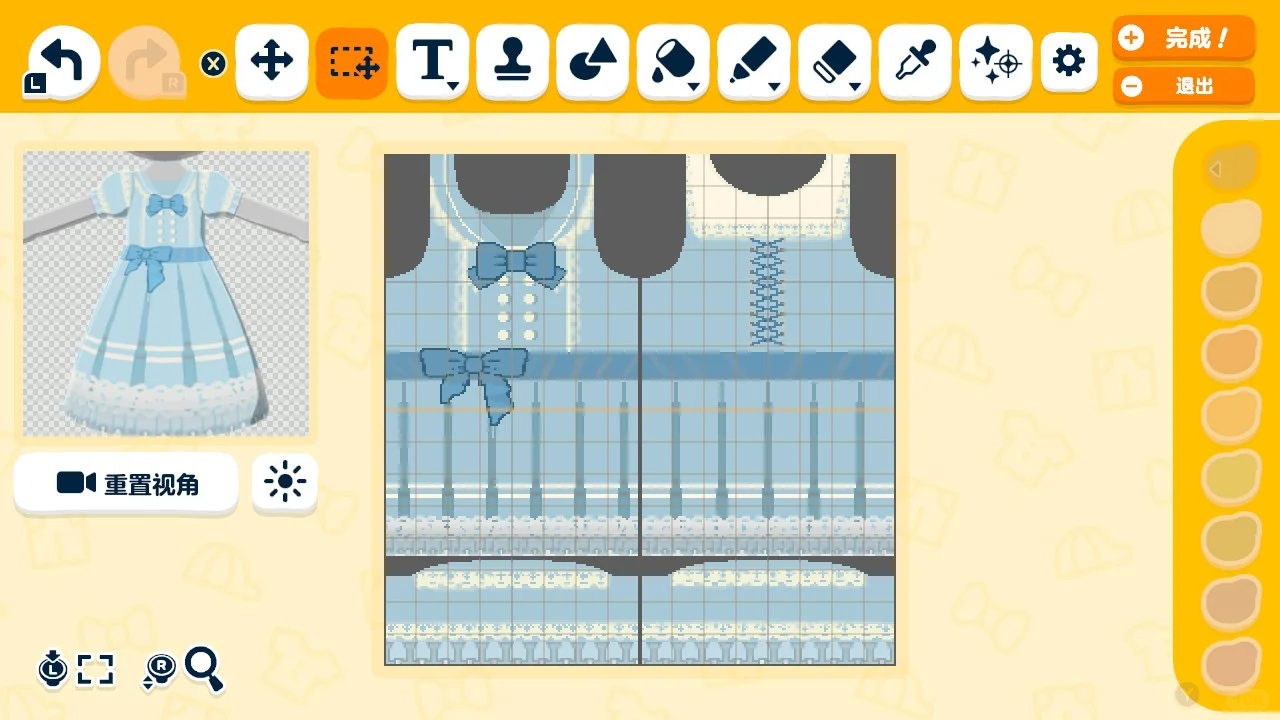
Use the yellow princess dress template. The dress is built mostly by stacking pattern-skirt, fold, lace, and bow stamps, then recoloring them. Pick a darker shade of the main skirt color for the folds. Recolor and copy the original double-breasted buttons, then add two rows of tiny outline shadows beside them for depth. Shrink and recolor lace stamps for the hem and cuffs, with the cuff folds larger than the hem folds. For the skirt foot and collar, use a gray blur brush in overlay mode to add layering and lace detail. Once one skirt is finished, make another by choosing the finished item as the base and recoloring it with filters.
Editorial review: Jul 9, 2026
Creator Requirements
The author says the sheet is only for sharing and not for profit. If reposting the sheet, mention the author. Free use, modification, and recoloring are allowed.
Recreation Notes?
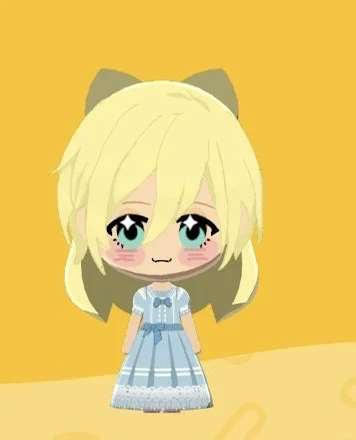
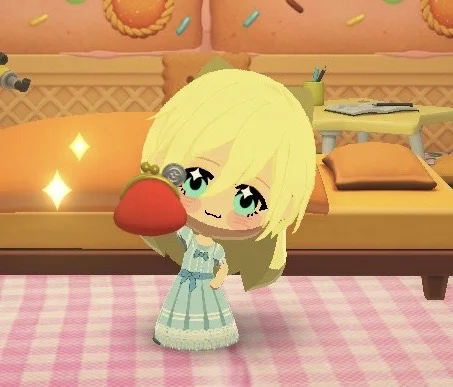
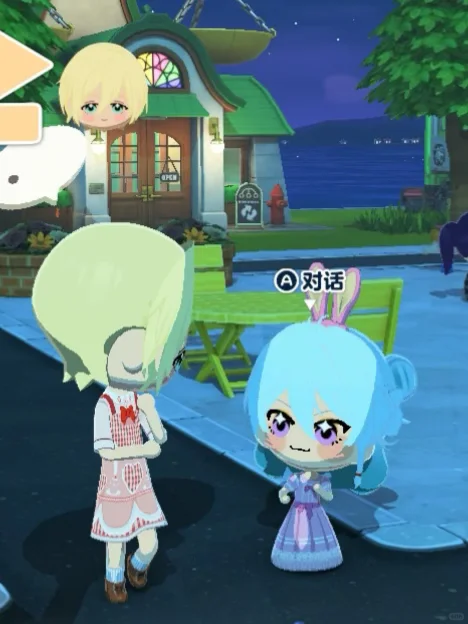
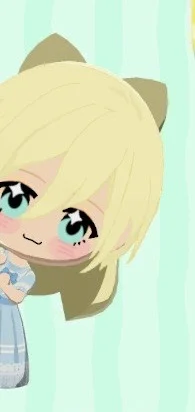
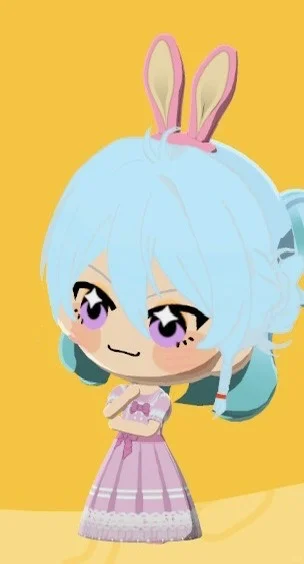
Layering the style skirt and ruffle lace stamps together turned out surprisingly well! Xiaobao looks so cute wearing it — mommy will work hard to make more little dresses for you all~
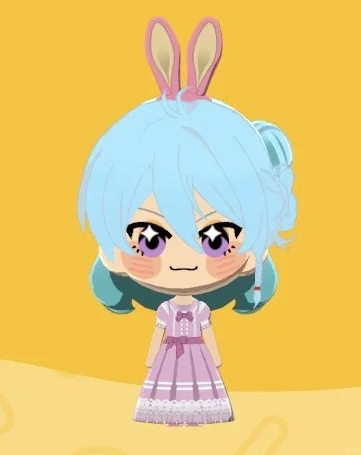
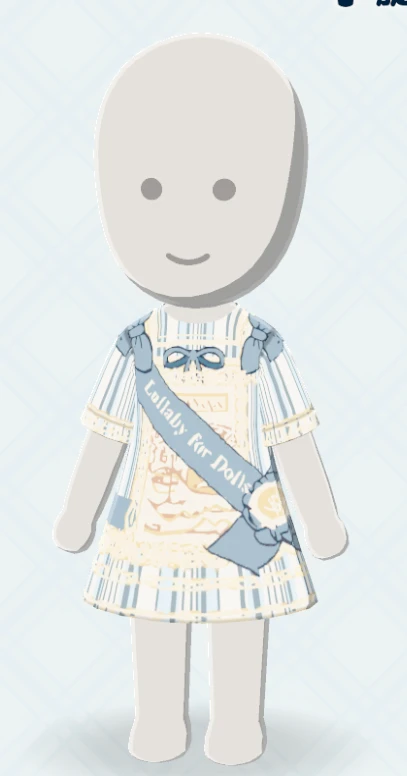
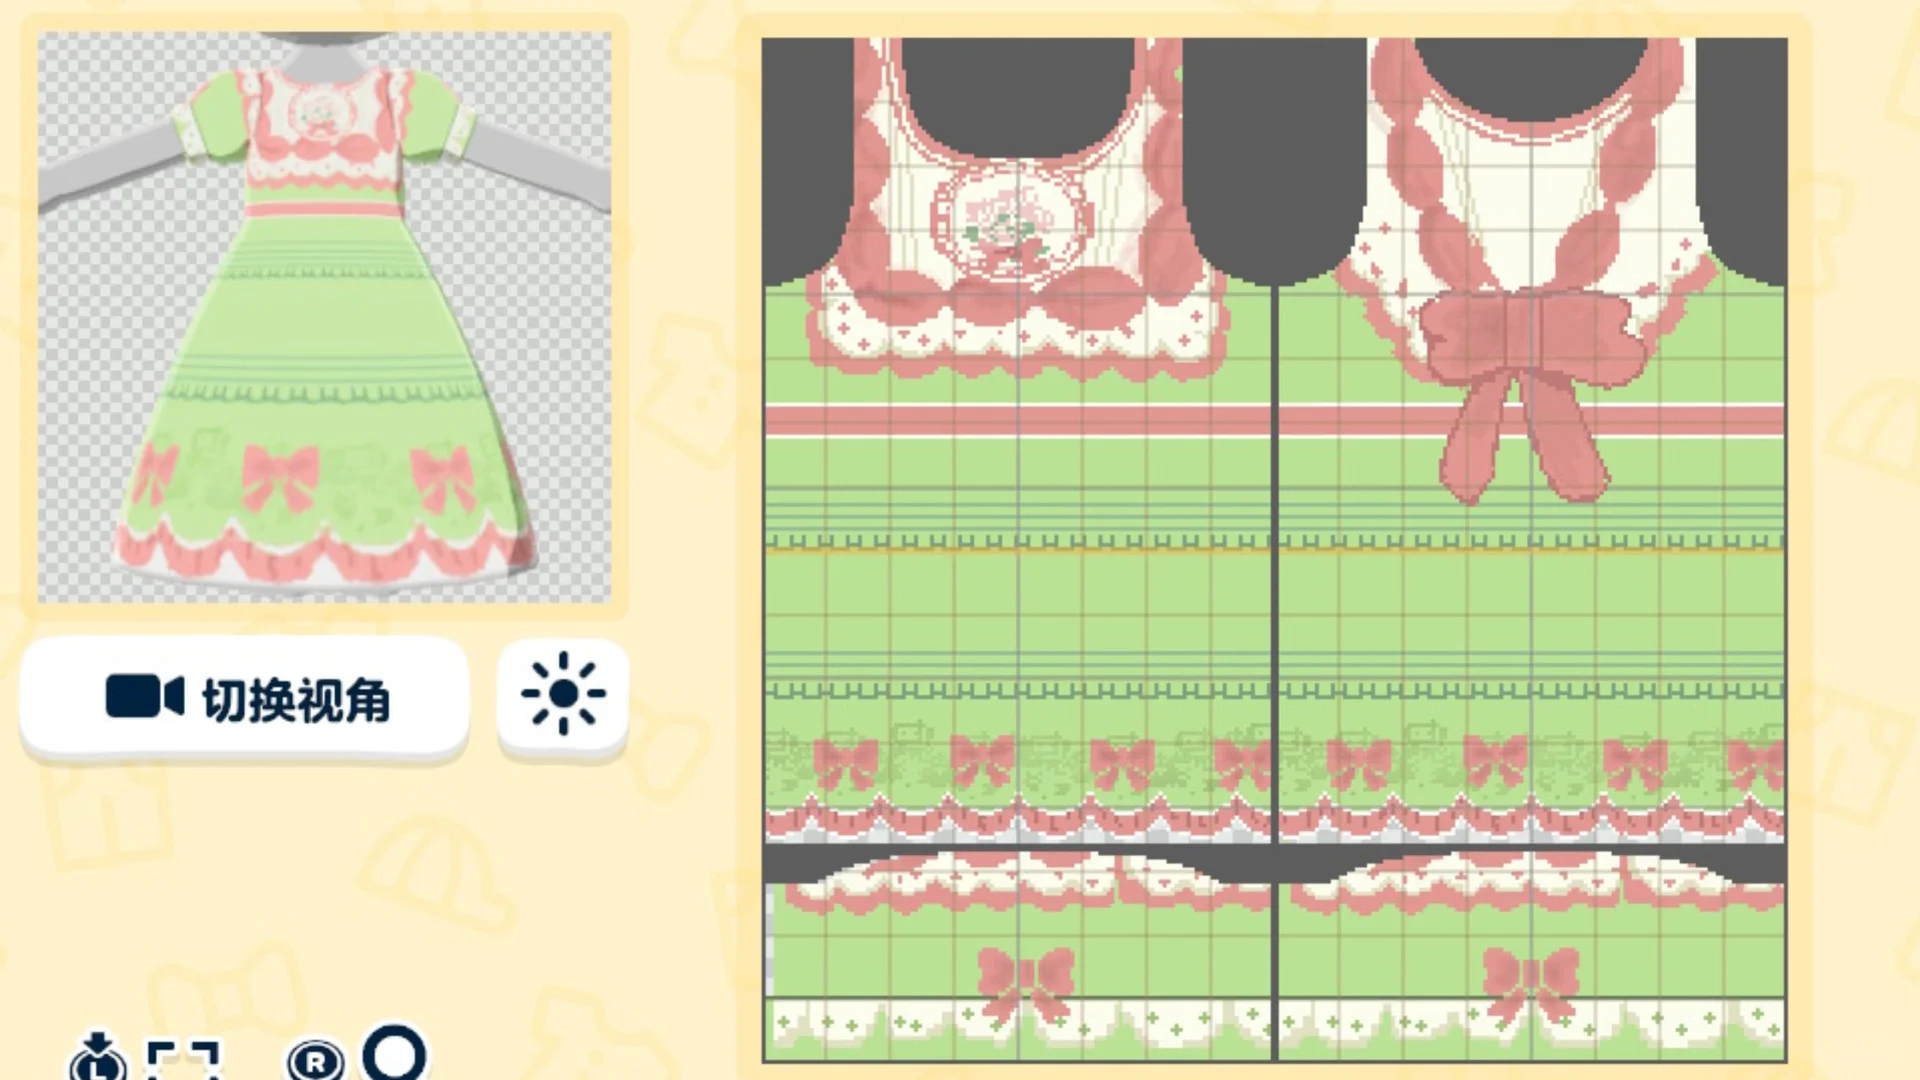
I drew it based on a lolita design I liked, made it look just like the original, then on a whim added lace and sleeve ruffle details to make a princess dress. I adjusted the colors using filters to get a second colorway. Even though I was just copying, it turned out pretty cute when worn! The pattern sheet is shown in image 1. The template used is the yellow princess dress. For the skirt ruffles, choose a darker shade of the skirt's main color.
The double-breasted buttons at the front are recolored + copied from the buttons in the original dress style. To the right of each button, you can pick two progressively darker shadow colors and use the smallest brush to draw two rows of outline shadows, adding depth to the buttons.
The lace is made by resizing and recoloring lace stamps, and the ruffles are also stamps — resized and recolored to form the skirt hem trim and sleeve cuffs (the sleeve cuff ruffles are larger than the skirt hem ruffles).
All the bows are ready-made stamps with recoloring and minor detail edits. The cinched back waist is also a stamp that was resized and recolored.
The skirt hem is made from resized and recolored ruffle + lace stamps, then the blur brush is used with gray selected + overlay mode to add layering.
For the neckline, I sampled the original neckline color, then used the smallest blur brush + overlay mode to refine the lace edging and details. (The front neckline lace wouldn't layer properly, so I roughly drew a decorative border with the blur brush — I couldn't manage fine detail so I just fudged it.)
For the ruffle sections of the skirt, I also sampled the ruffle color and used the blur brush + overlay mode to trace over the ruffle areas, adding a bit of dimension.
Since I have zero drawing skills, I relied mostly on stamps, and color selection was entirely by feel — I really admire those of you who can actually draw!
The pattern sheet is for sharing only and may not be used for profit. If you repost the pattern sheet, please @ me~ (Though I seriously doubt anyone would profit off such a simple dress 😅 but I'll say it anyway lol) I highly recommend making it yourself! Sewing clothes is really fun and addictive — don't miss out! Feel free to use and modify / recolor as you like! It's genuinely such a joy to get a sudden idea and add something new mid-process! Once you've finished sewing, when creating again you can select "Based on completed item," choose the dress you made, and then recolor it directly with filters — super convenient. Sew one dress = at least two outfits!
The little model is [blank]'s [blank].