Island Object / Building
Tomodachi Life Japanese Garden Island Build Tutorial
Published 2026-05-31
A step-by-step guide to building a Japanese-style courtyard on your island, with tips on height variation using sand beaches.
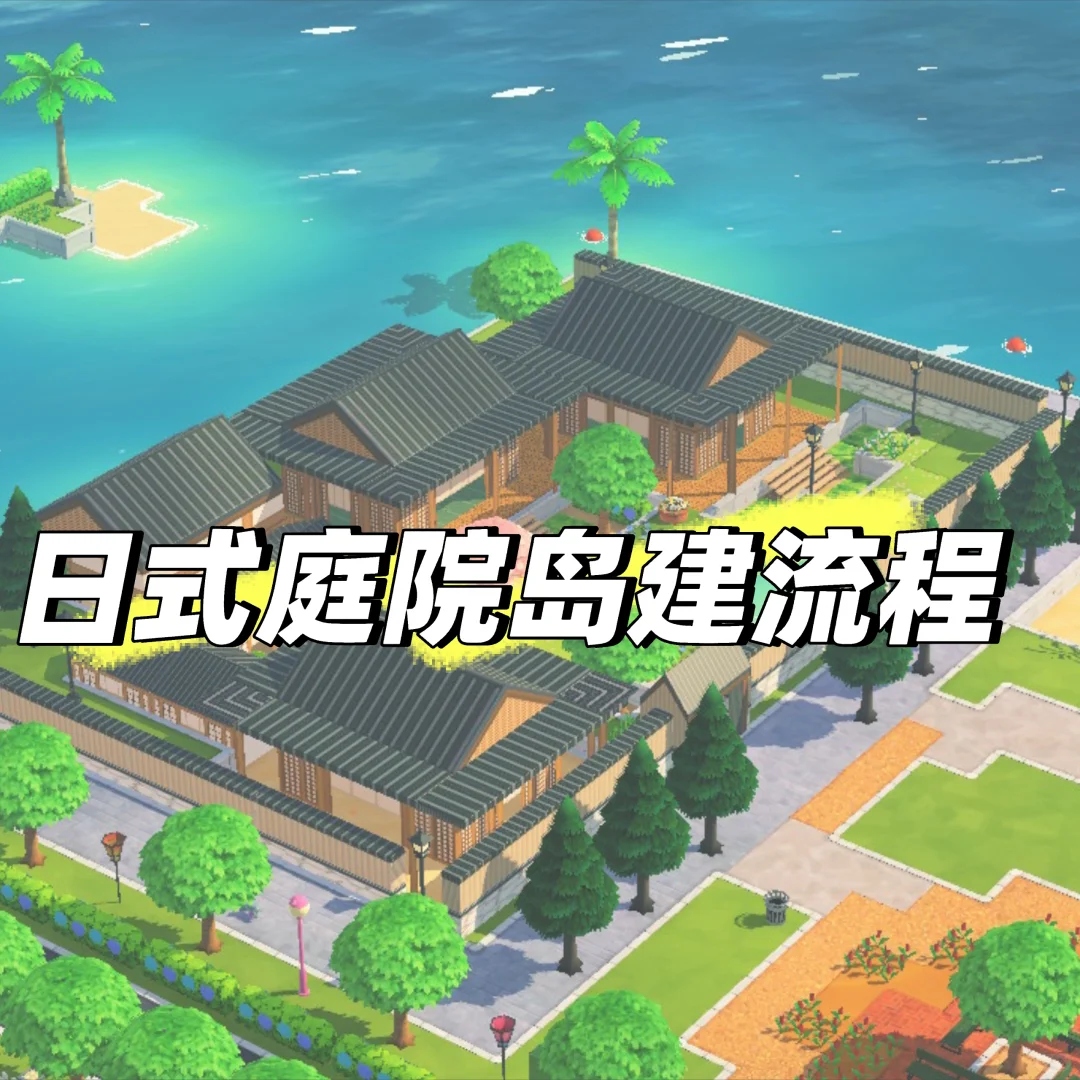
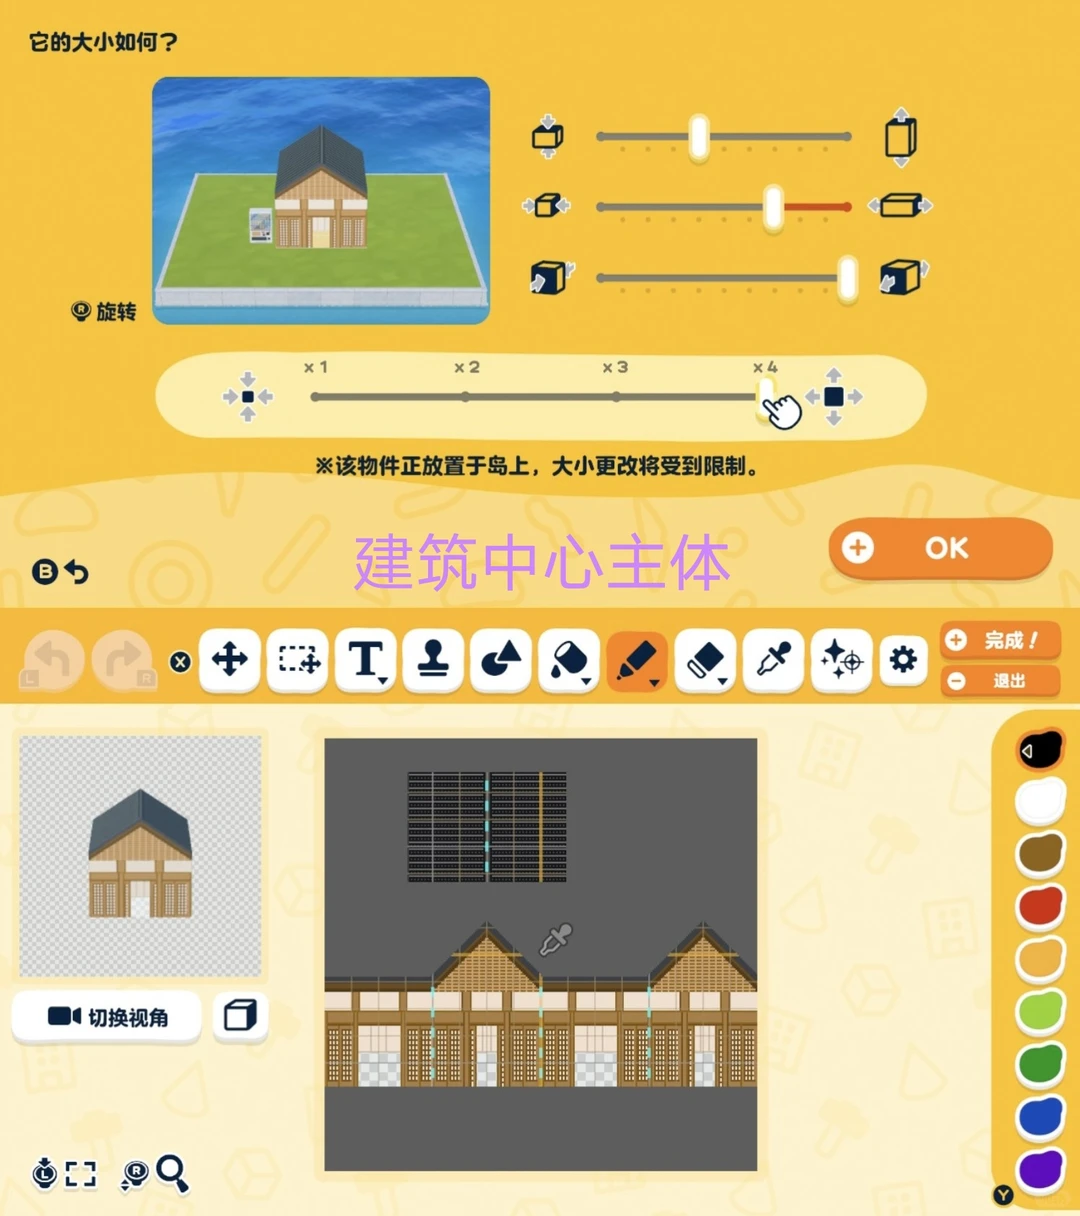
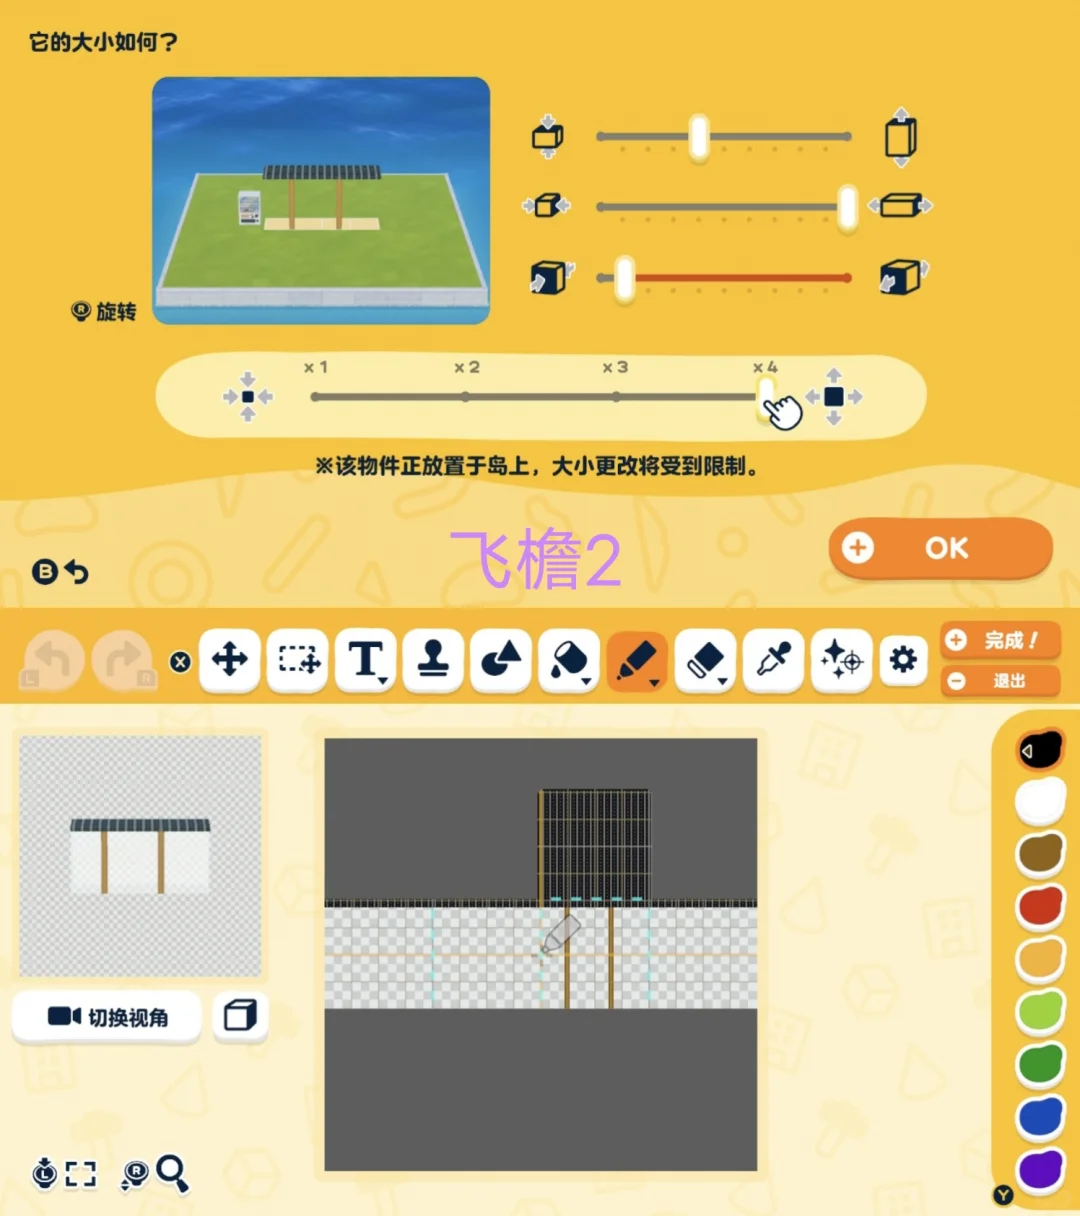
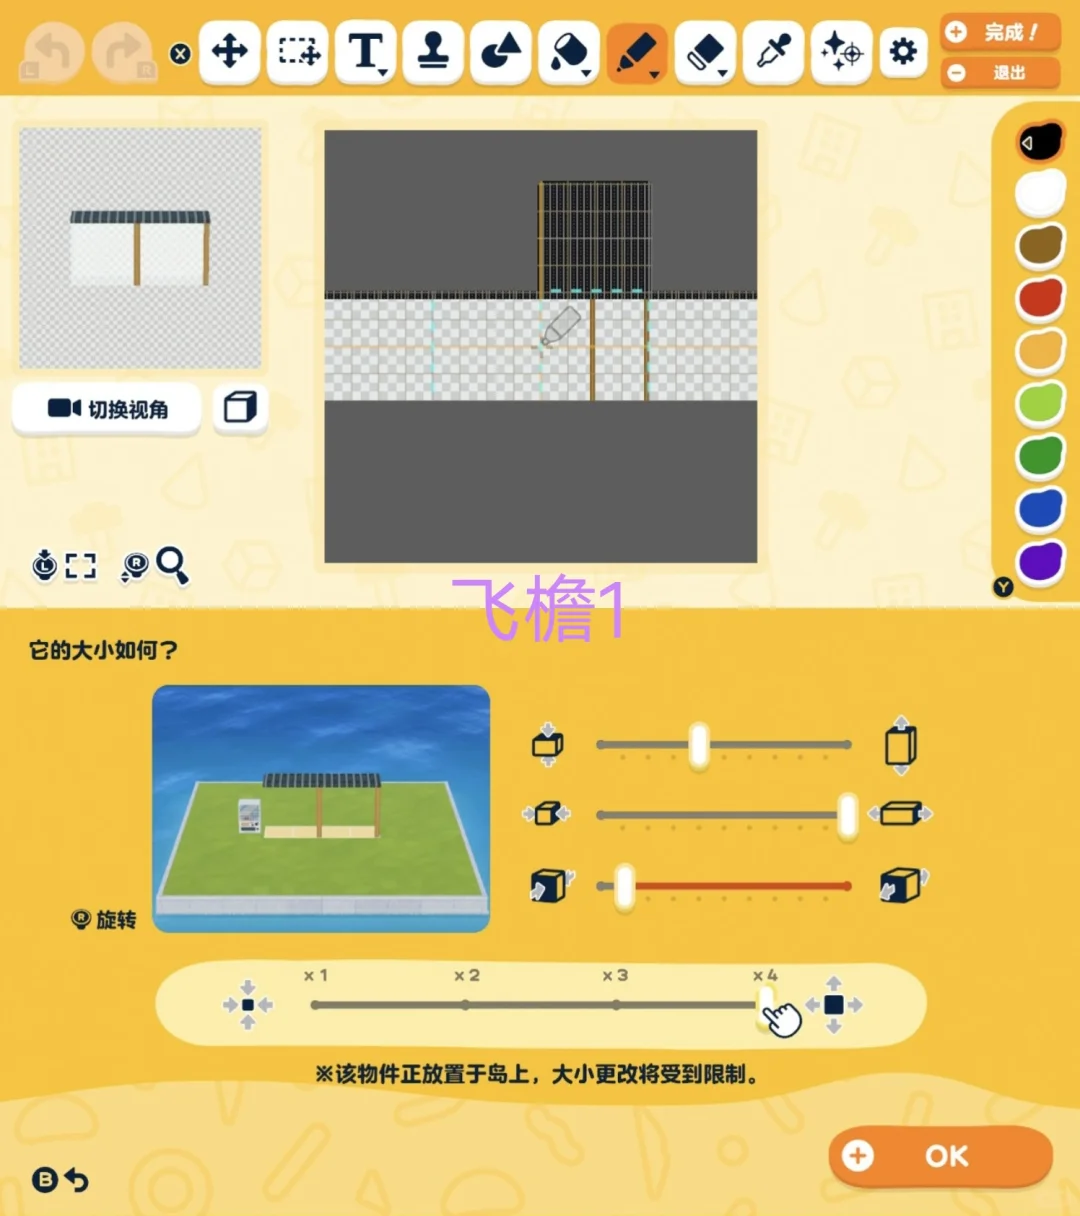
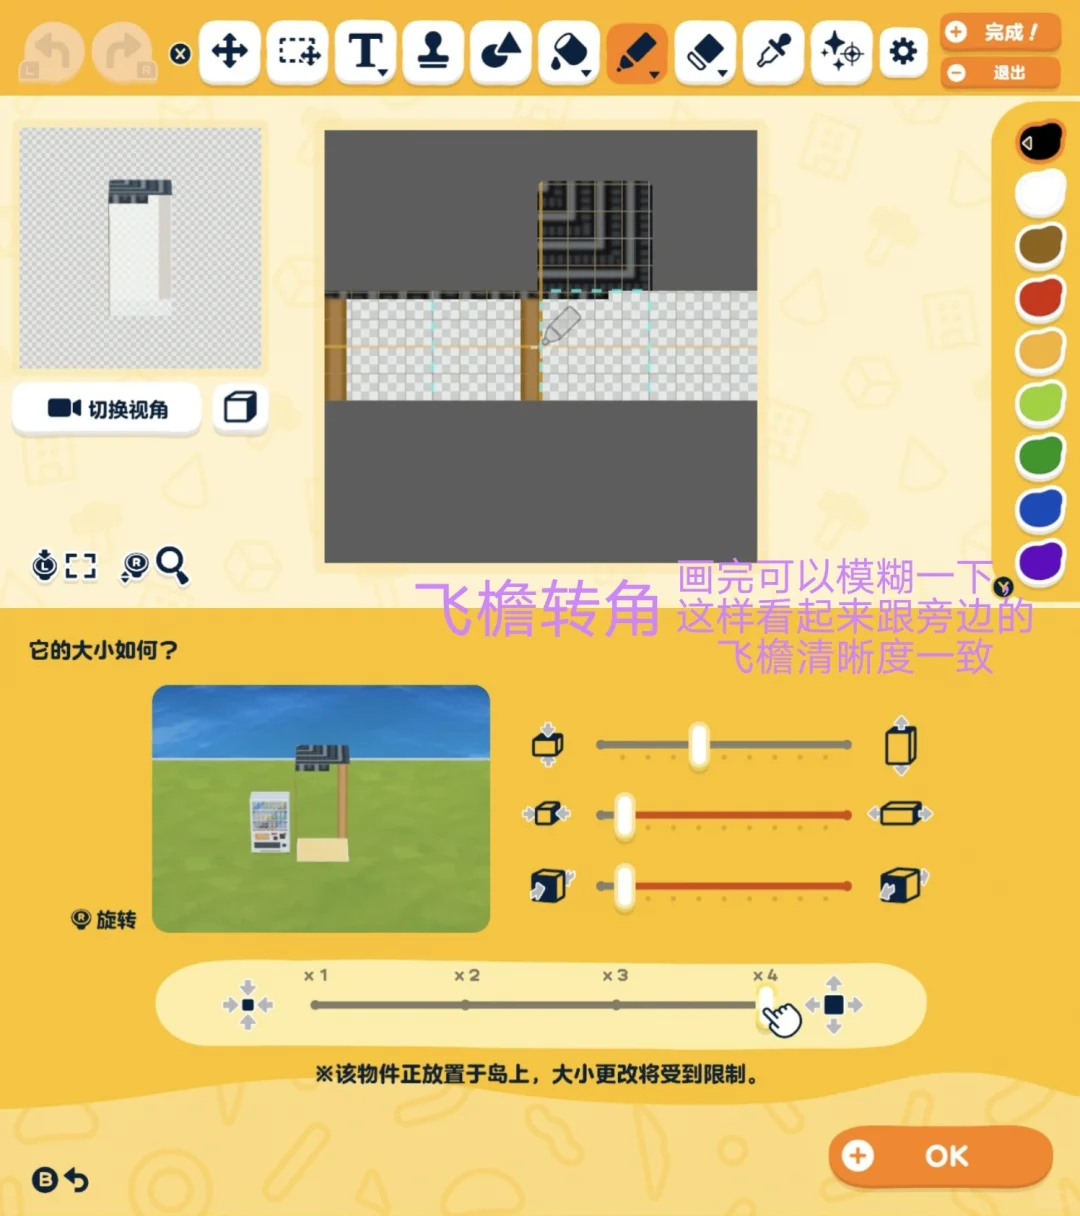
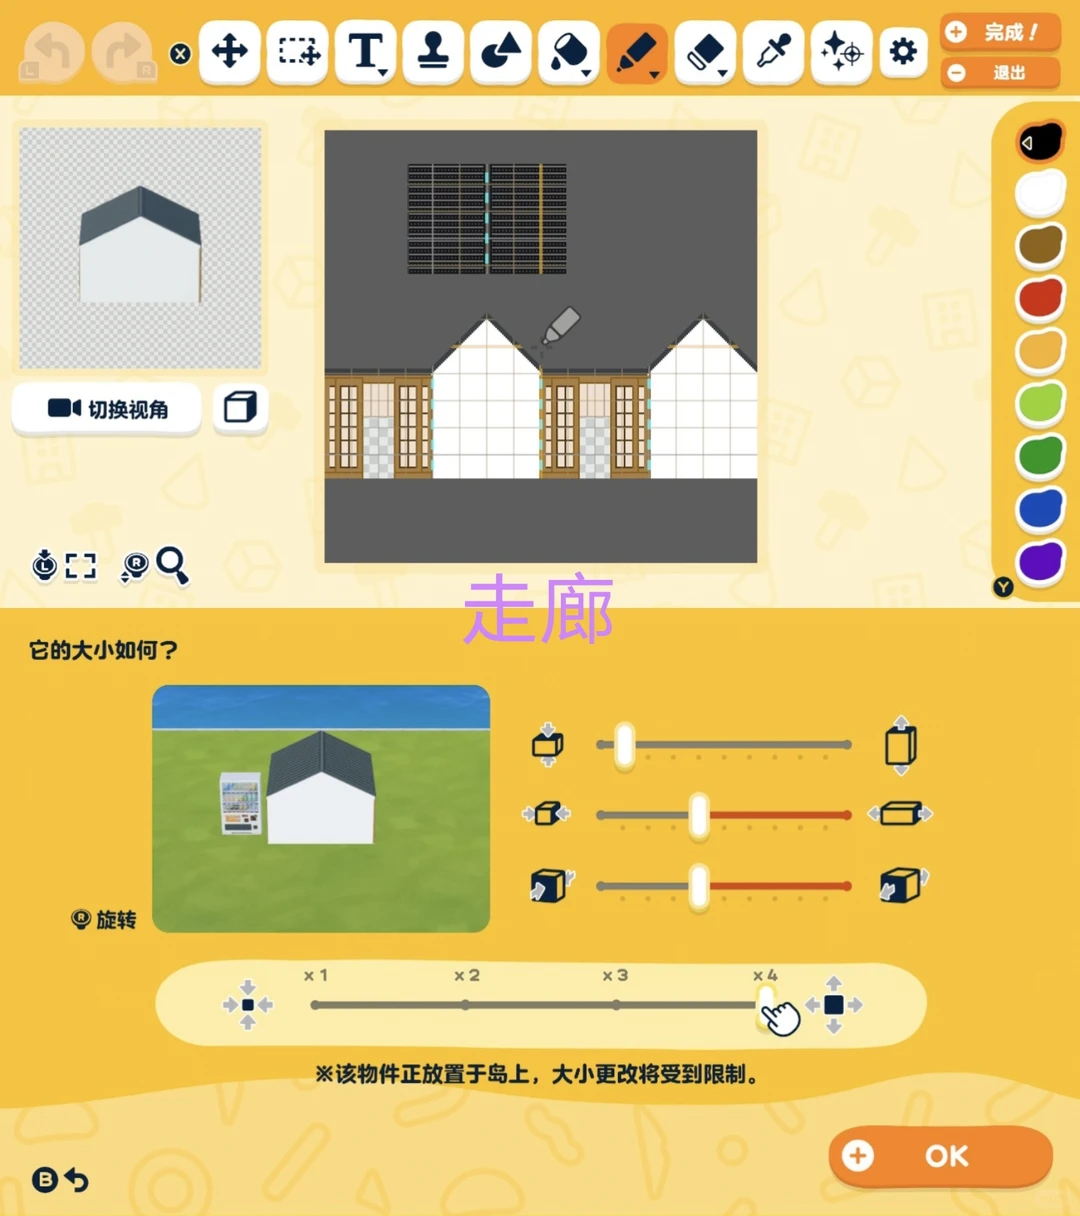
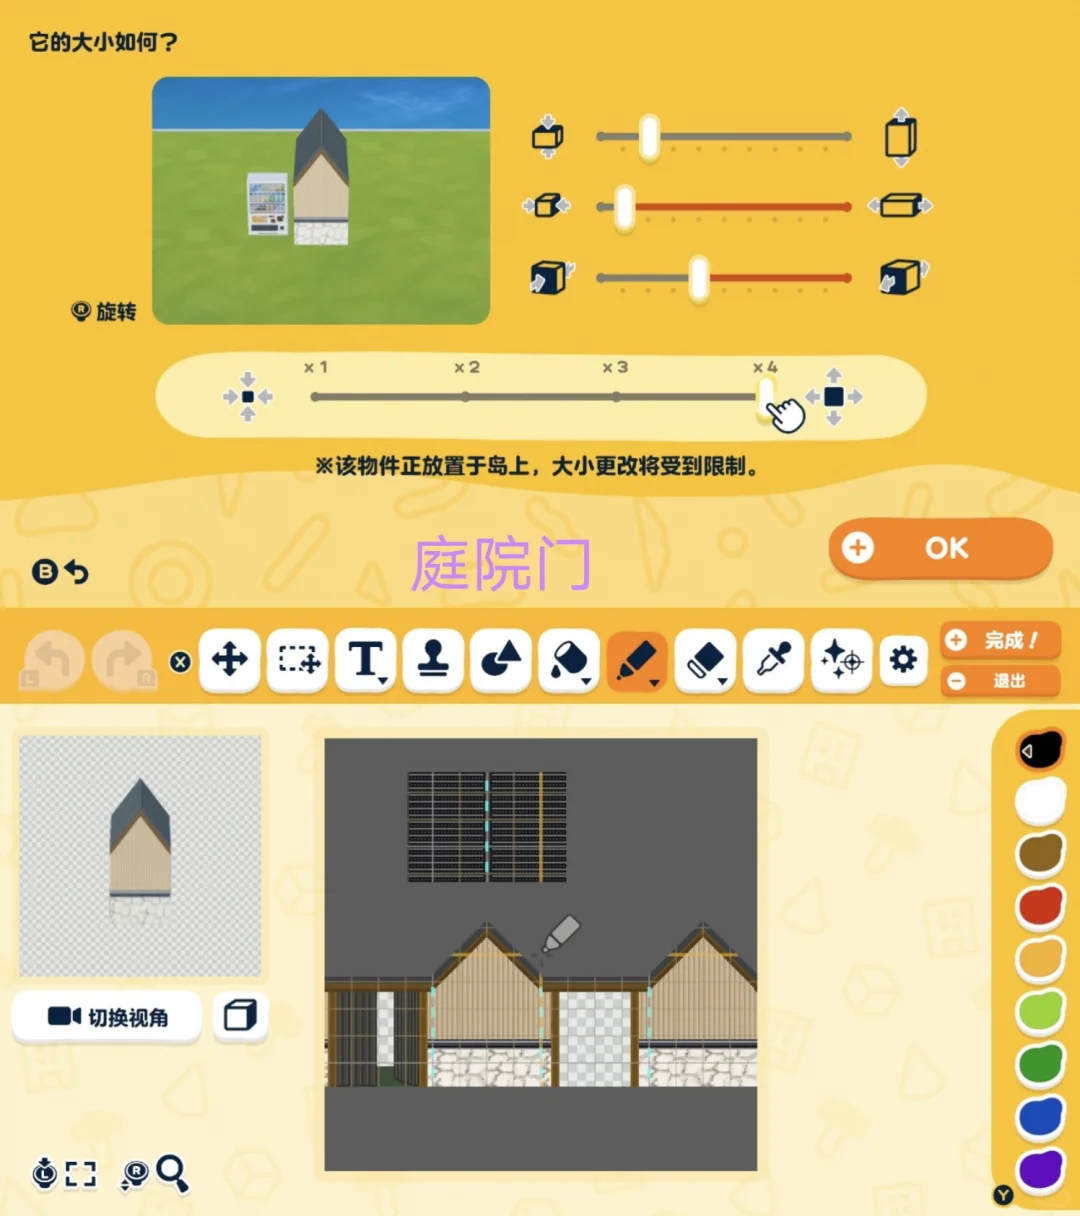
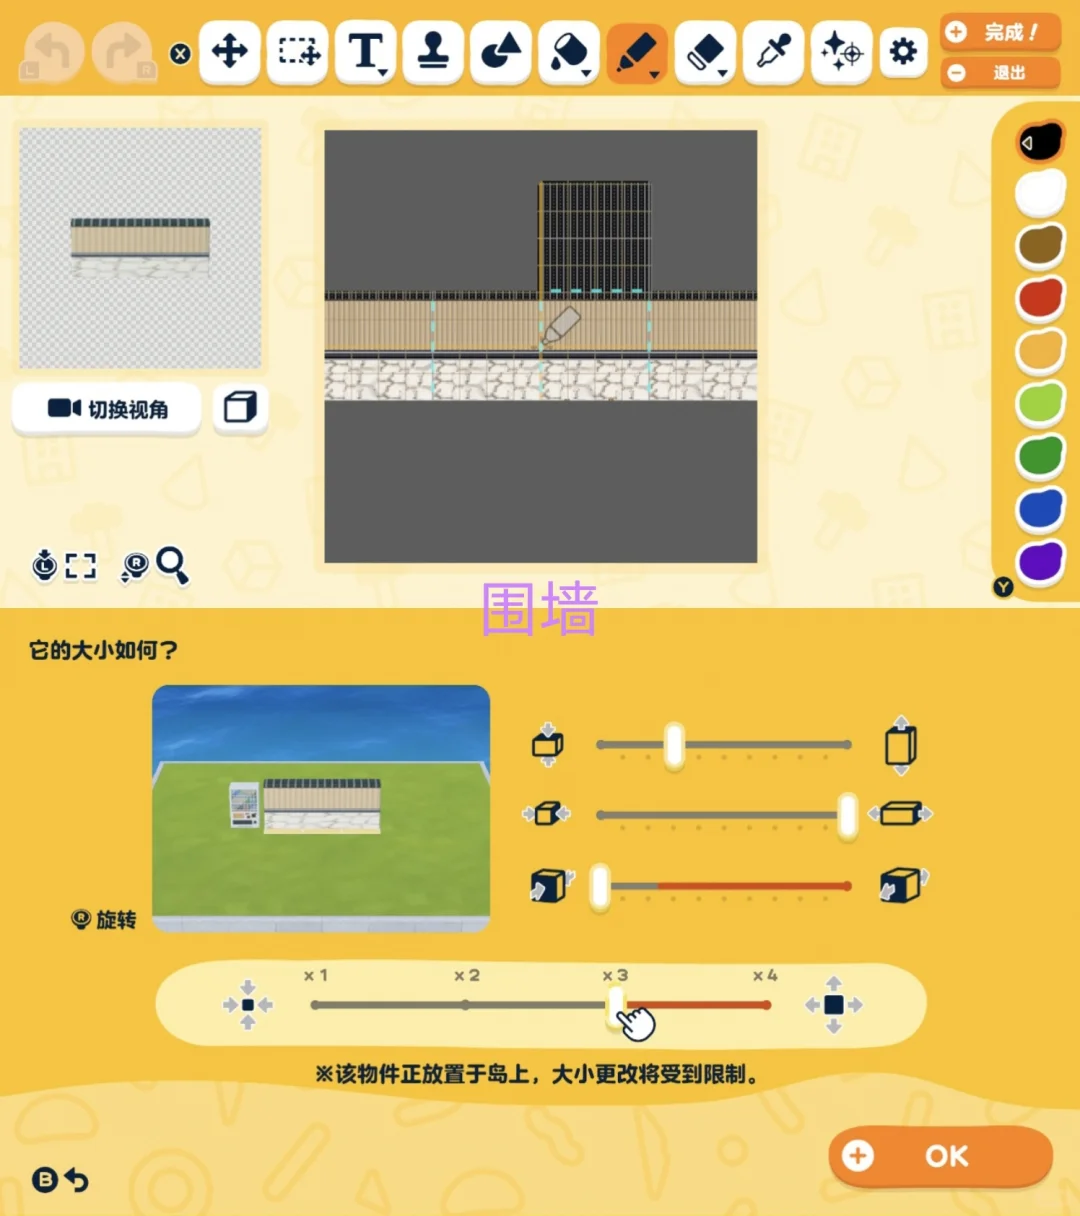
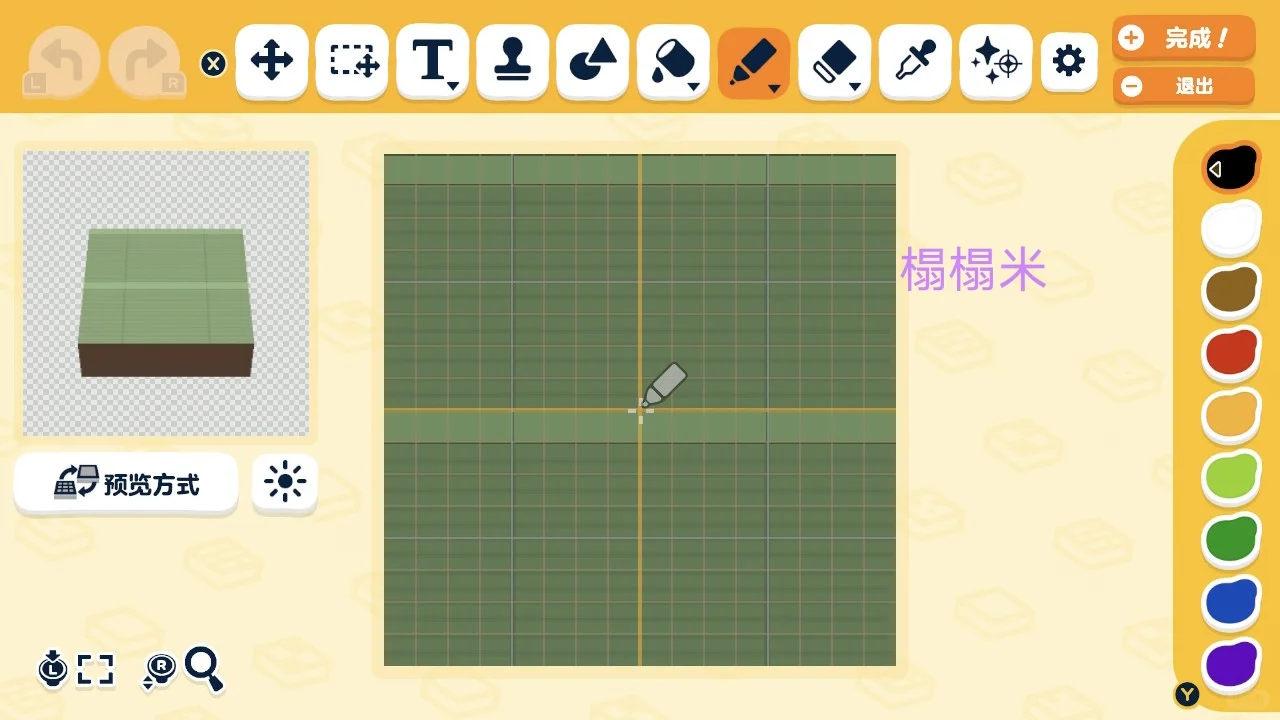
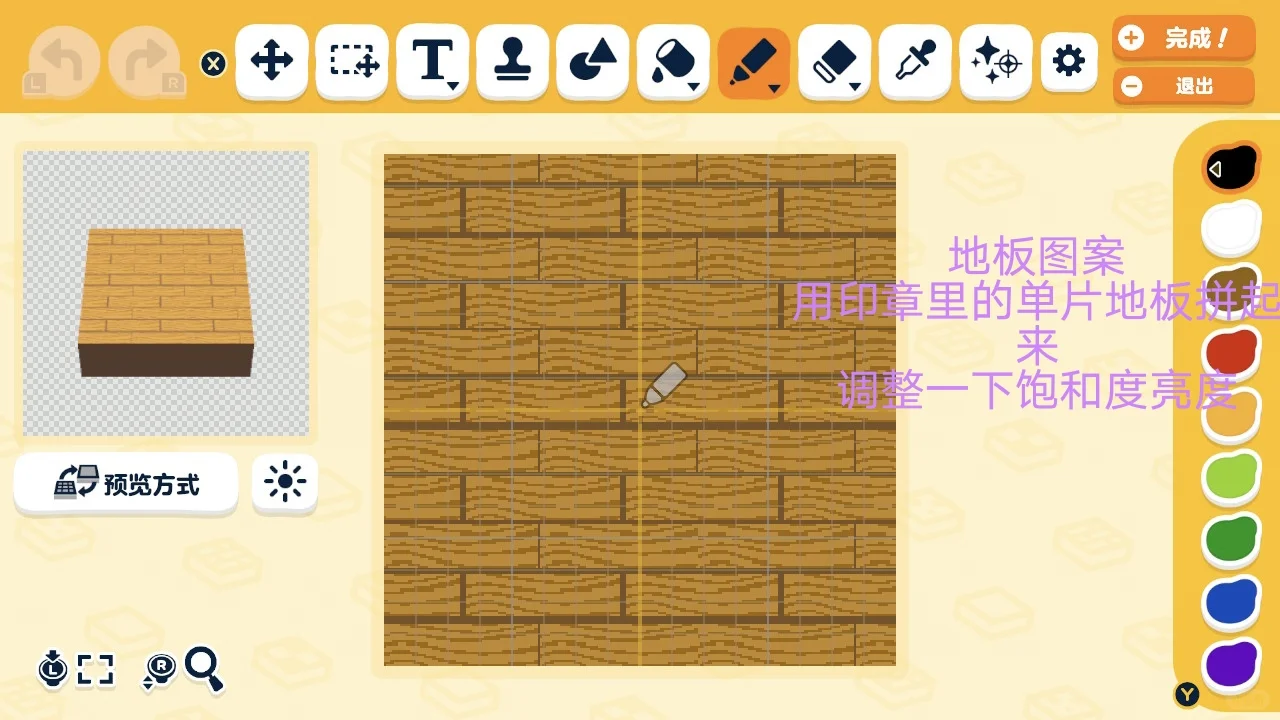
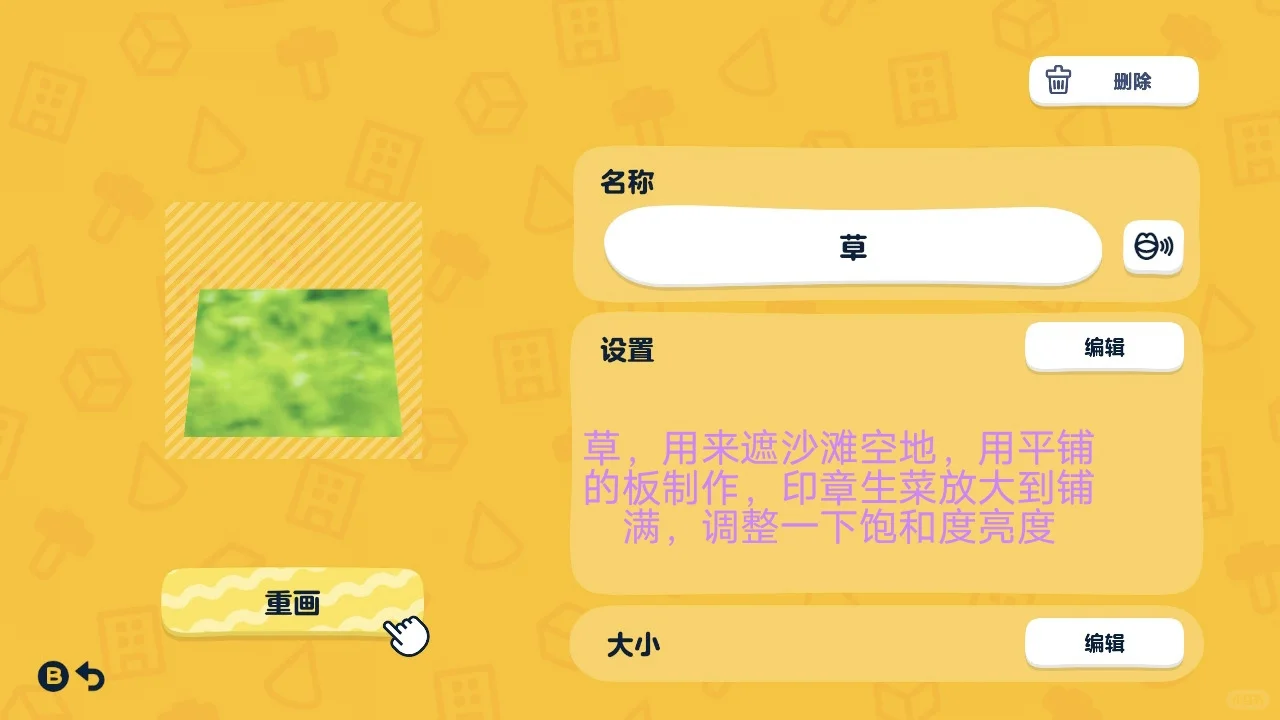
Making Steps
Editorial notes based on creator, source, or submitter information.
Editorial review: Jul 9, 2026
Recreation Notes ?
Tags
Recreation tips from the community
Share what you tried, tricky spots, unclear parts, or adjustment tips for this design.
Comment guidelines
Only share variations or links when the original creator allows copying, edits, or derivative works.
Keep comments on topic. No trading requests, attacks, harassment, spam, or inappropriate content.
Comments appear after review. Published notes are visitor experiences, not official verification.
No published comments yet.
Related patterns
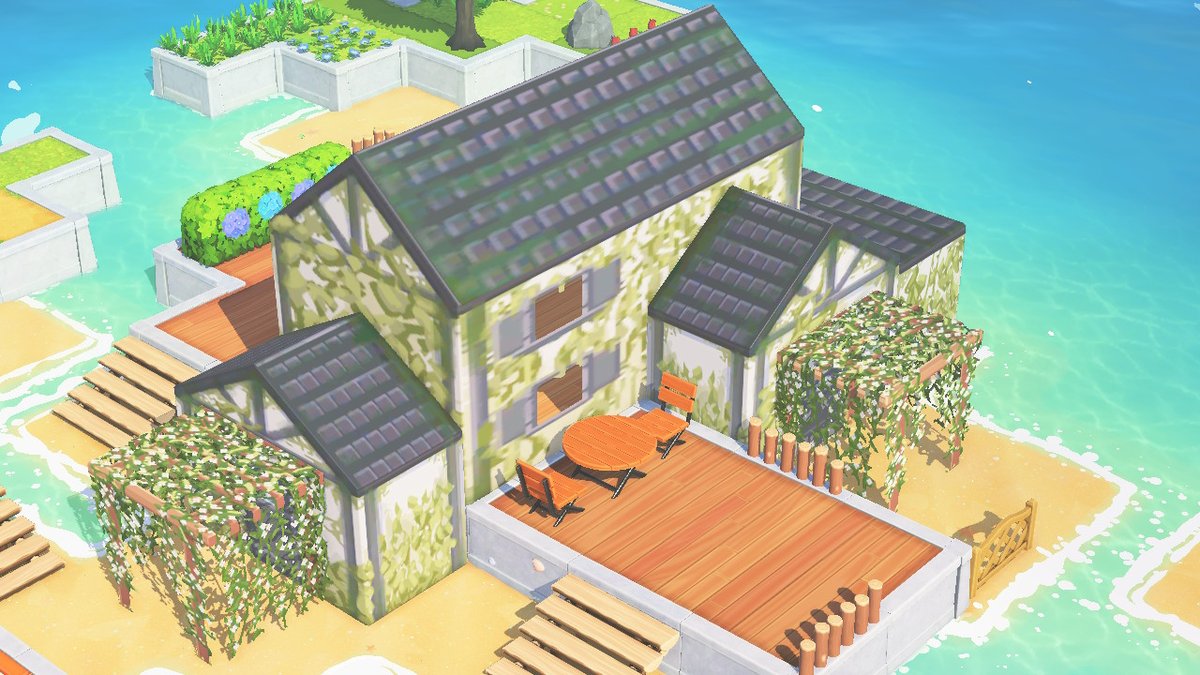
Overgrown House Tutorial
by ryangosmii
An overgrown house build with settings, paint, and instructions in the replies.
View Pattern Sheet →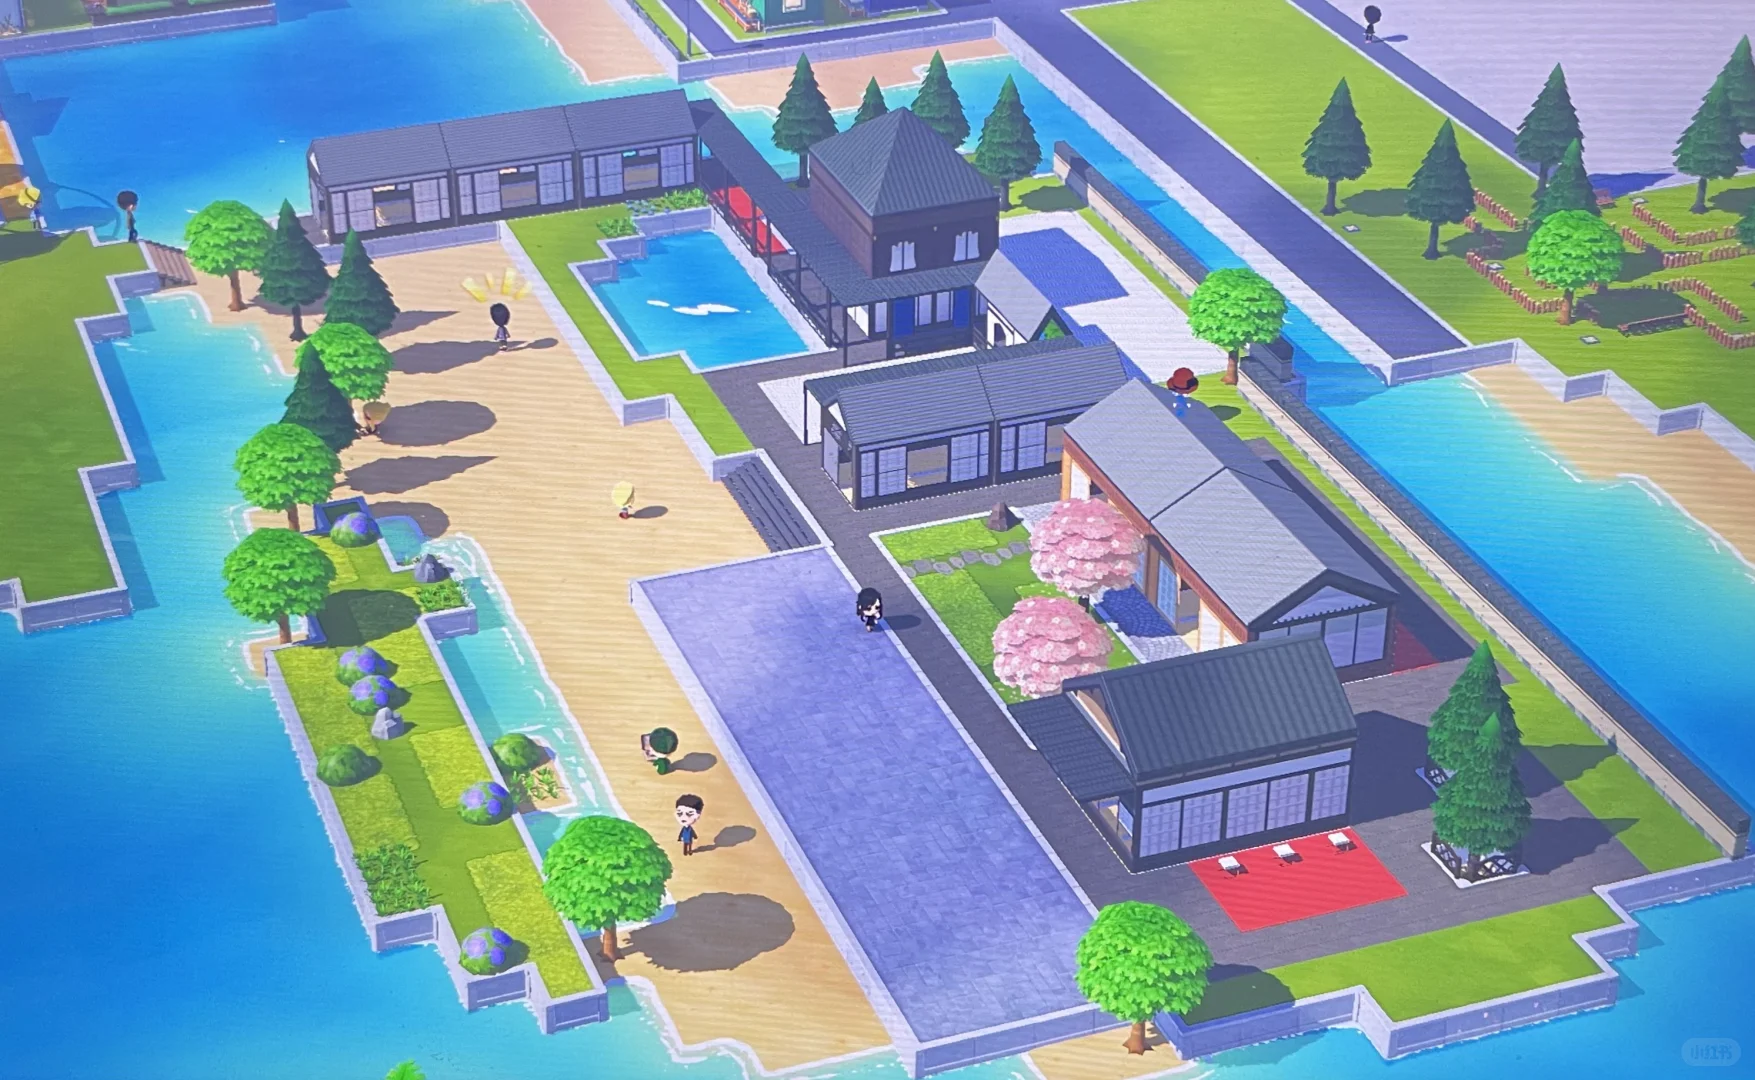
Tomodachi Life Japanese Garden Island Build Nearly Complete
by 百色片想い
The Japanese garden island is mostly finished. Future updates may refine flooring, objects, and building pattern sheets, with landscaping to fill empty spaces.
View Pattern Sheet →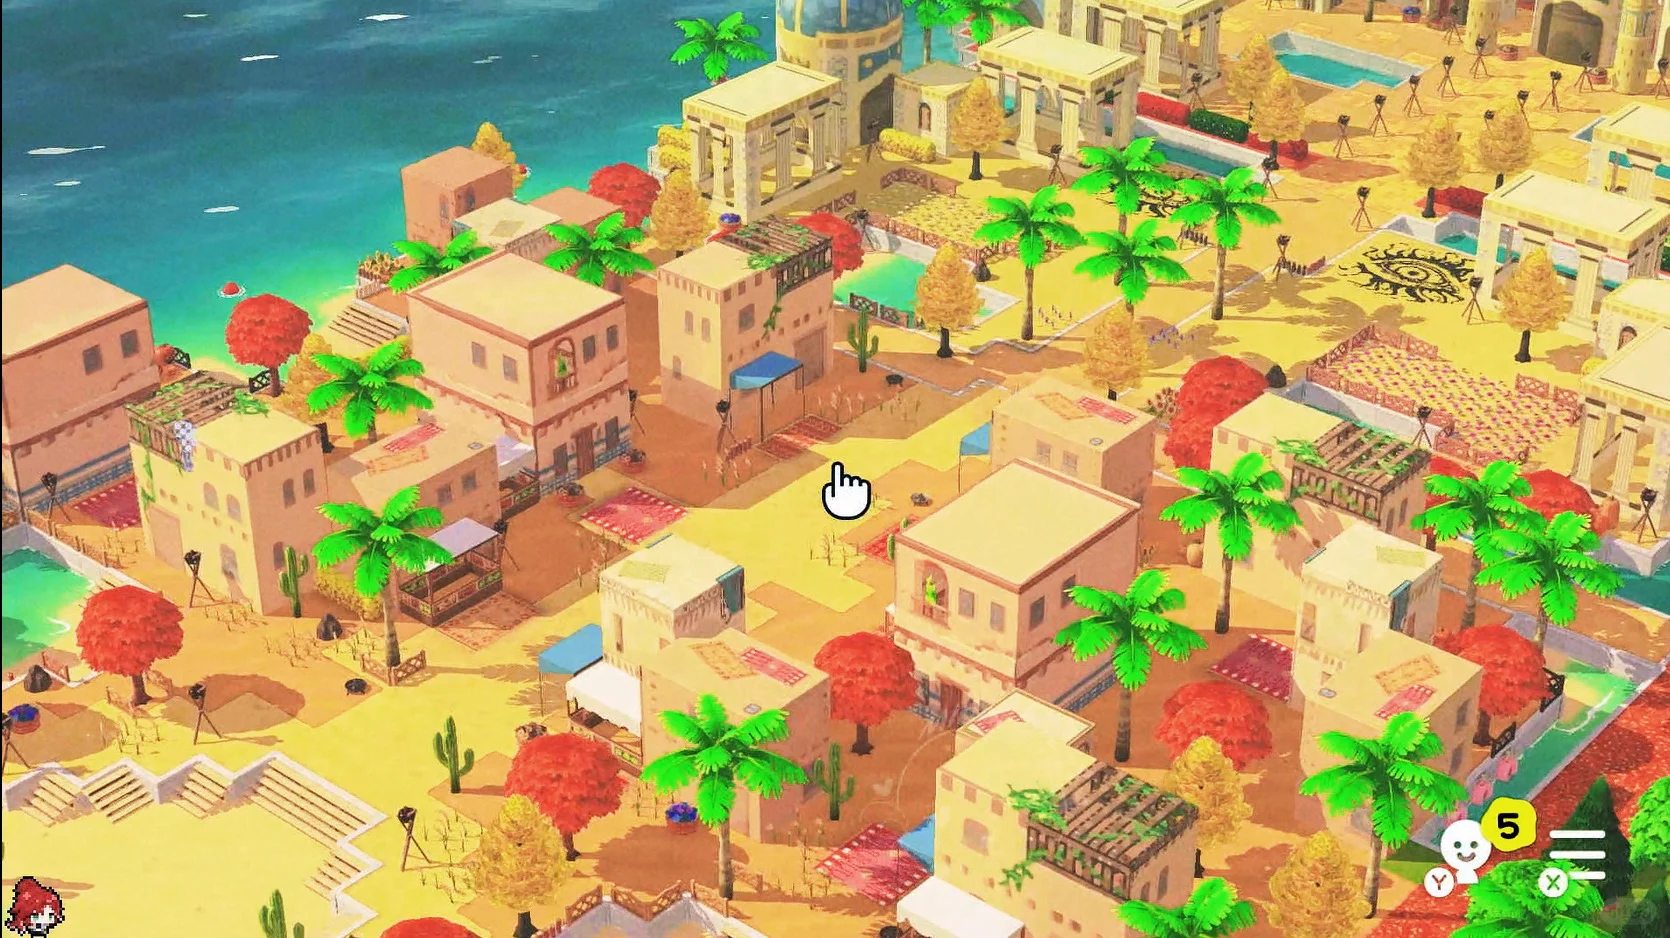
Tomodachi Life Suzhou and Middle Eastern Island Build Pattern Sheets
by 微明渺渺
Pattern sheets for a Suzhou and Middle Eastern themed island build. Video tutorial coming soon; all designs have original references.
View Pattern Sheet →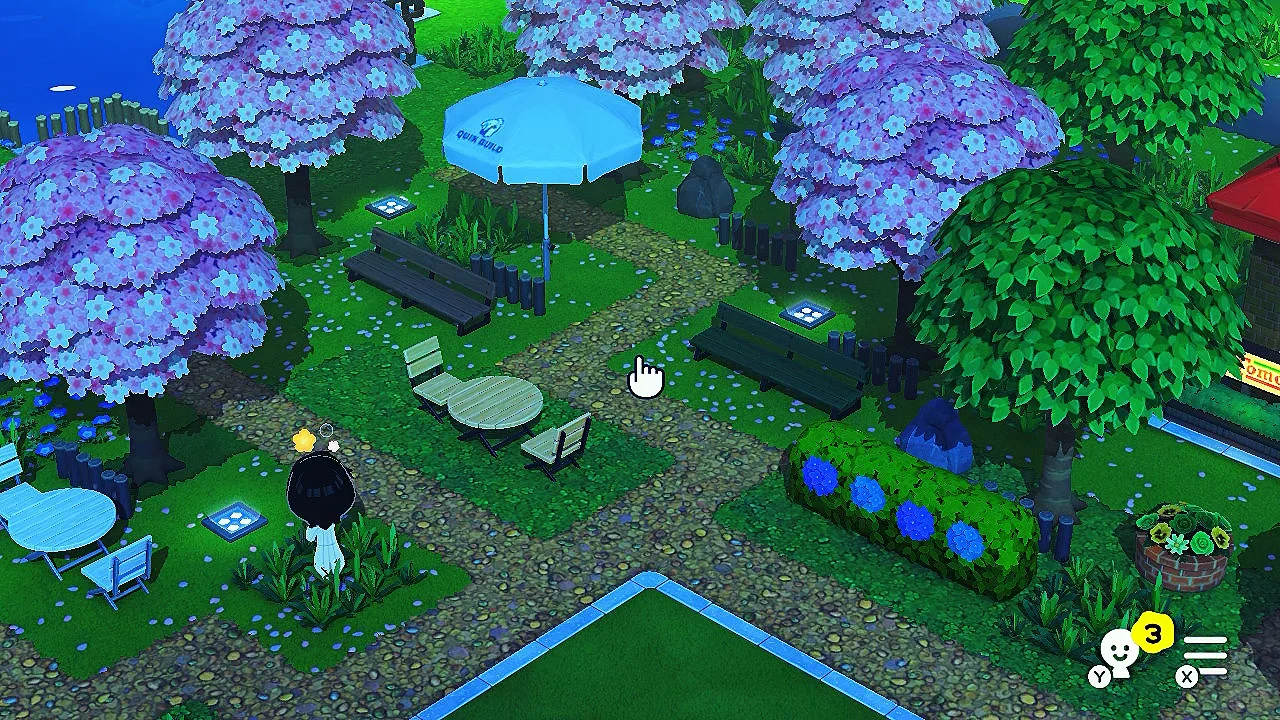
Forest-Style Island Build with Grid Pattern Sheet Included
by momo
A beginner-friendly forest-style park island build. Includes a grid pattern sheet (pic 2).
View Pattern Sheet →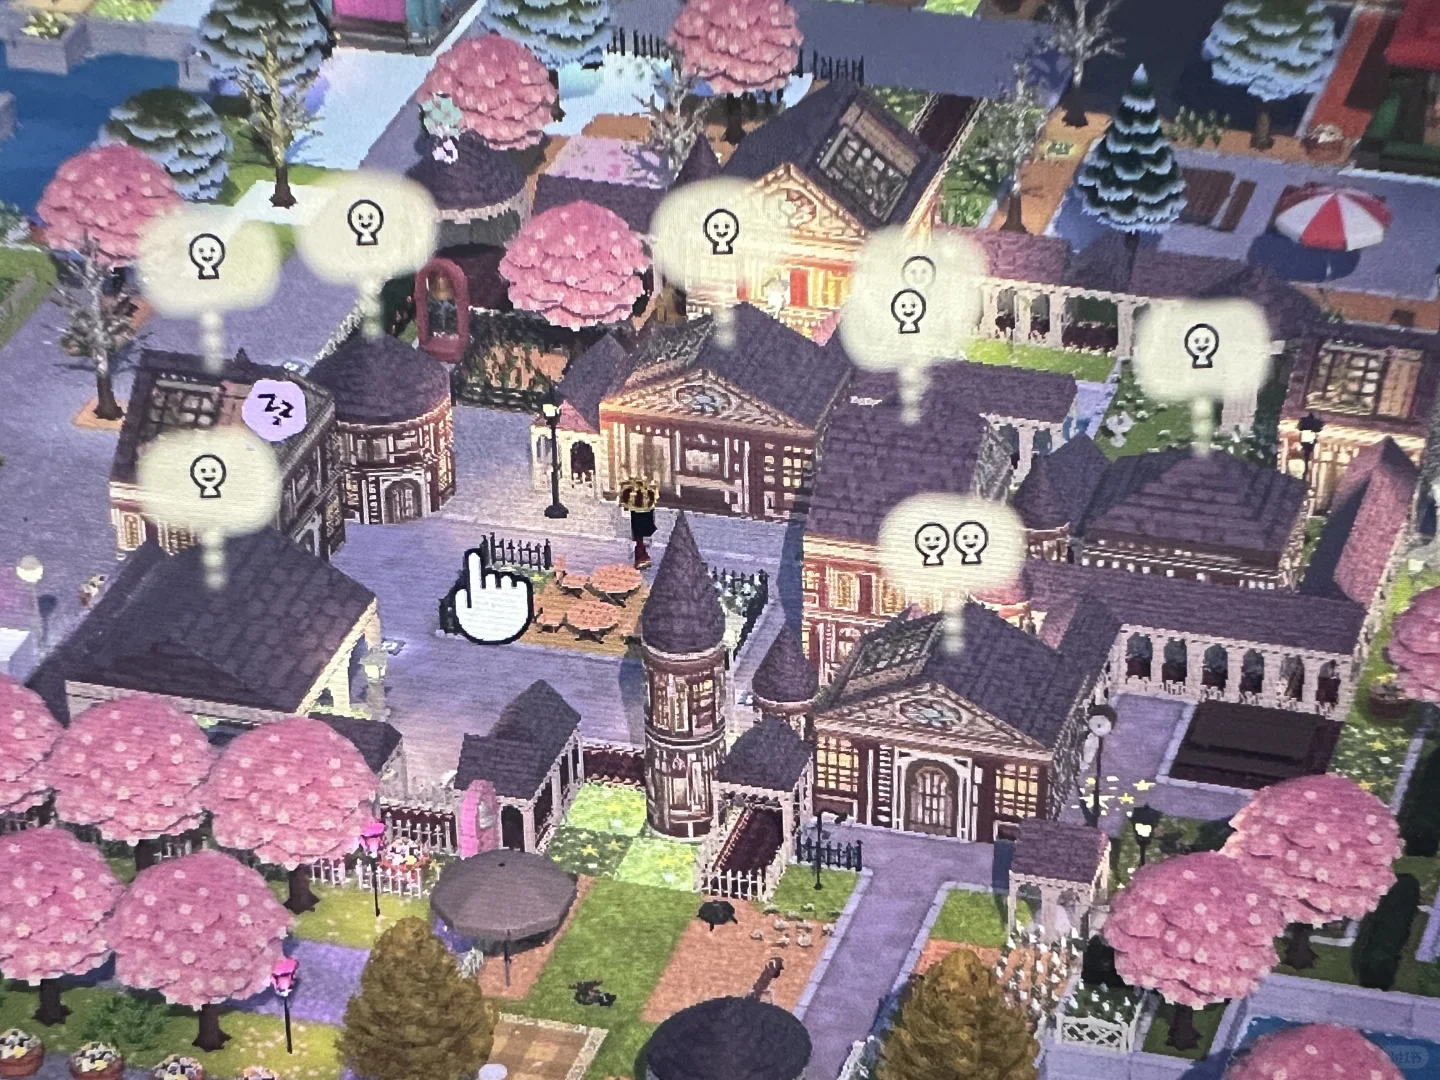
Tomodachi Life Architectural Build with Pattern Sheets Included
by 金九序
A detailed island build with 7 building types and custom glowing star floors. Pattern sheets included.
View Pattern Sheet →