Clothing
Baseball Jacket Pattern — Drawing Tutorial
Published 2026-05-10
Baseball jacket pattern with a step-by-step process walkthrough for beginners.
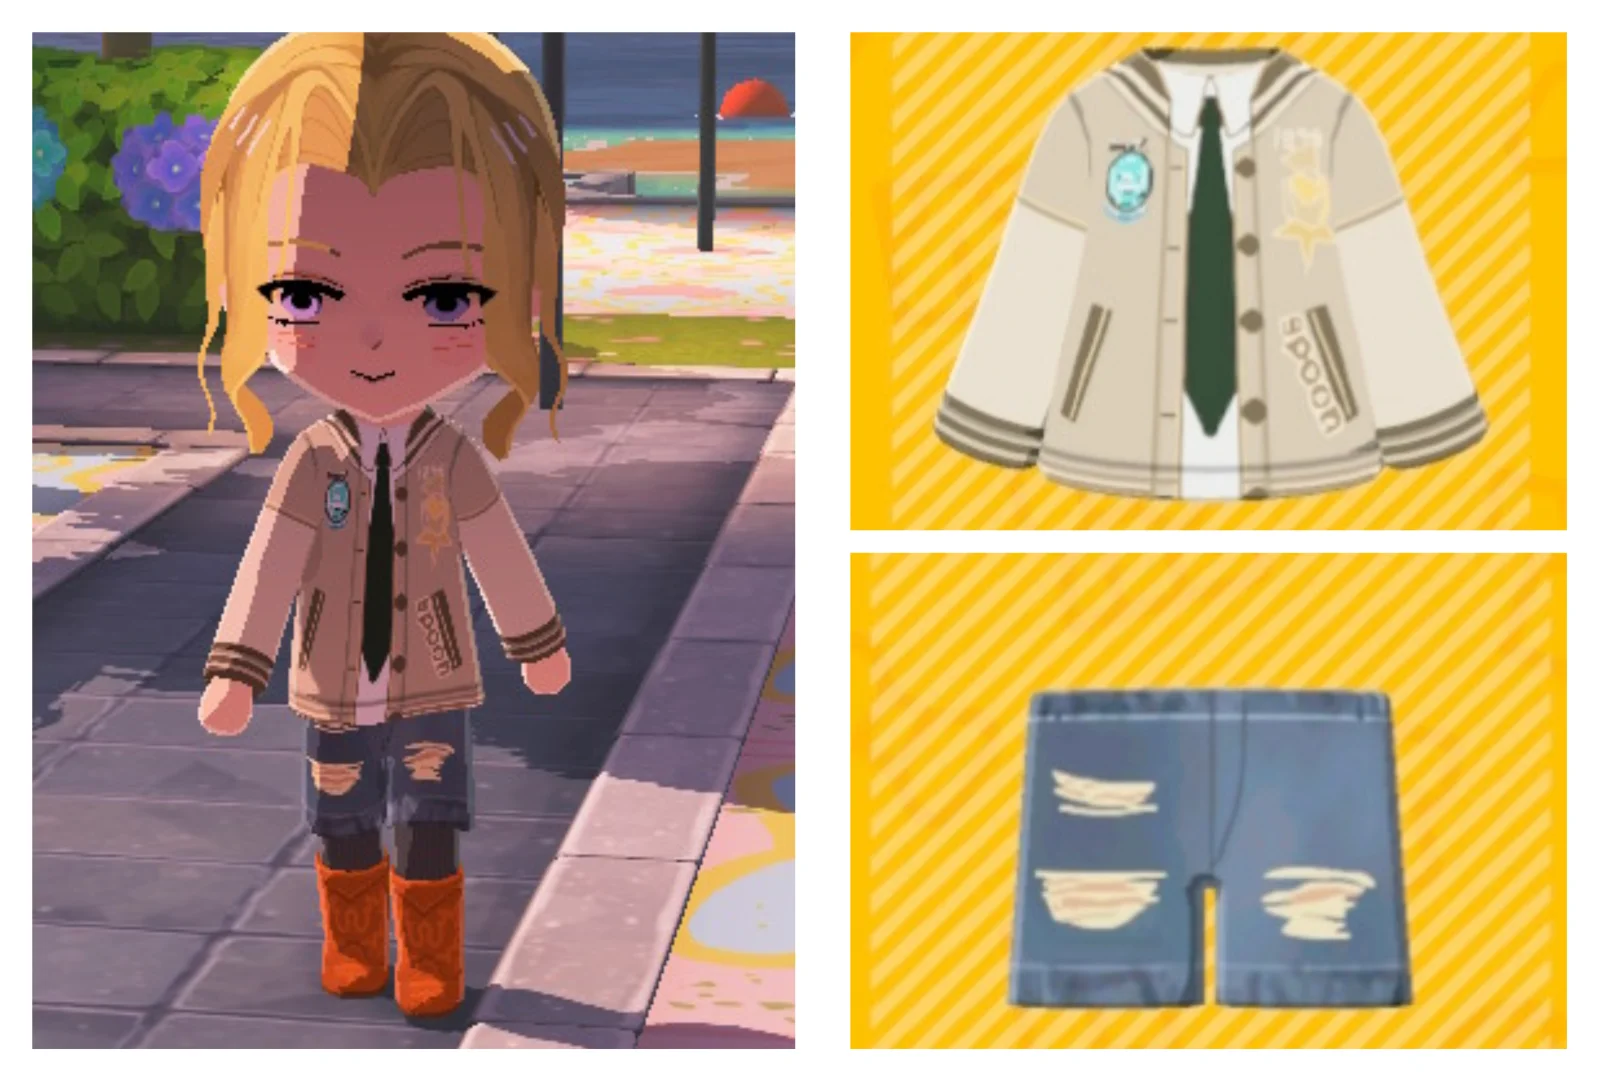
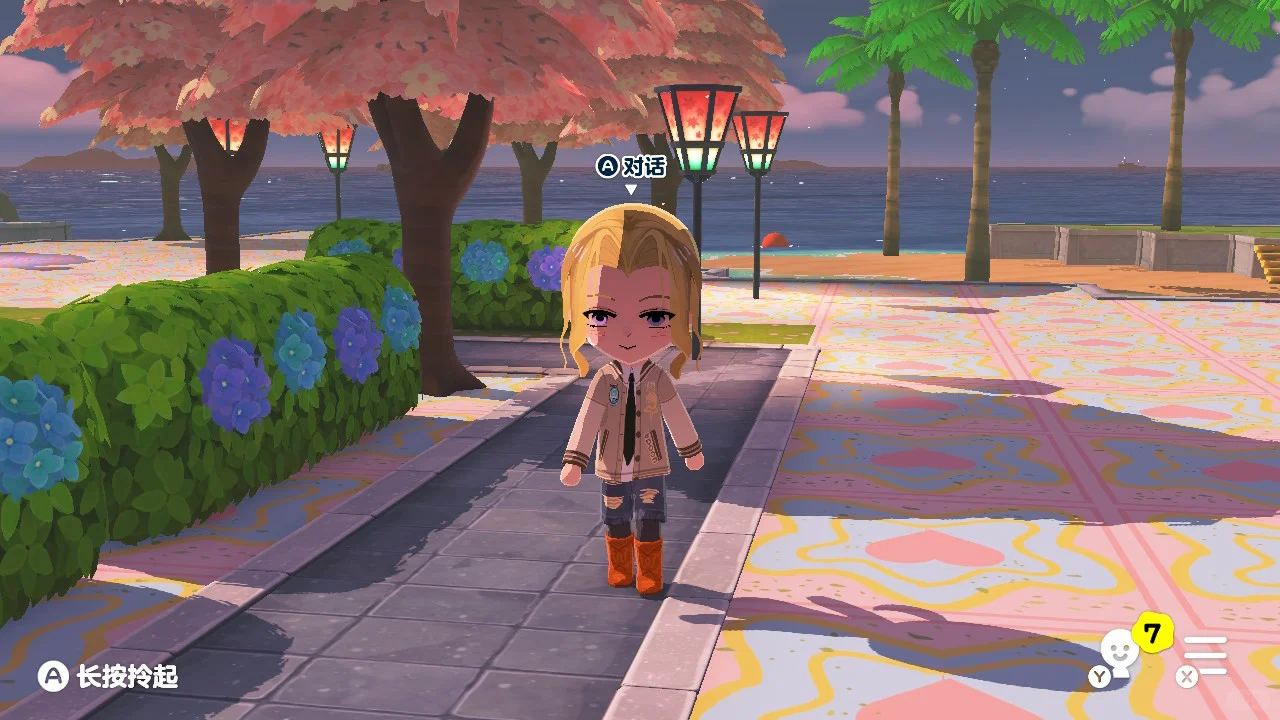
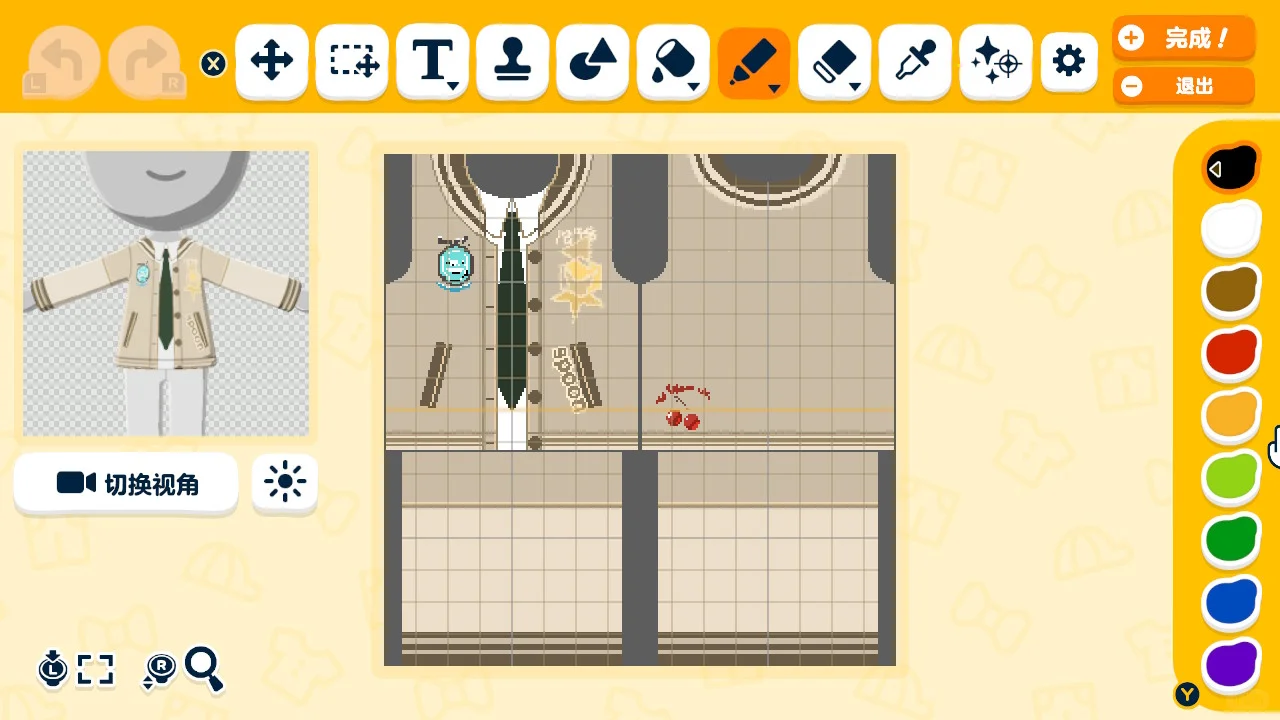
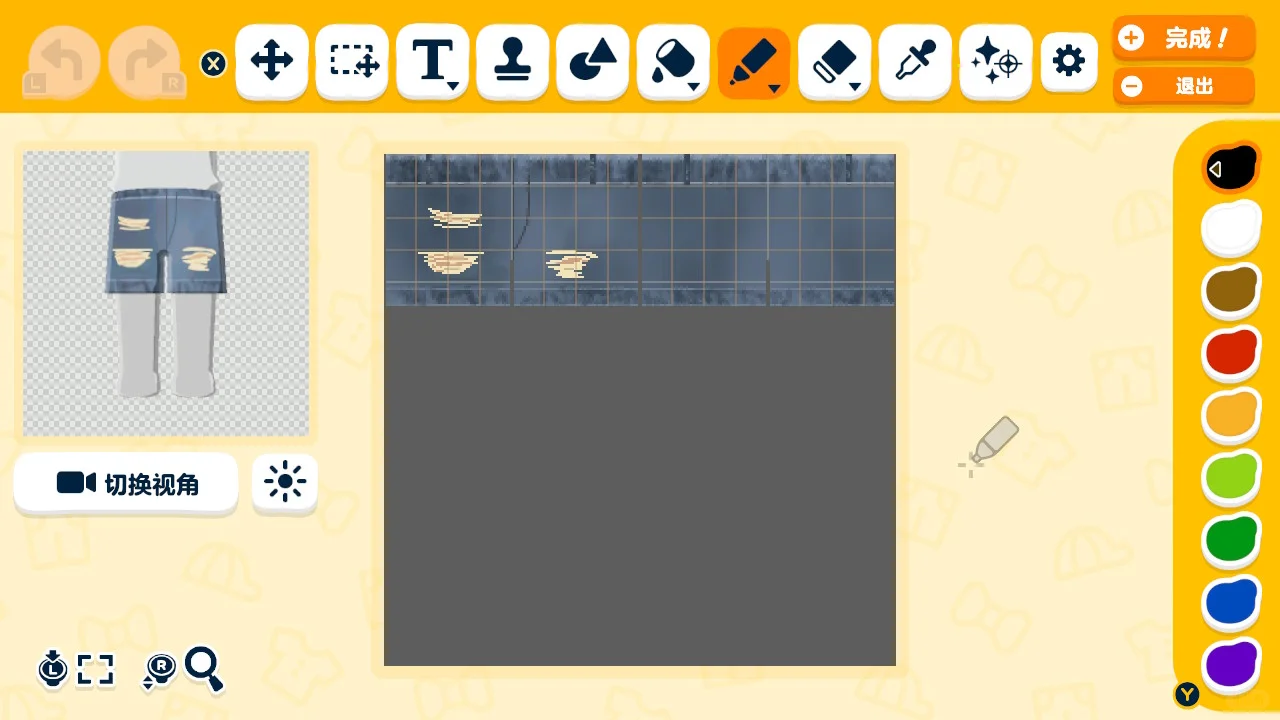
Making Steps
Editorial notes based on creator, source, or submitter information.
Editorial review: Jul 9, 2026
Recreation Notes ?
Tags
Recreation tips from the community
Share what you tried, tricky spots, unclear parts, or adjustment tips for this design.
Comment guidelines
Only share variations or links when the original creator allows copying, edits, or derivative works.
Keep comments on topic. No trading requests, attacks, harassment, spam, or inappropriate content.
Comments appear after review. Published notes are visitor experiences, not official verification.
No published comments yet.
Related patterns
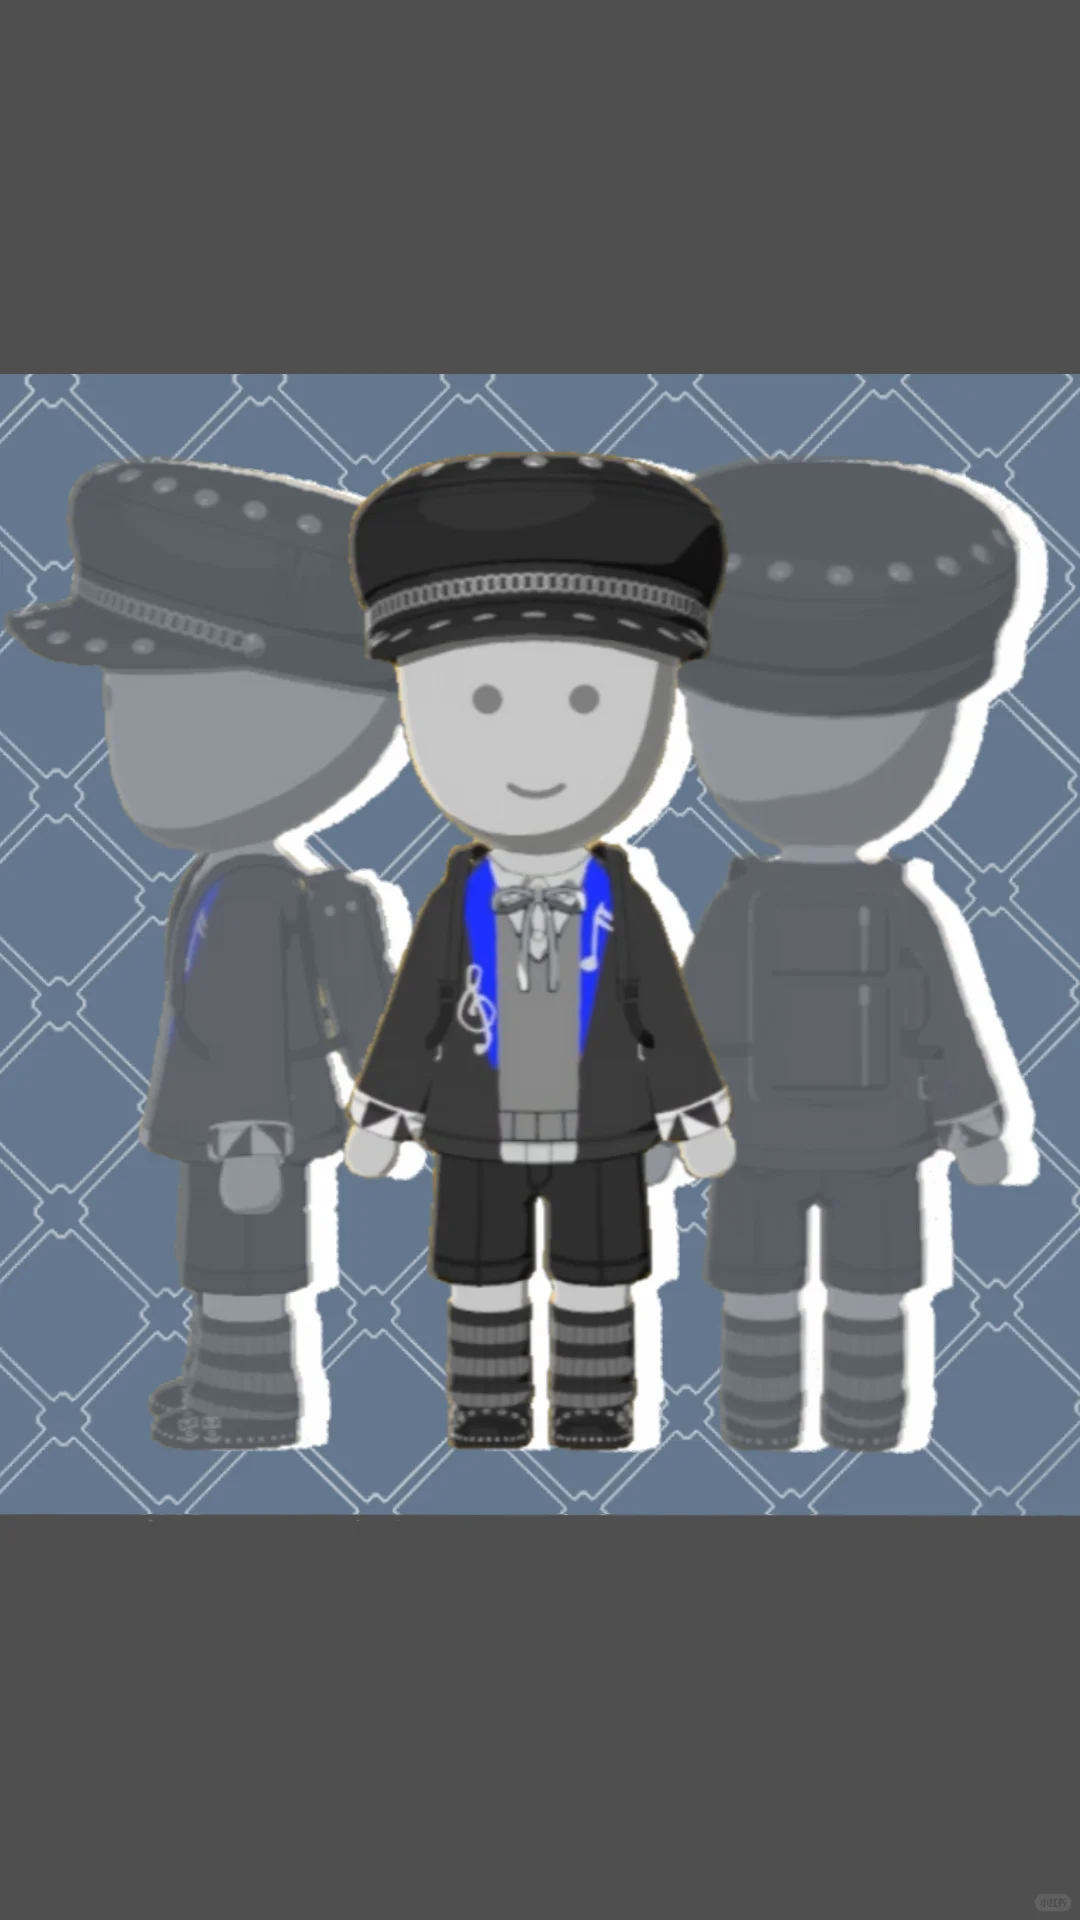
Super Simple Blue-Black Jacket Pattern Sheet
by 柏林冷了吗
A simple unisex blue-black jacket pattern. Mostly uses straight line and paint bucket tools, with a hand-drawn music note on the collar.
View Pattern Sheet →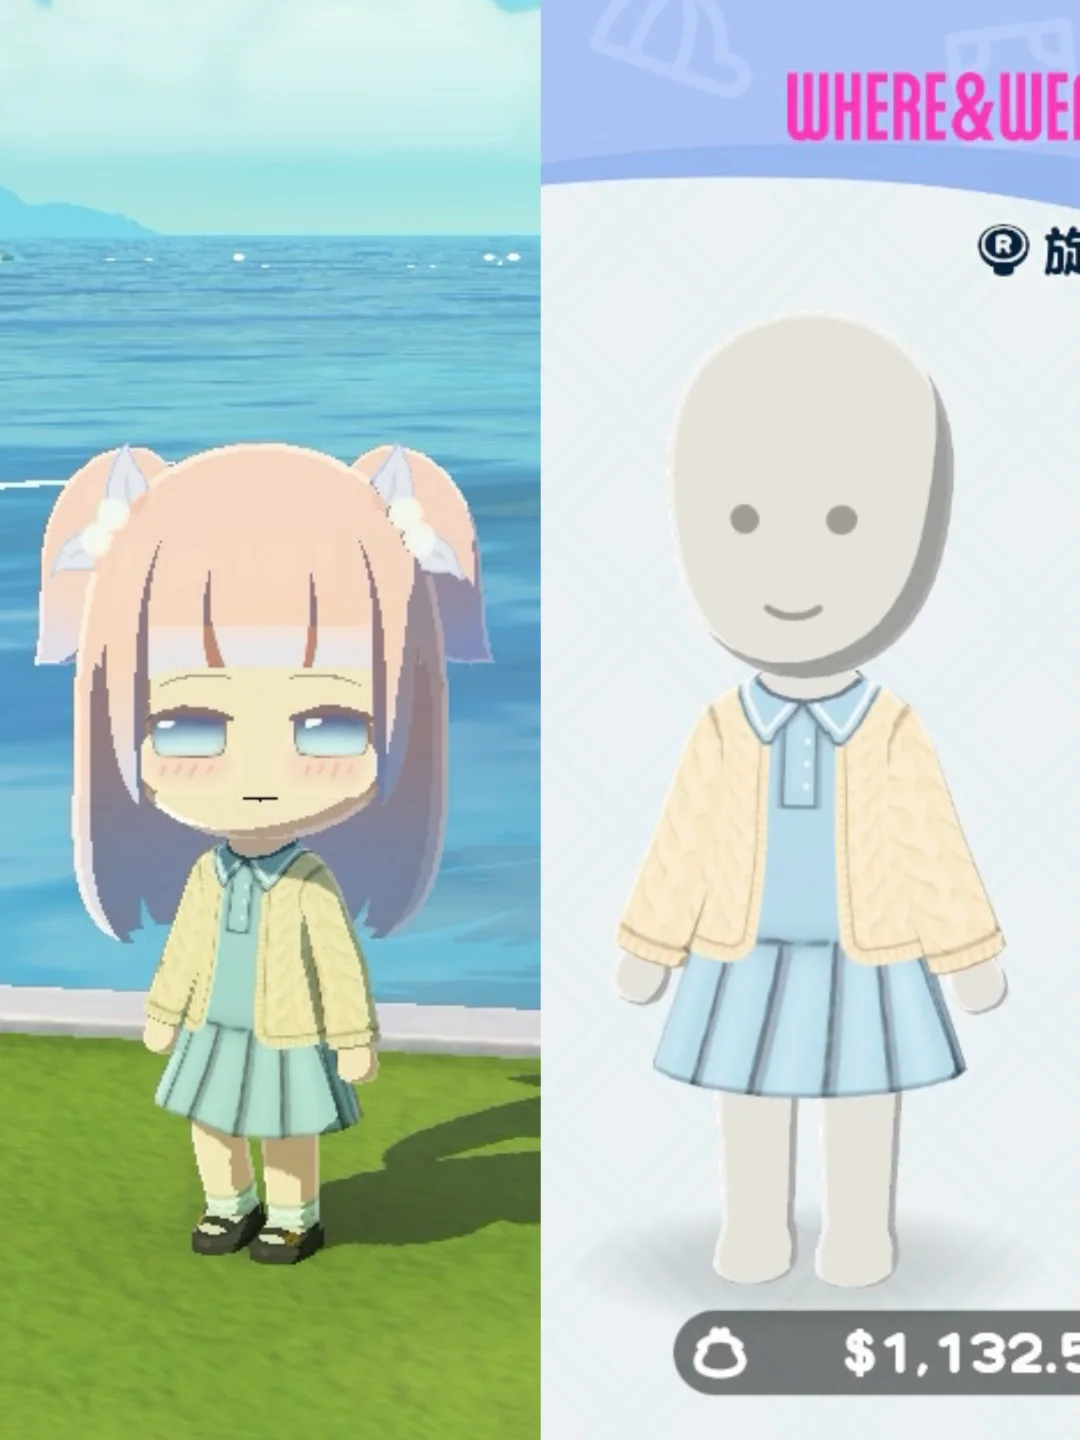
Simple Everyday Cable Knit Outfit Set
by 呀哈哈大师
A simple cable knit outfit set to draw. Detailed tutorial on page 4.
View Pattern Sheet →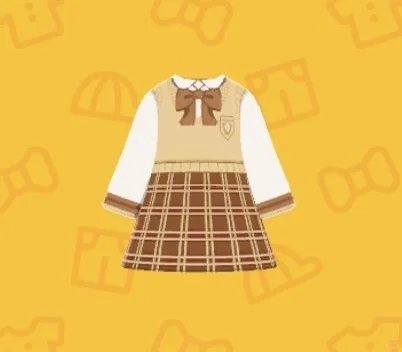
Tomodachi Life Pattern Sheet: Coffee Brown Academic Style Outfit
by 红薯王
A simple academic-style outfit in coffee brown. Beginner-friendly with basic palette colors.
View Pattern Sheet →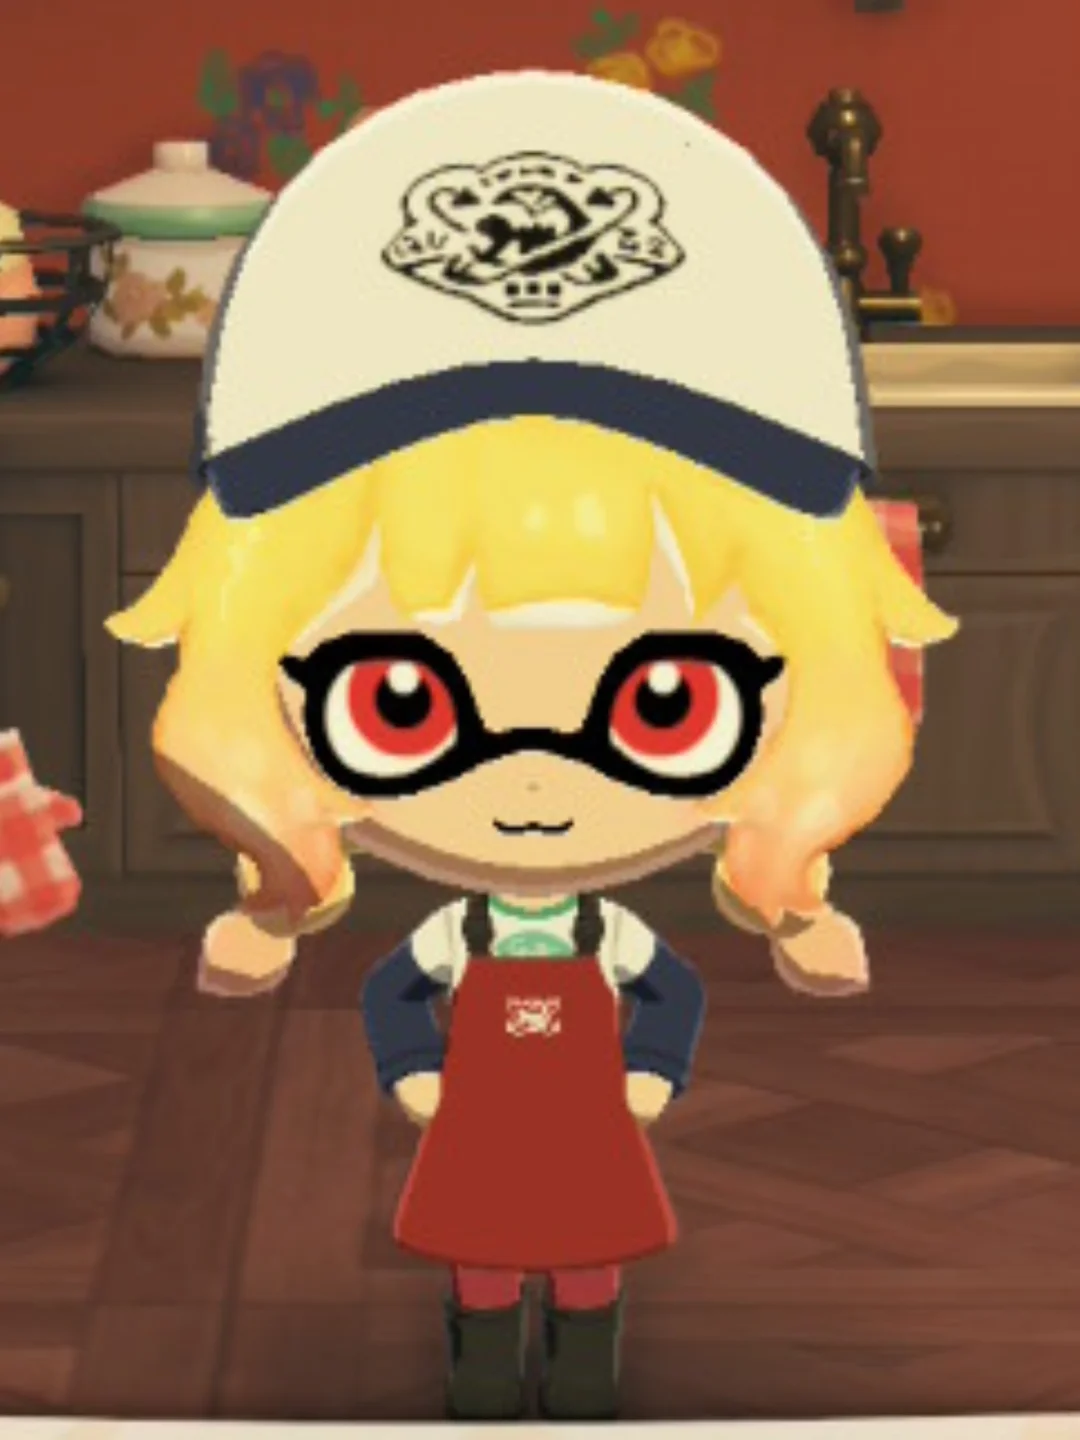
Tomodachi Life Spray Job Waterproof Jacket Pattern Sheet
by momo
Pattern sheet for a waterproof work jacket with suspenders and hat. Skirt and pants versions both available.
View Pattern Sheet →
Summer Outfit How-To: Park Stroll with Mii
by 烹瓦
Mii's strategy for beating the summer heat: sleeveless top, shorts, sandals, sunglasses, and a small bag for essentials! Plant-patterned pants are perfect for outdoor parks. The vibrant yellow-green outfit and accessories echo natural tree trunk brown for effortless summer style.
View Pattern Sheet →