Island Ground
Tomodachi Life Fringe Plaid Picnic Blanket With Pattern Sheet
Published 2026-05-17
Split the blanket into two parts: fringe as a flat object tile, center as ground terrain, so items can be placed on top.
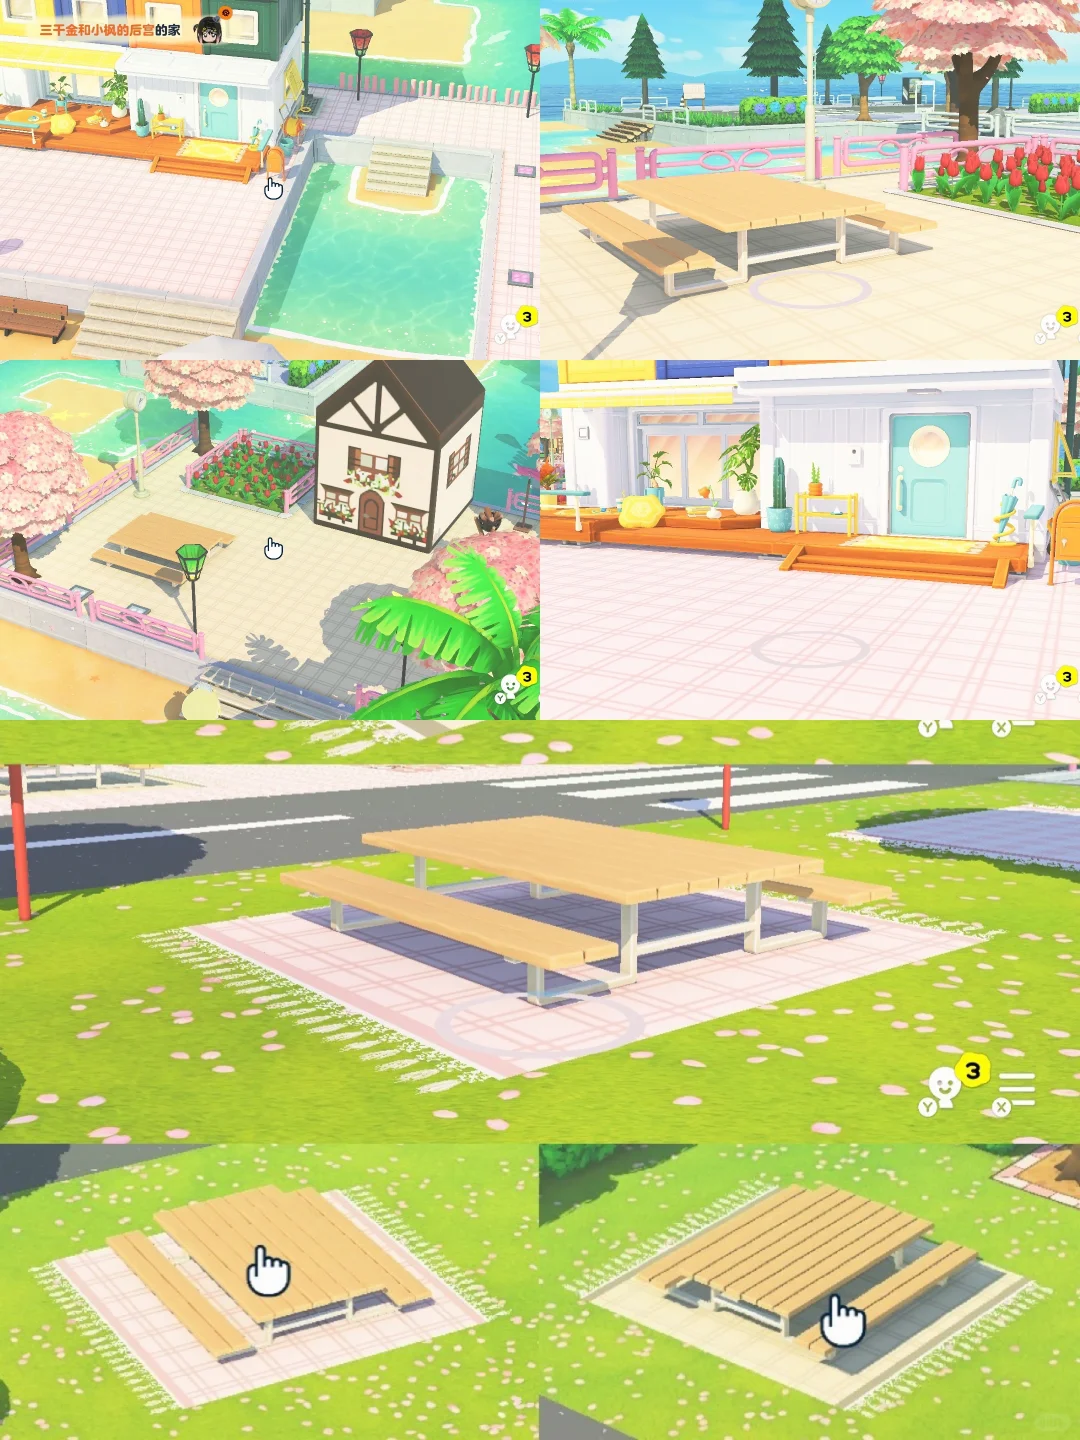
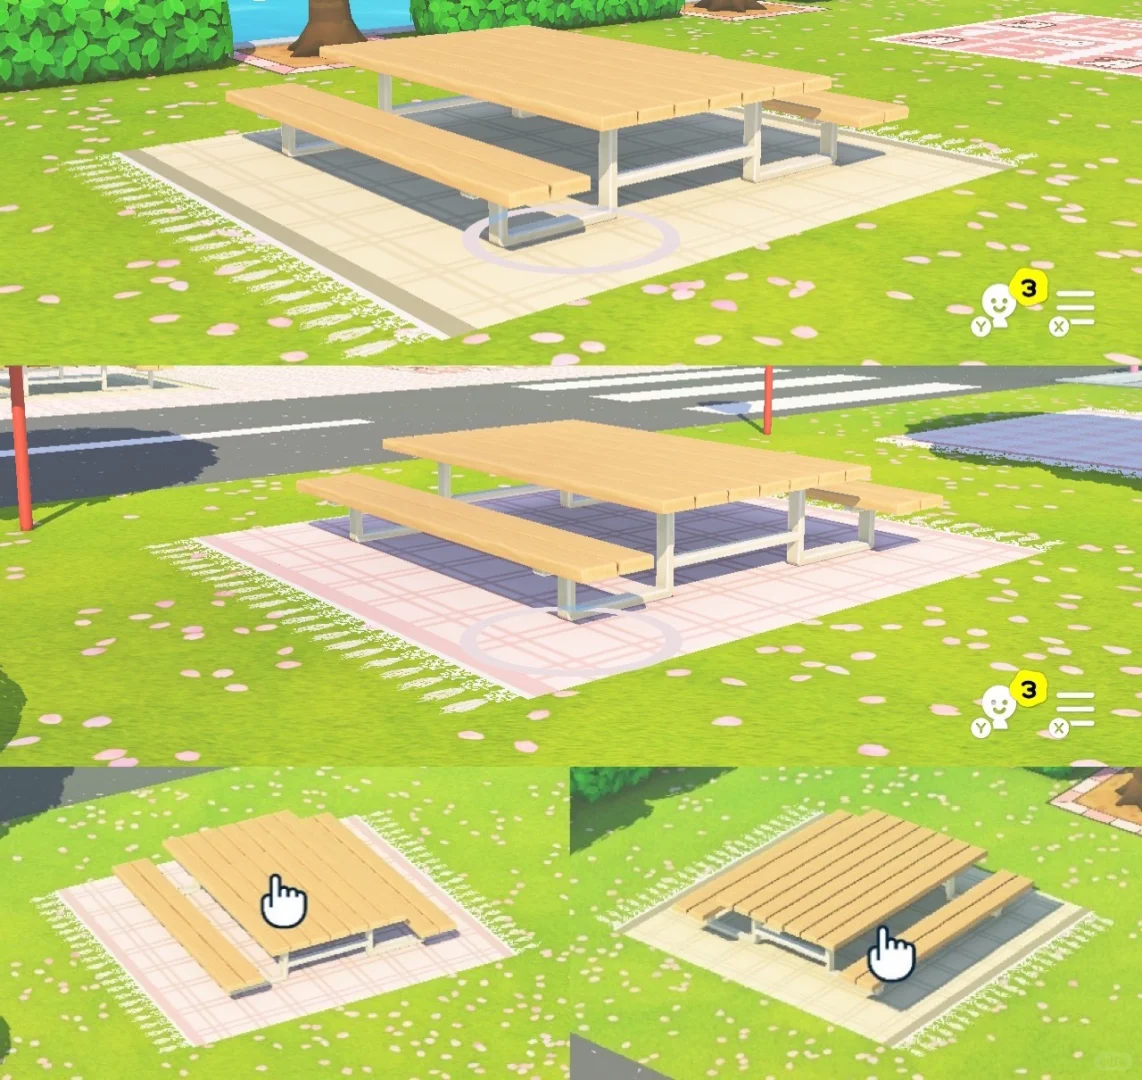
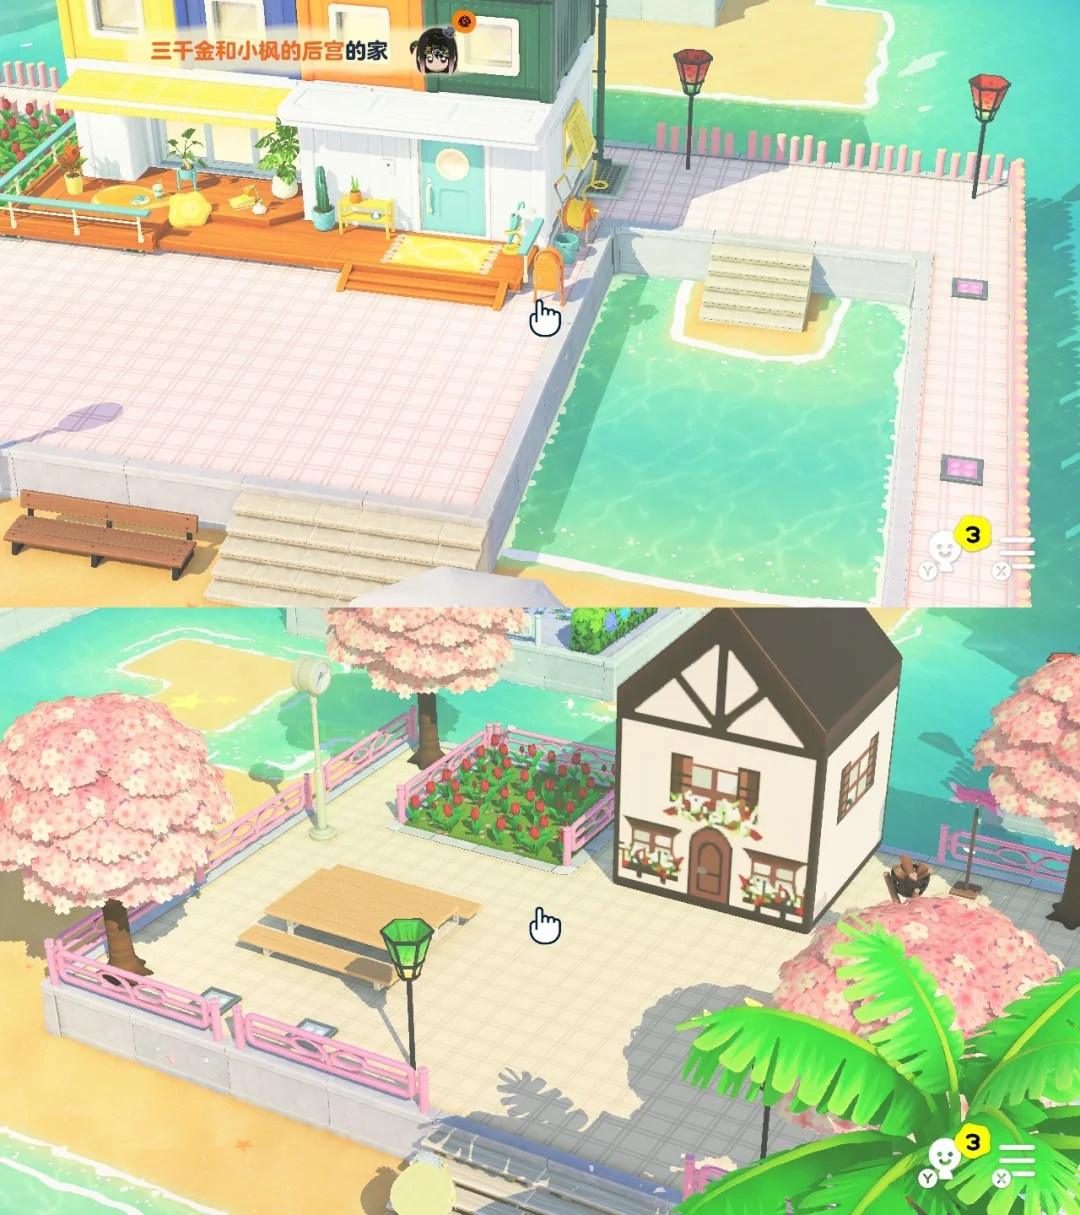
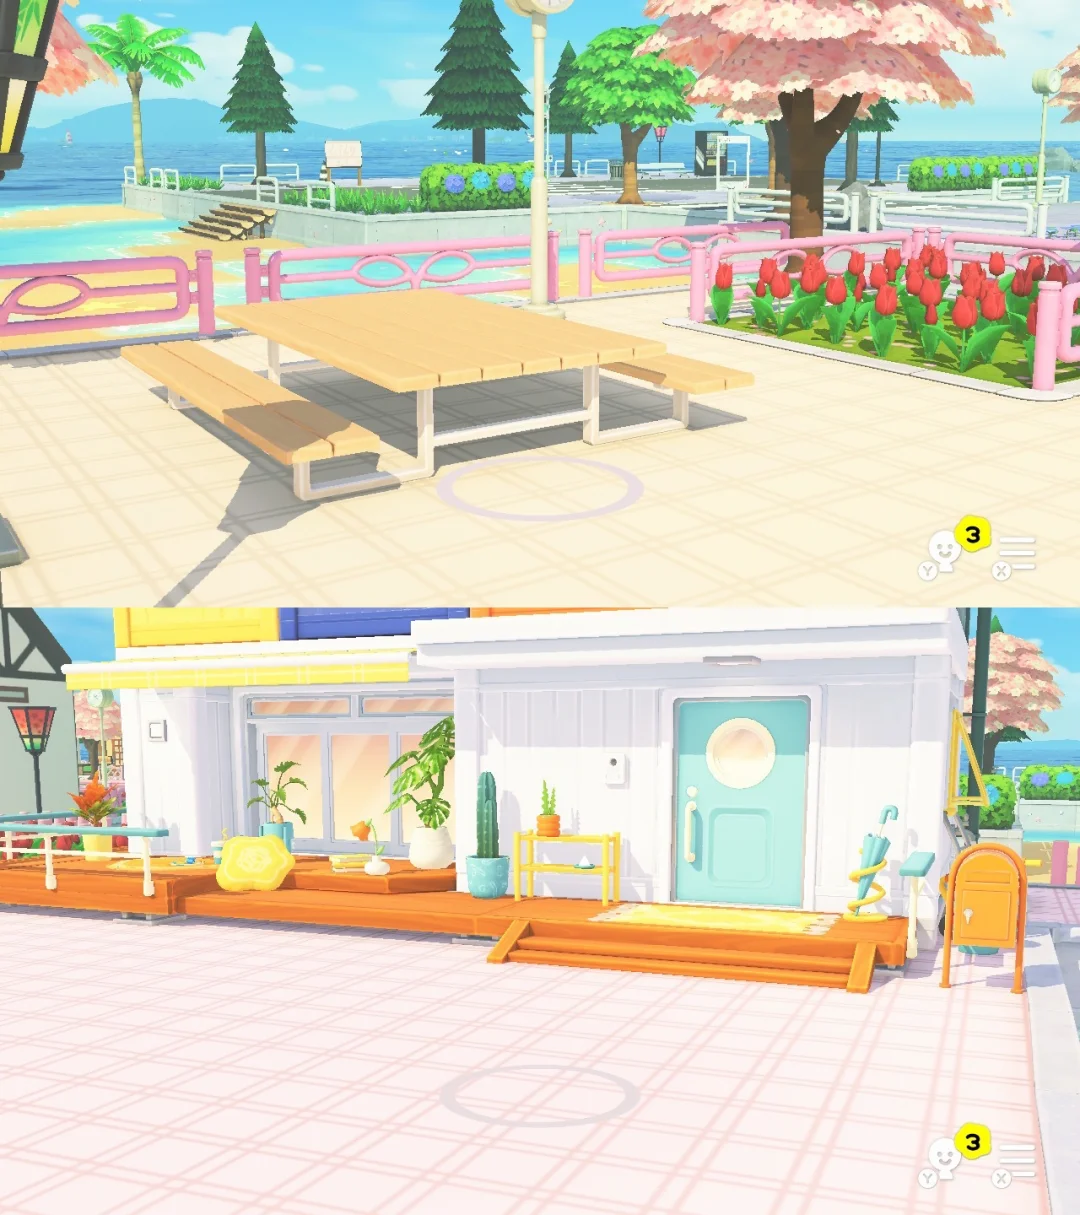
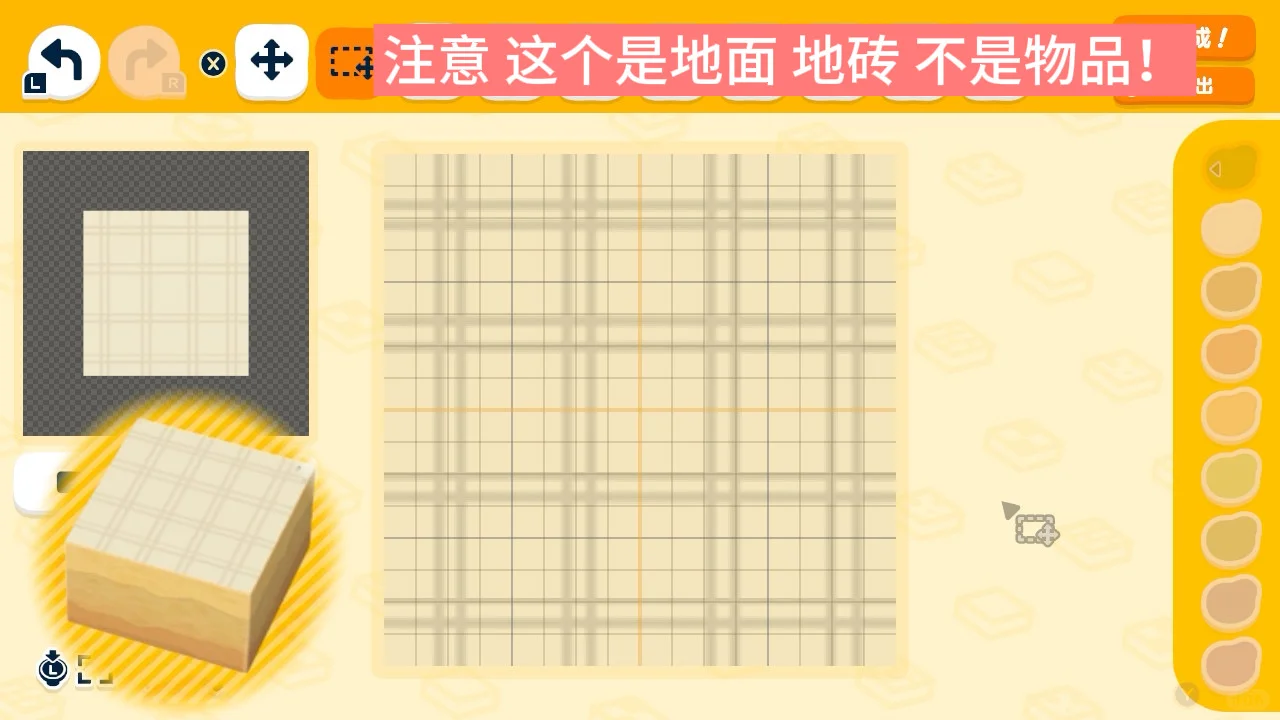
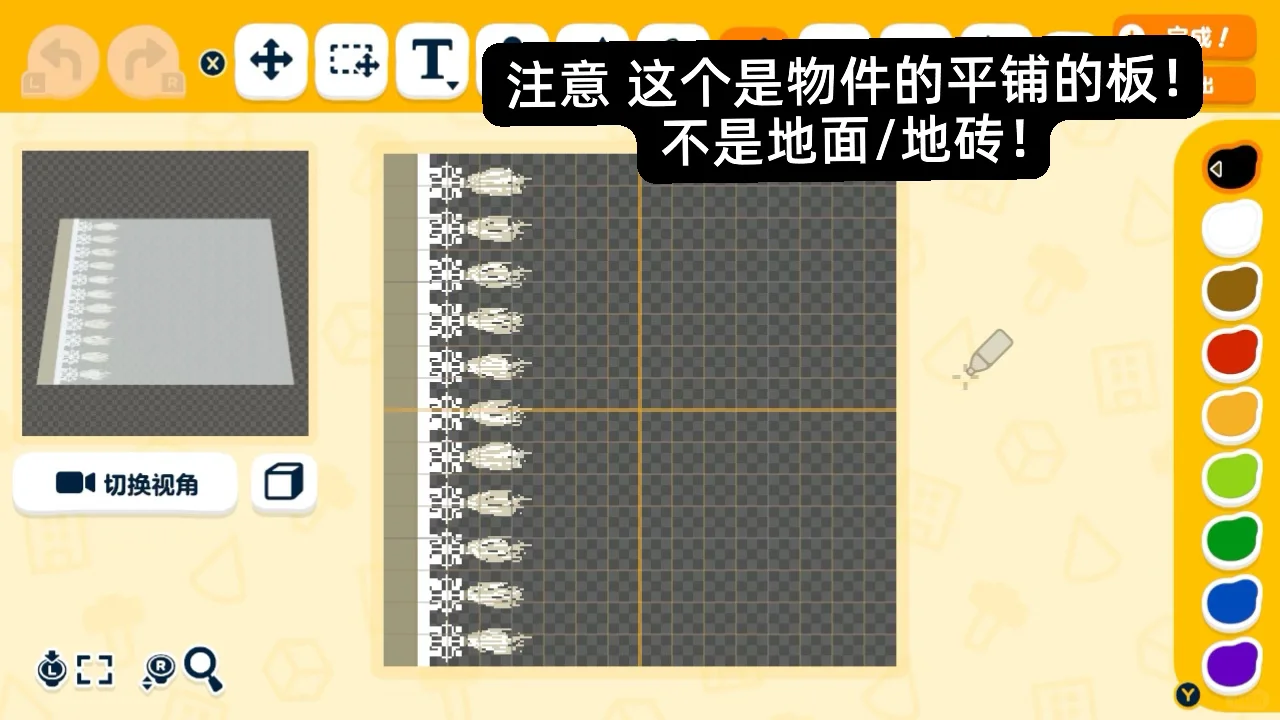
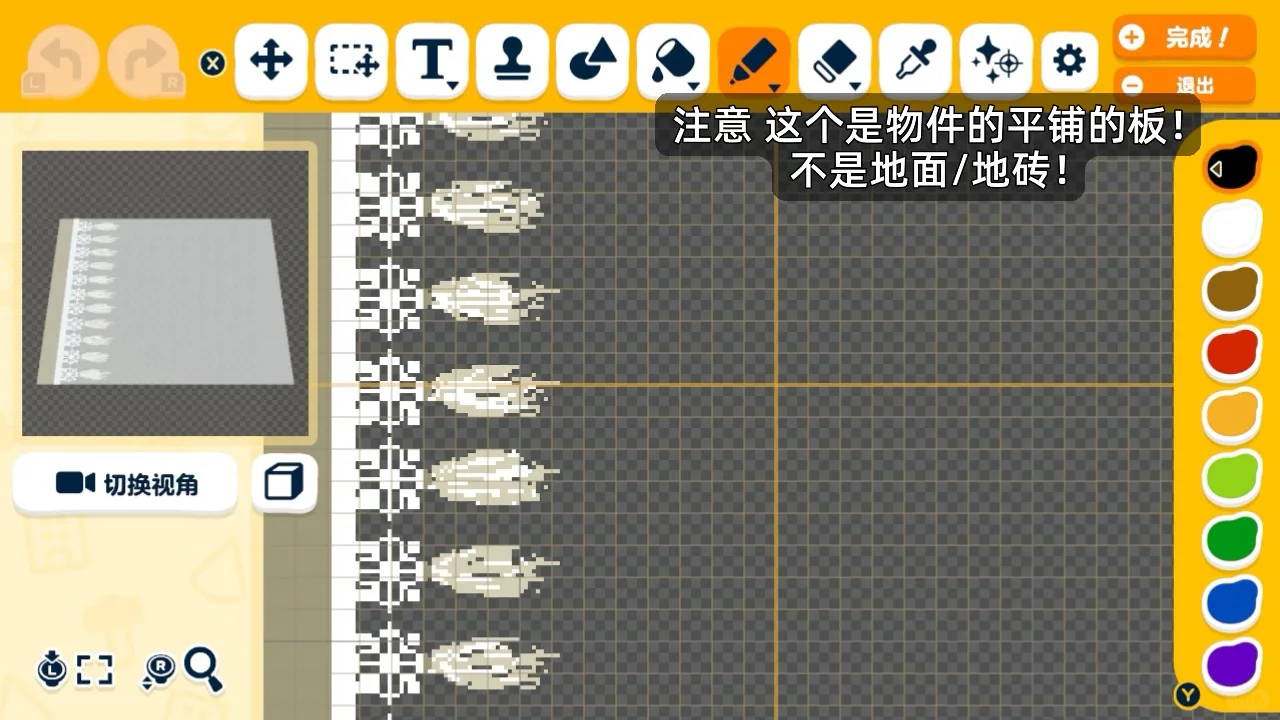
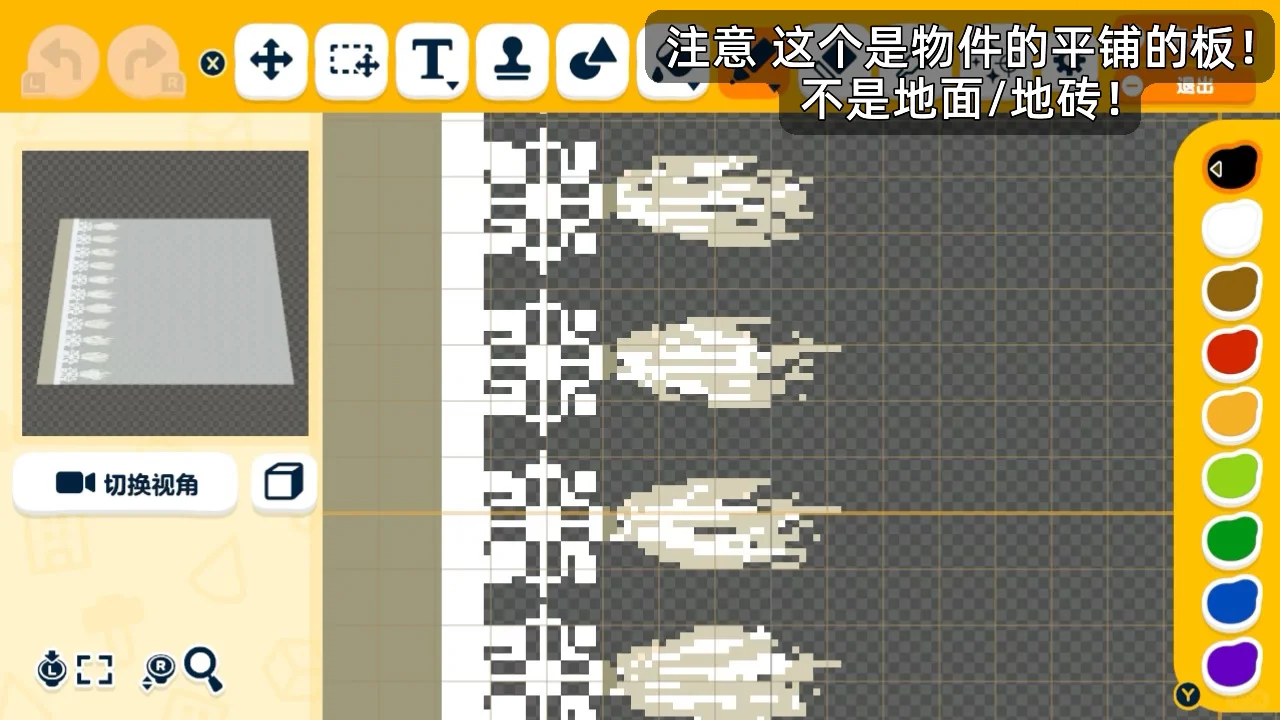
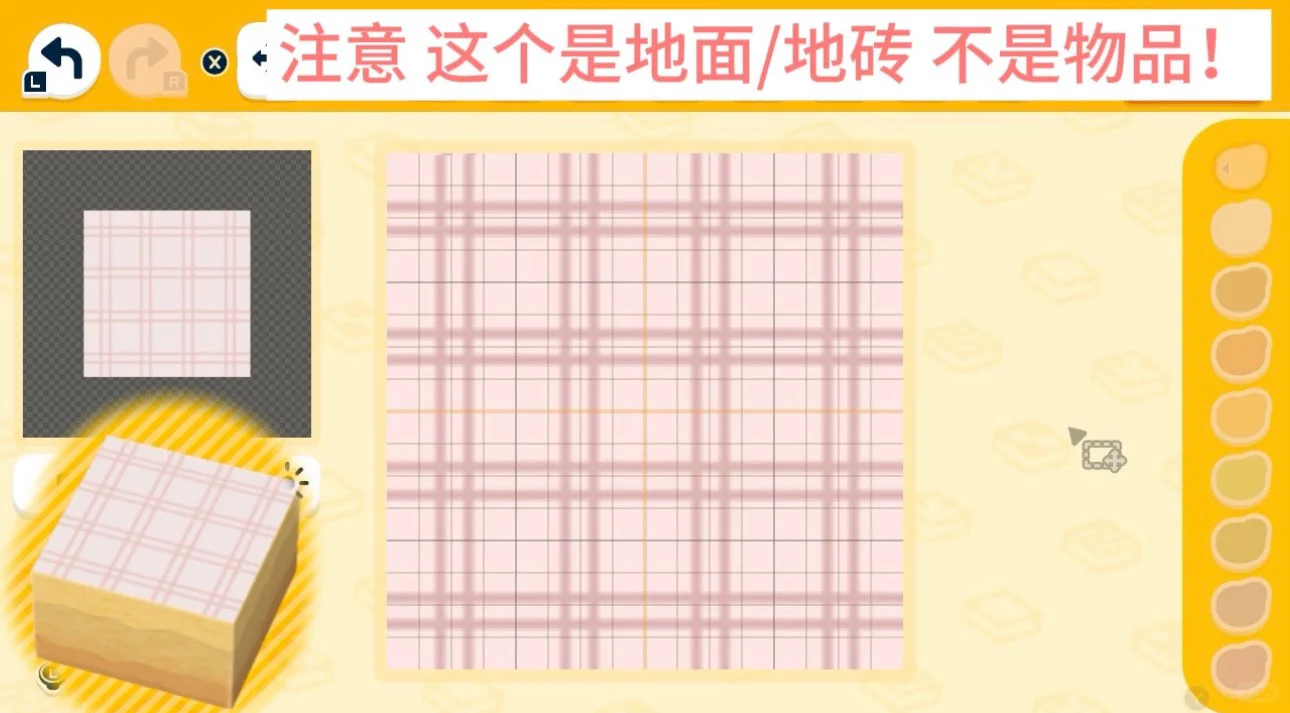
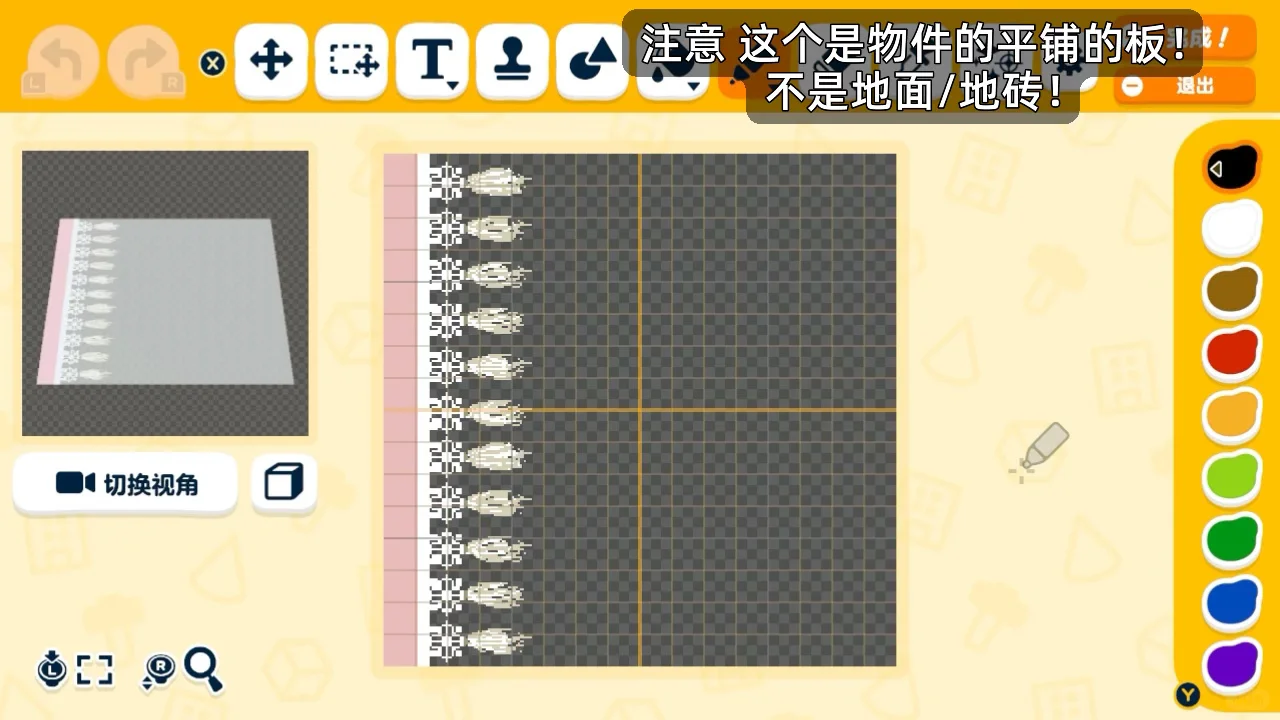
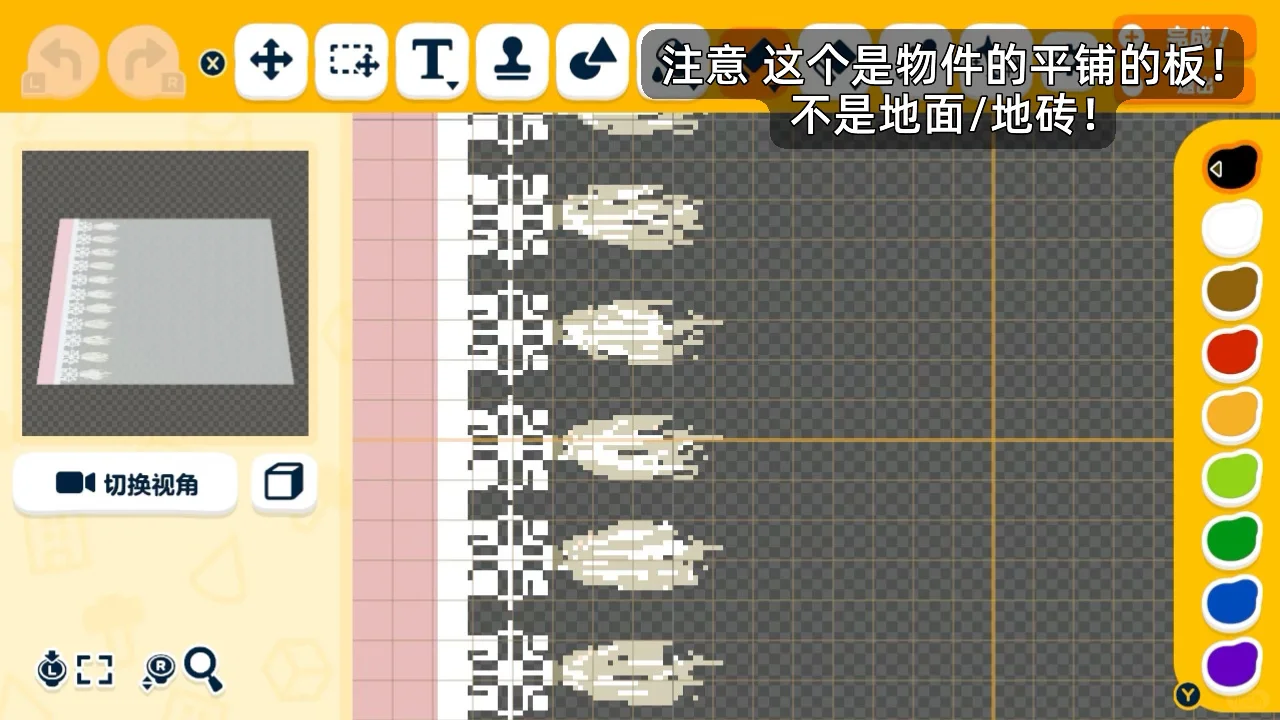
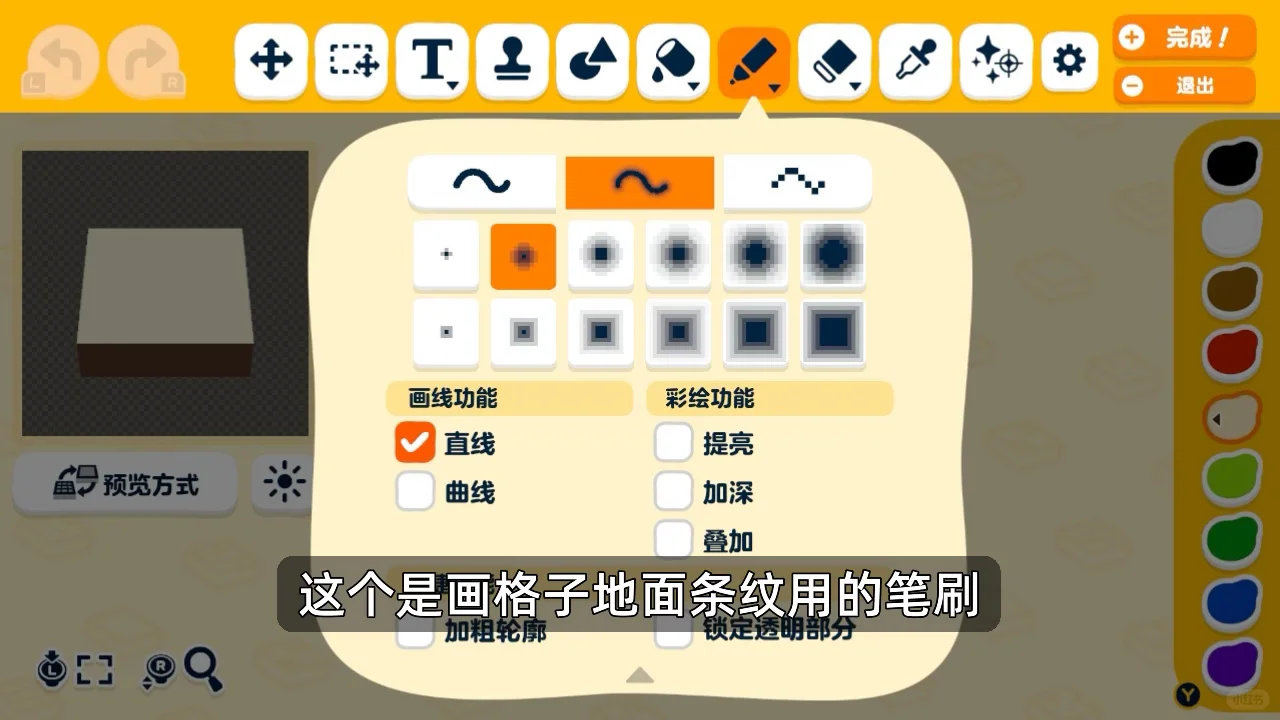
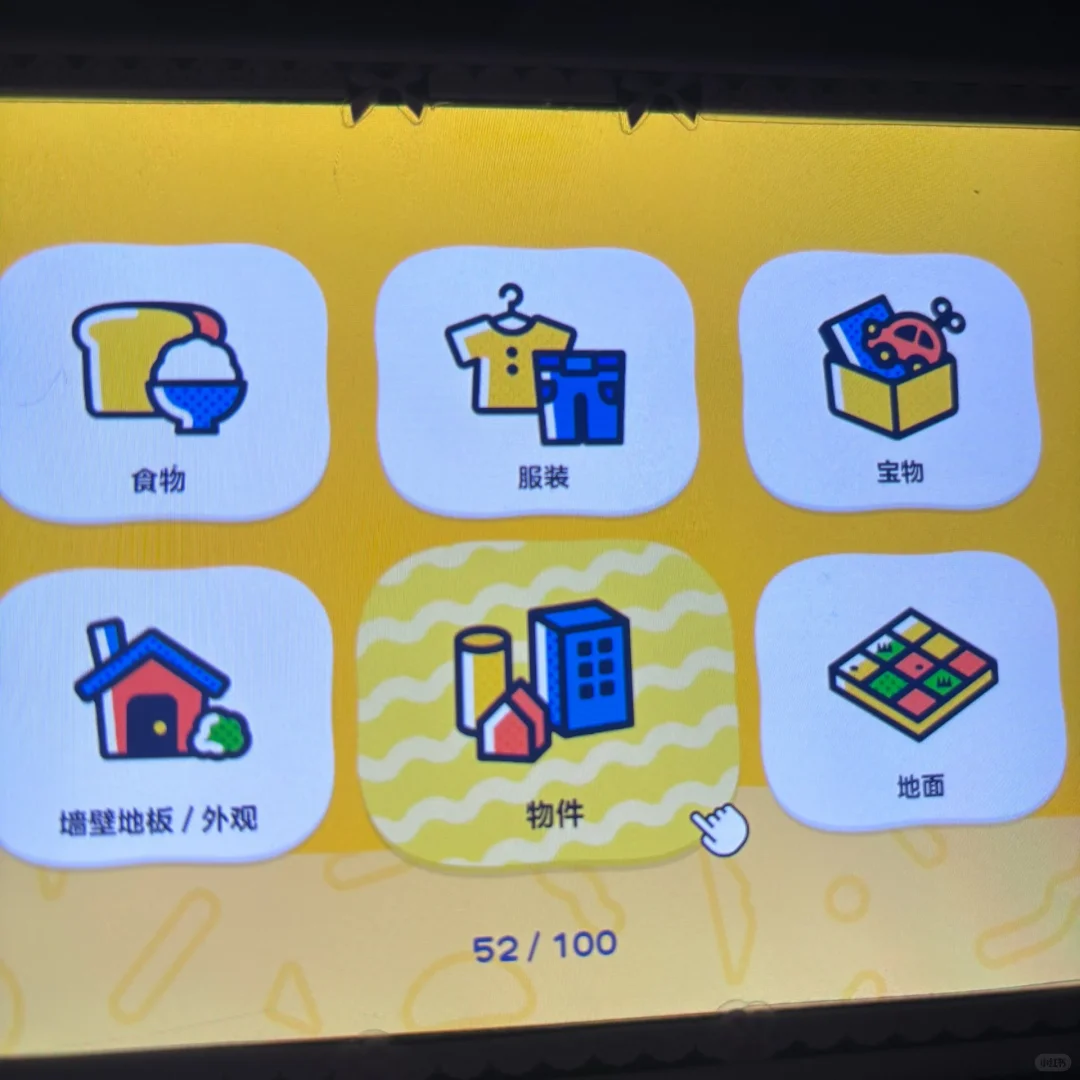
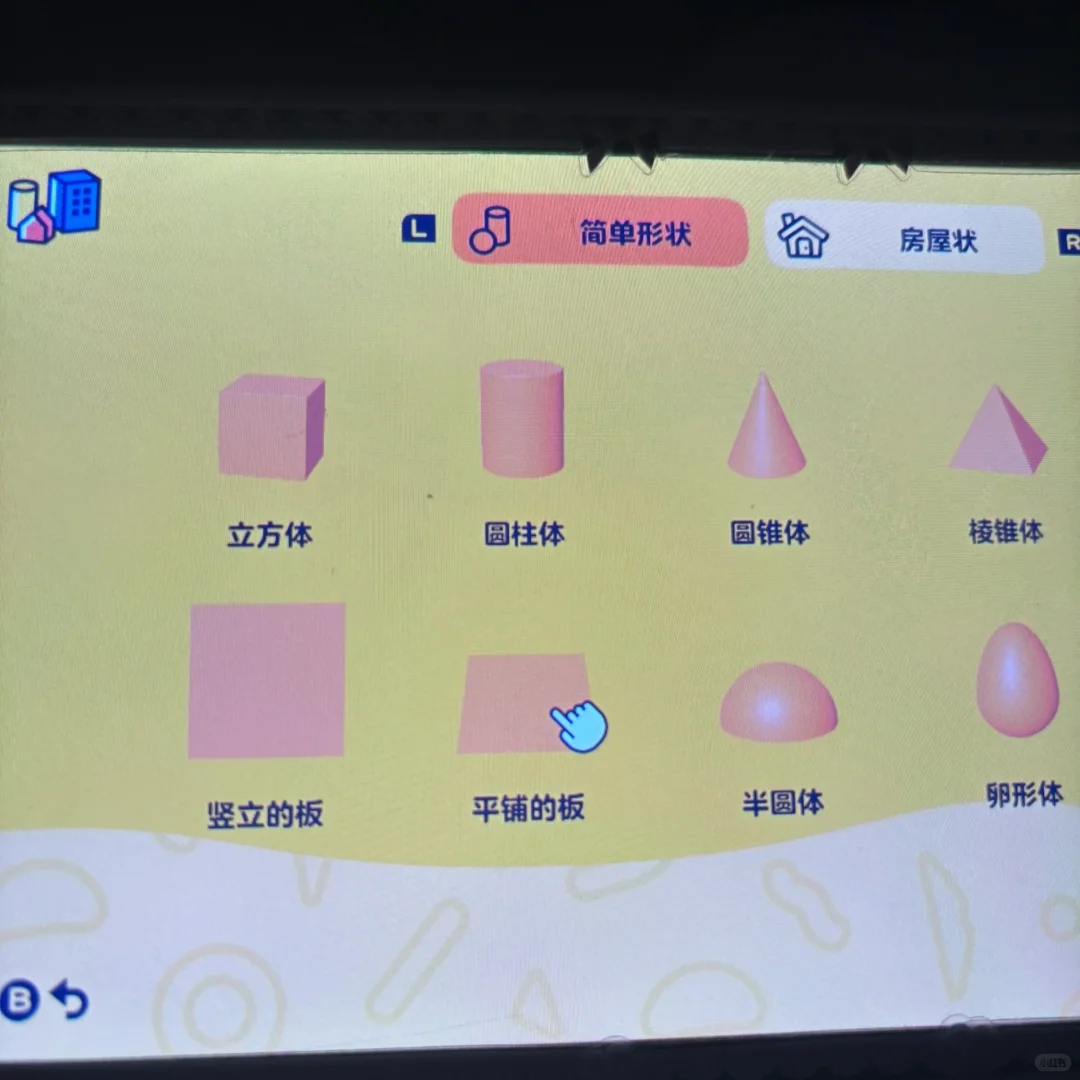
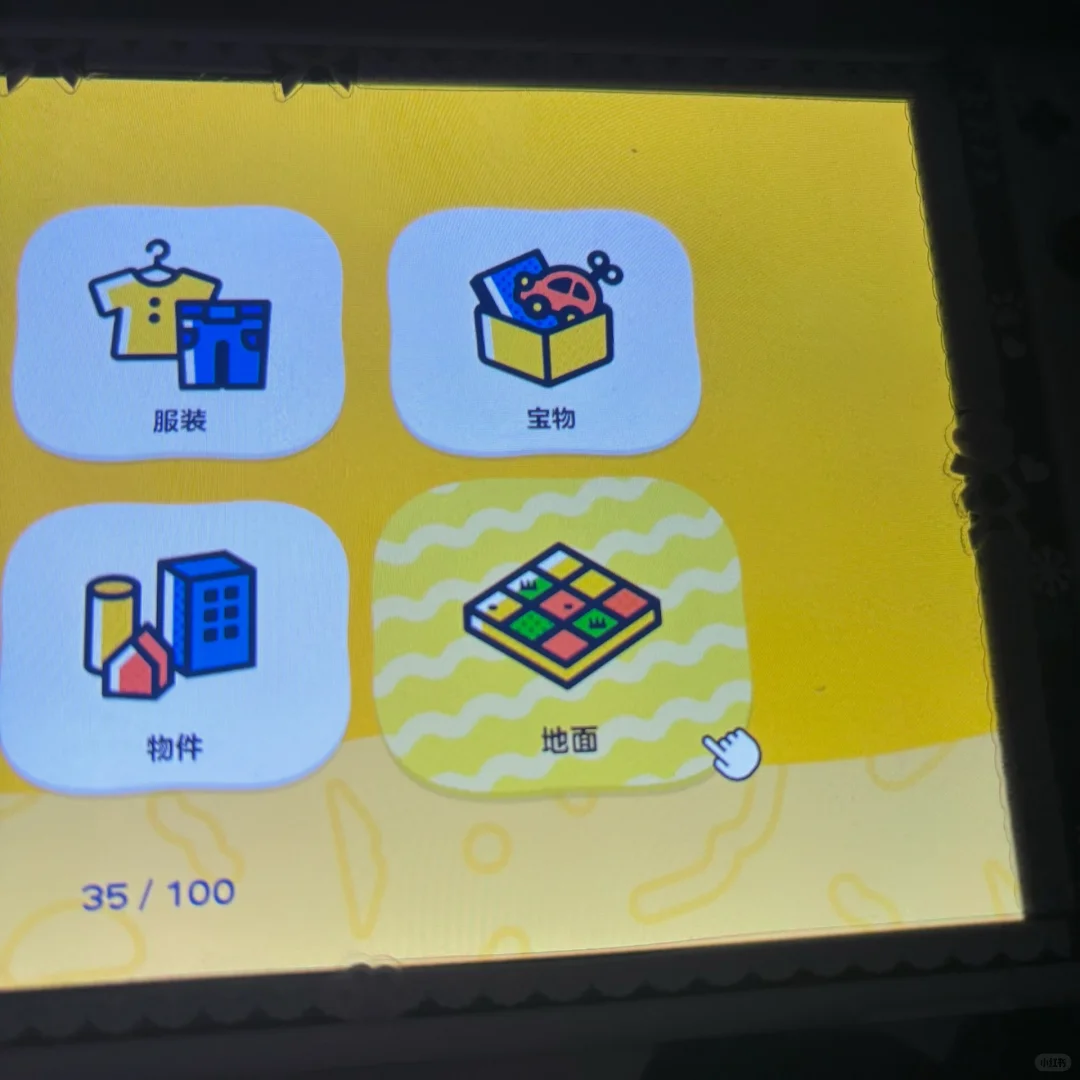
Making Steps
Editorial notes based on creator, source, or submitter information.
Editorial review: Jul 9, 2026
Recreation Notes ?
Tags
Recreation tips from the community
Share what you tried, tricky spots, unclear parts, or adjustment tips for this design.
Comment guidelines
Only share variations or links when the original creator allows copying, edits, or derivative works.
Keep comments on topic. No trading requests, attacks, harassment, spam, or inappropriate content.
Comments appear after review. Published notes are visitor experiences, not official verification.
No published comments yet.
Related patterns
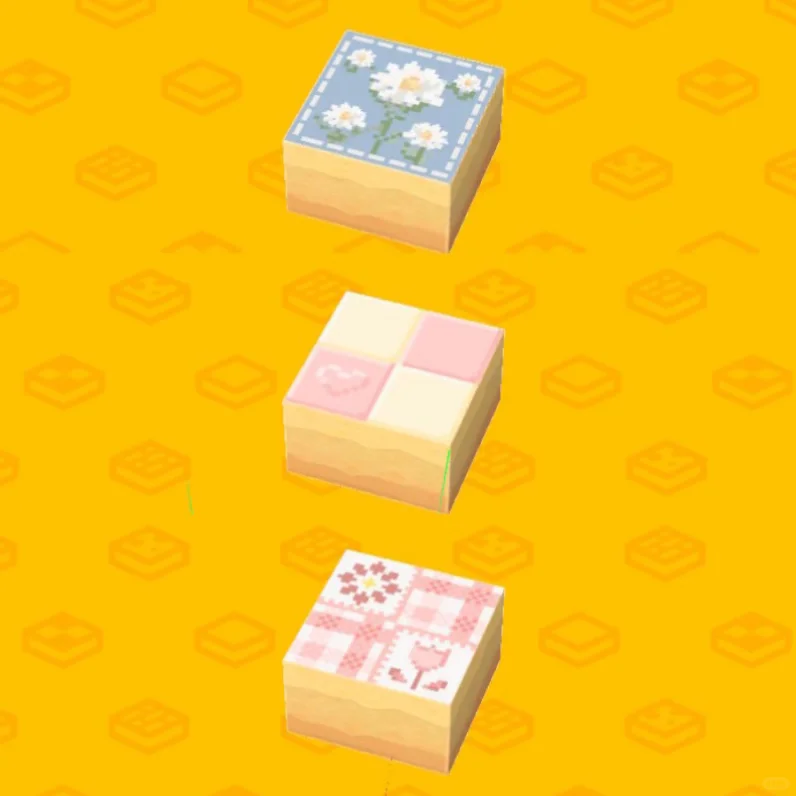
Three Tomodachi Life Floor Pattern Sheets
by 感谢每一顿饭
Three floor patterns adapted for Tomodachi Life's canvas. Includes floral, grid, and highlight ground designs.
View Pattern Sheet →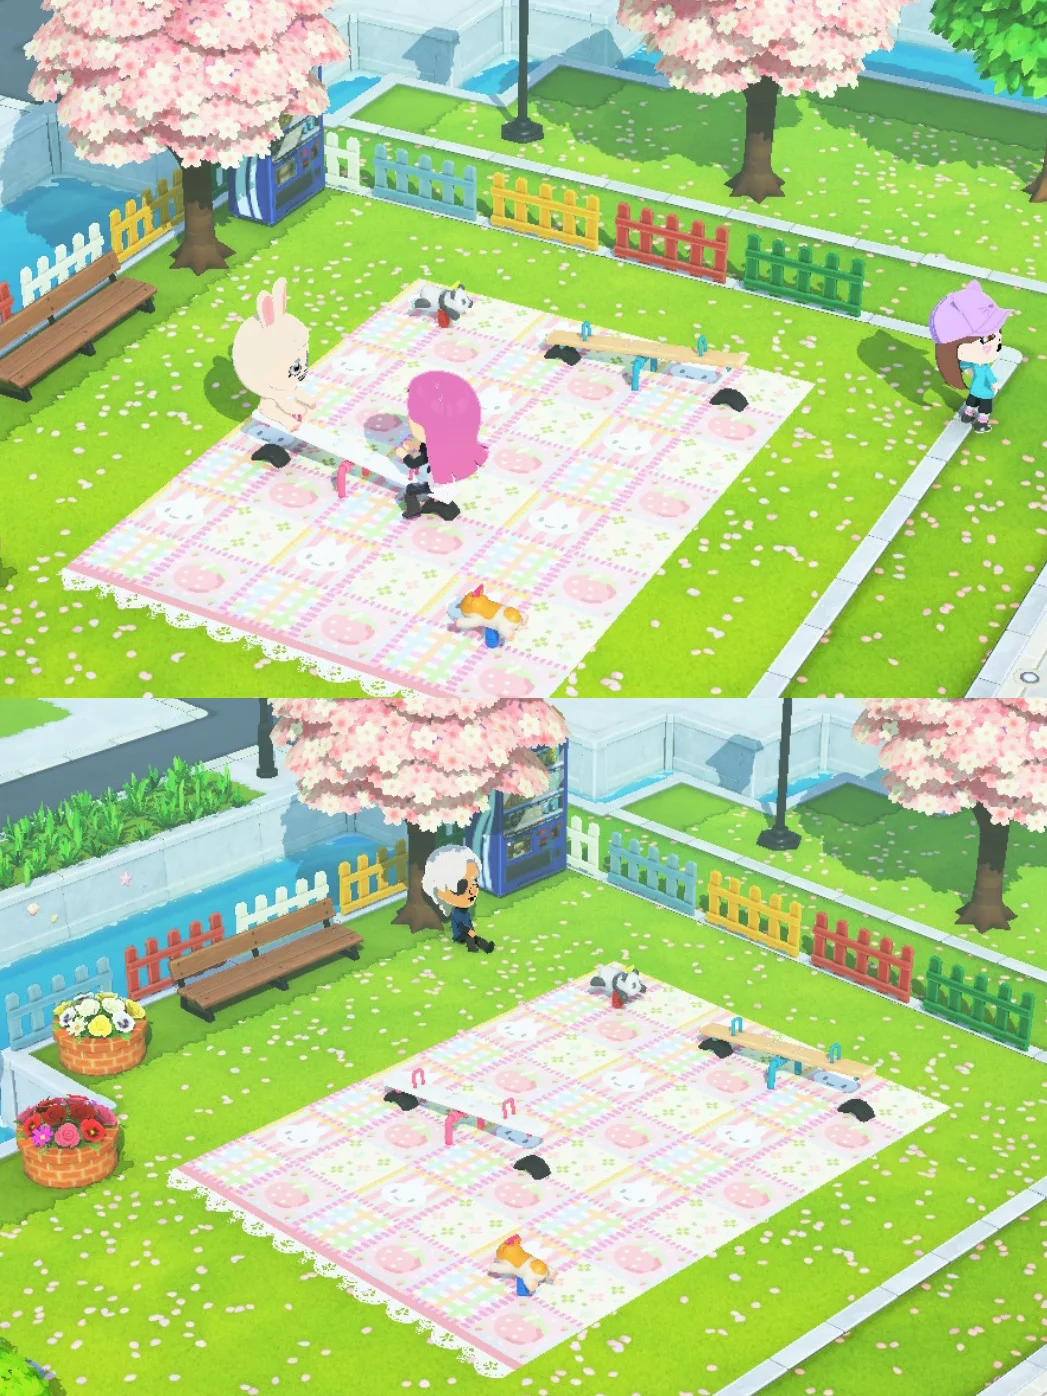
Spring Amusement Park Playful Floor Pattern for Tomodachi Life
by 序默默
A hand-drawn spring amusement park floor design. Pattern sheet on p3 — colors appear darker but look lighter in-game.
View Pattern Sheet →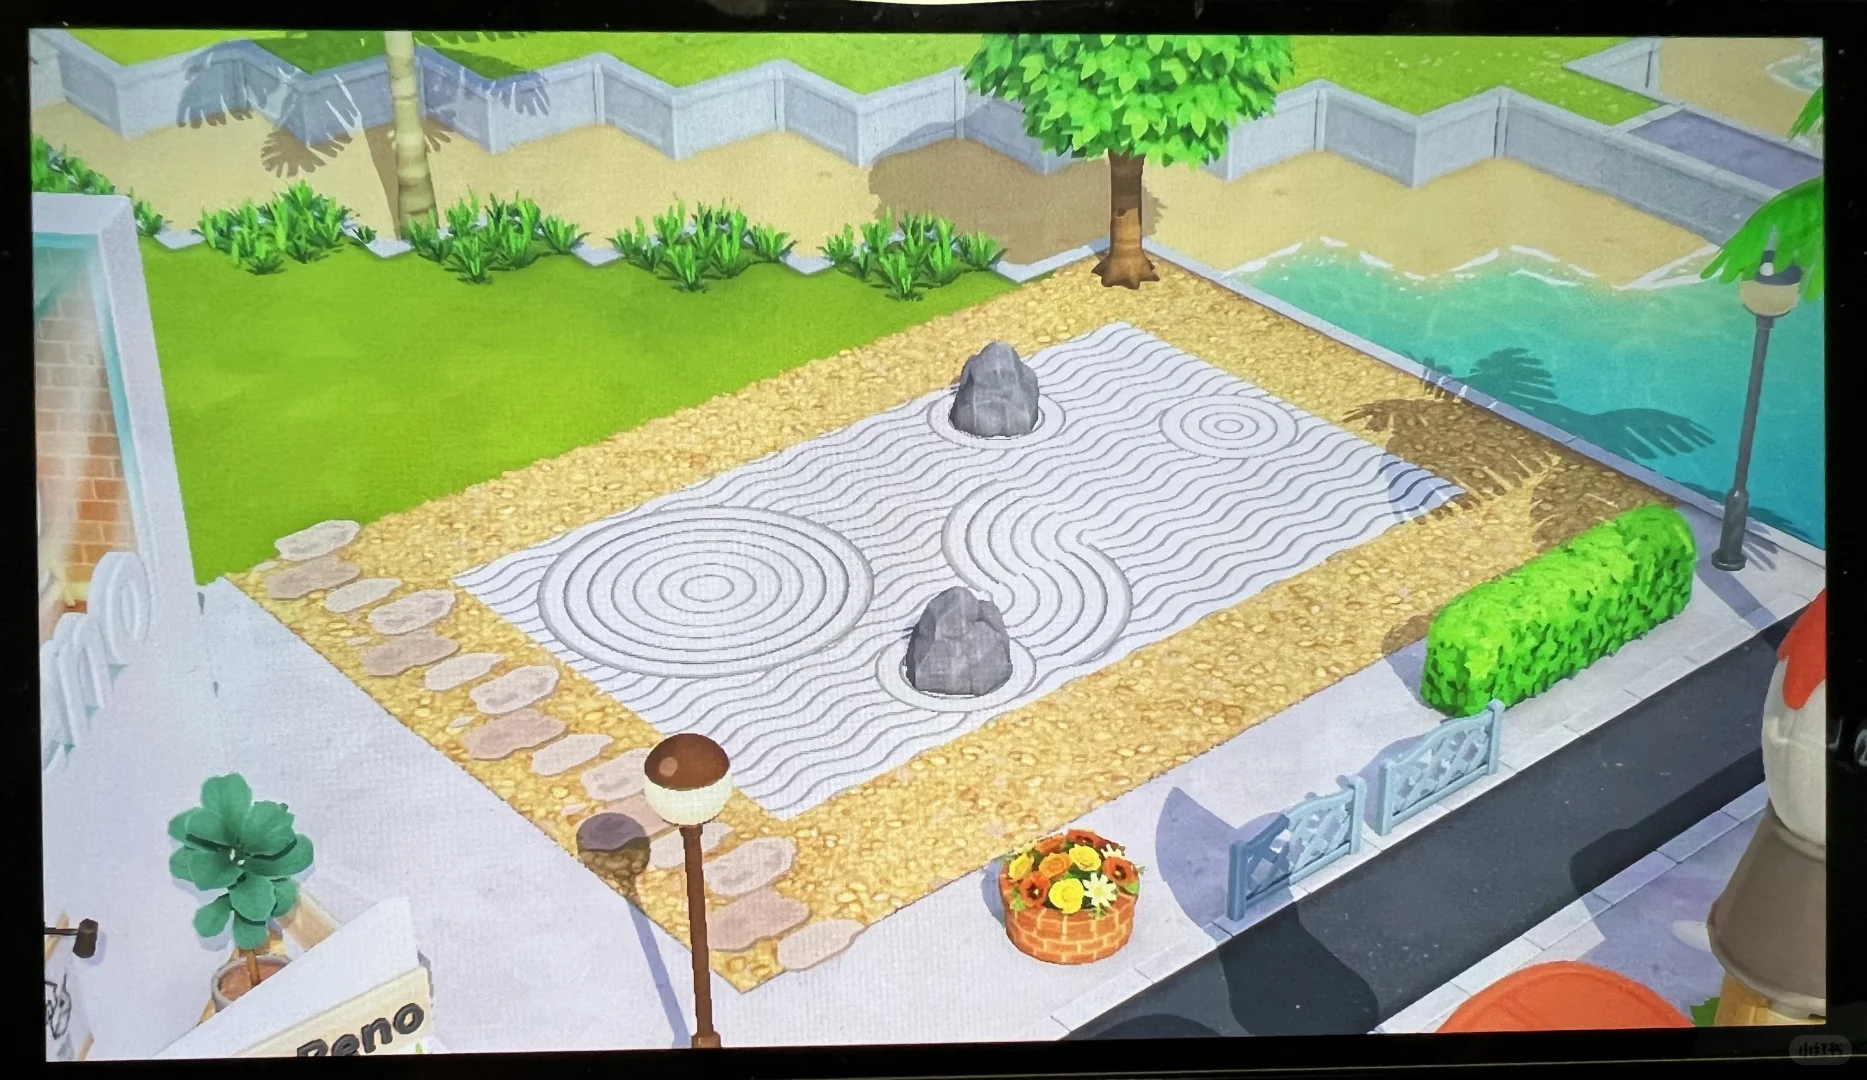
Zen Garden Karesansui Floor Tiles for Tomodachi Life
by 小鱼温泉享受者
Inspired by a Animal Crossing karesansui design, these zen garden floor tiles can be freely combined and paired with in-game rocks.
View Pattern Sheet →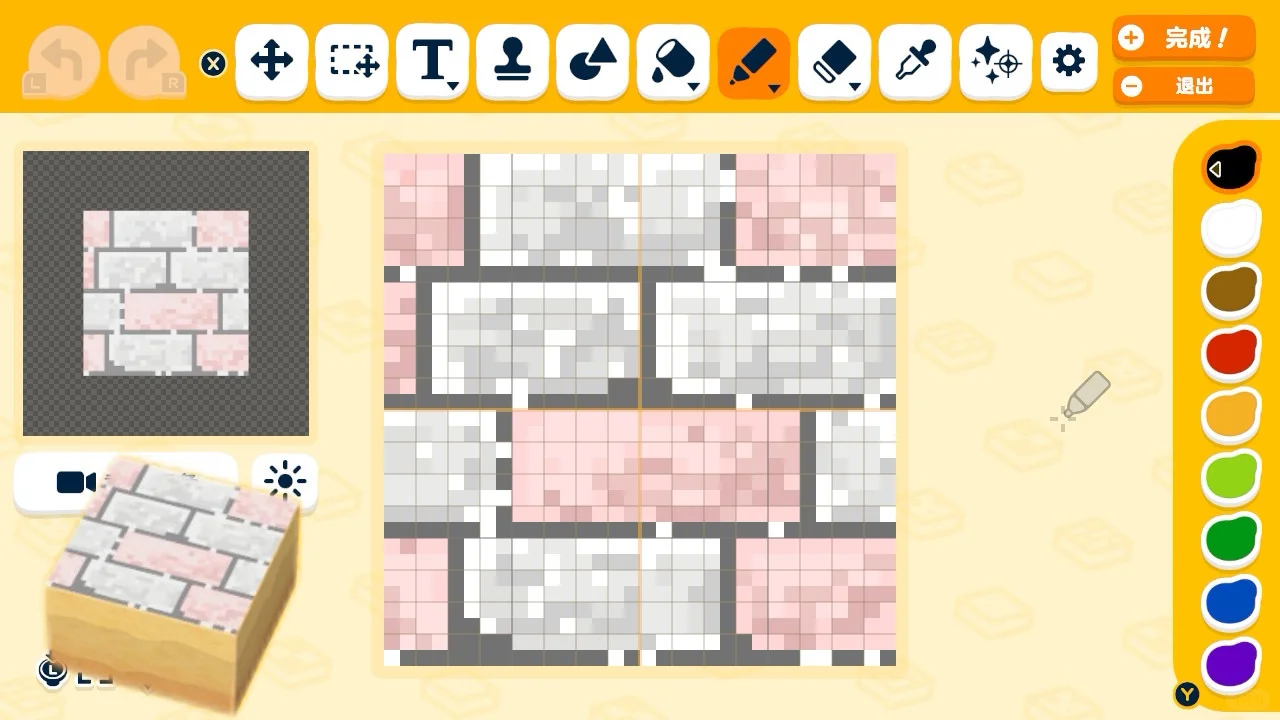
Pink and Gray Stone Tile Ground Pattern for Tomodachi Life
by 感谢每一顿饭
A pink-gray ground tile design, improved from a previous blue tile. Draw gray outlines and dot with various shades of pink and gray.
View Pattern Sheet →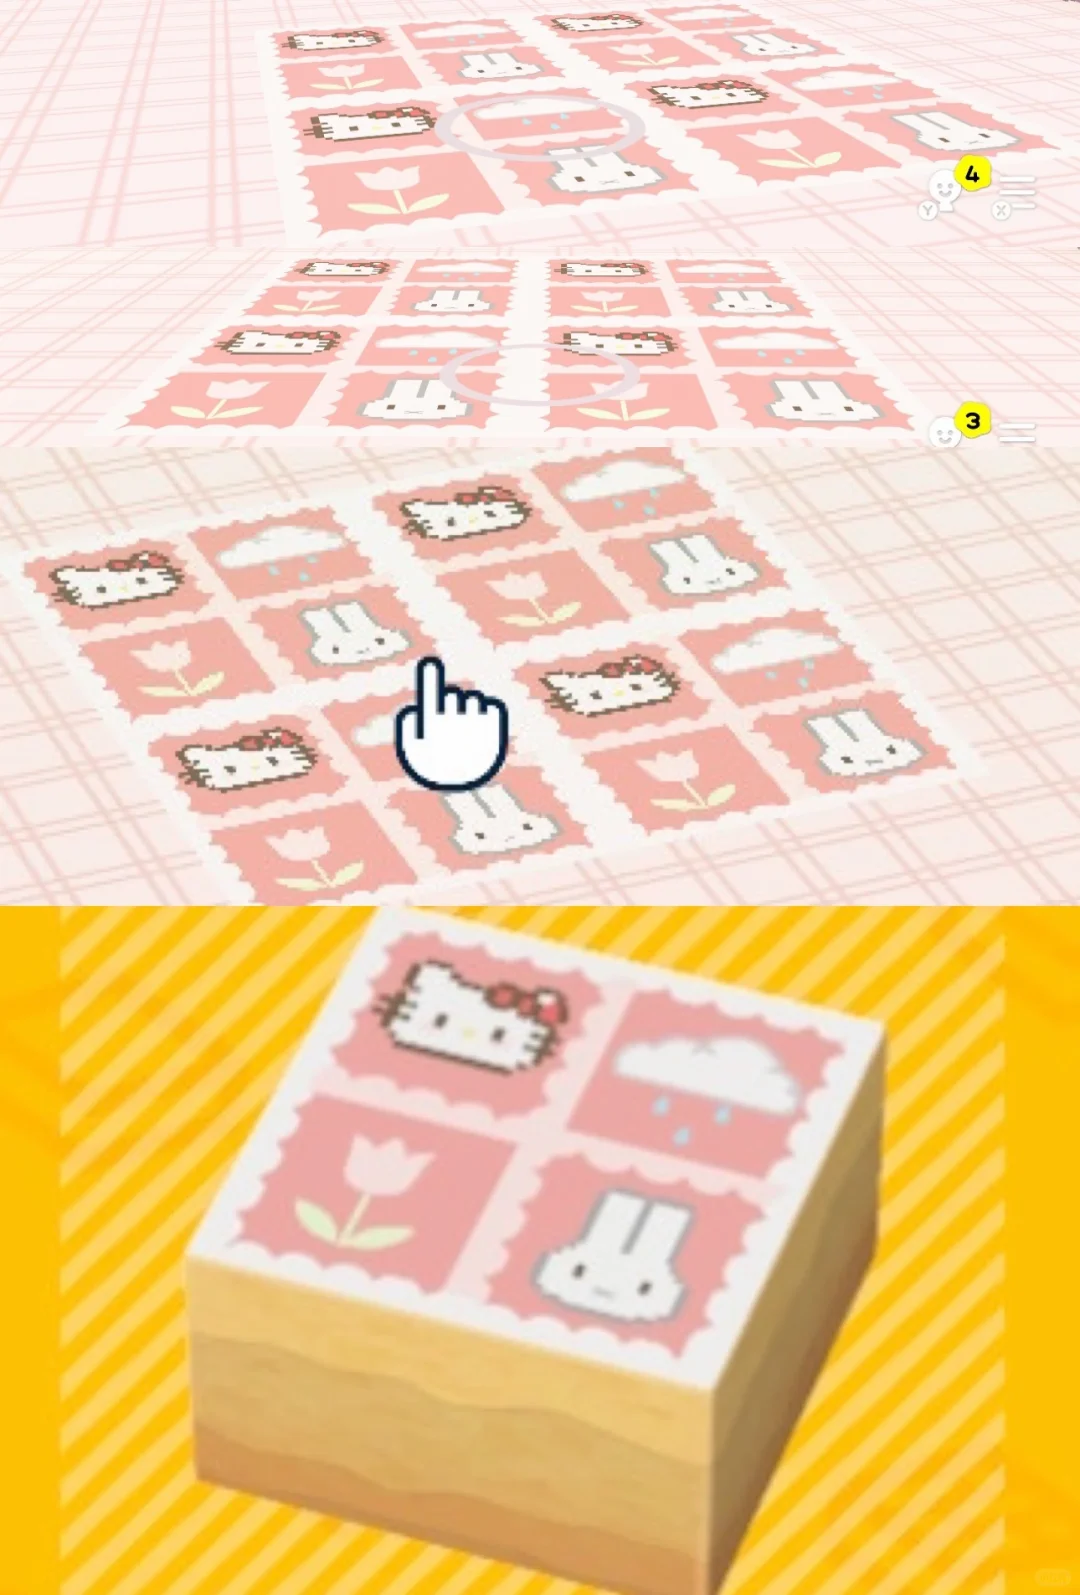
Hello Kitty and Miffy Cloud Ground Tile Pattern Sheet
by 感谢每一顿饭
Cute cloud-themed ground tiles featuring Hello Kitty and Miffy. Includes a pattern sheet and supports placed objects on top.
View Pattern Sheet →