Tutorial
Ten-Minute Clover Bush Tutorial for Tomodachi Life
Published 2026-06-08
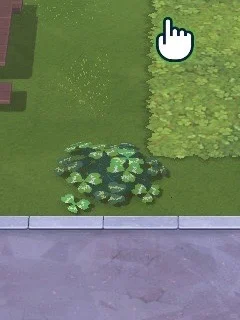
Learn to build a clover bush using stamp tools and layered shading. Full steps on pages p3–p7.

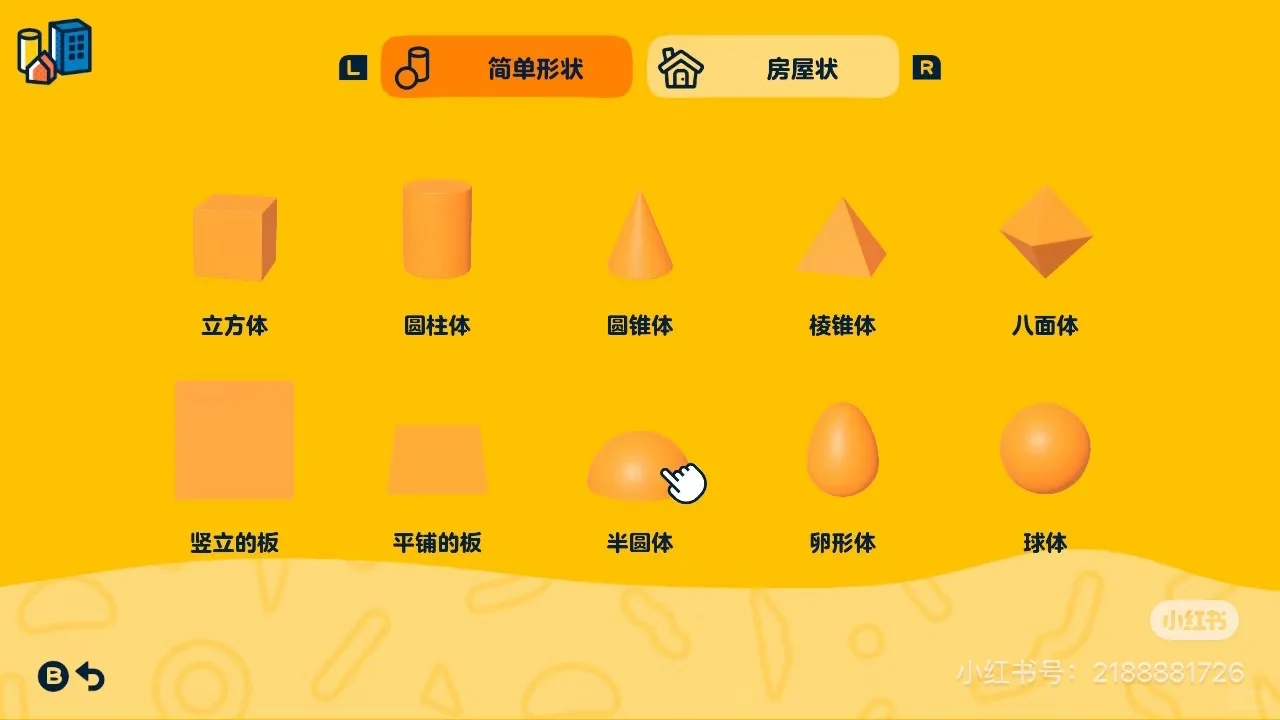
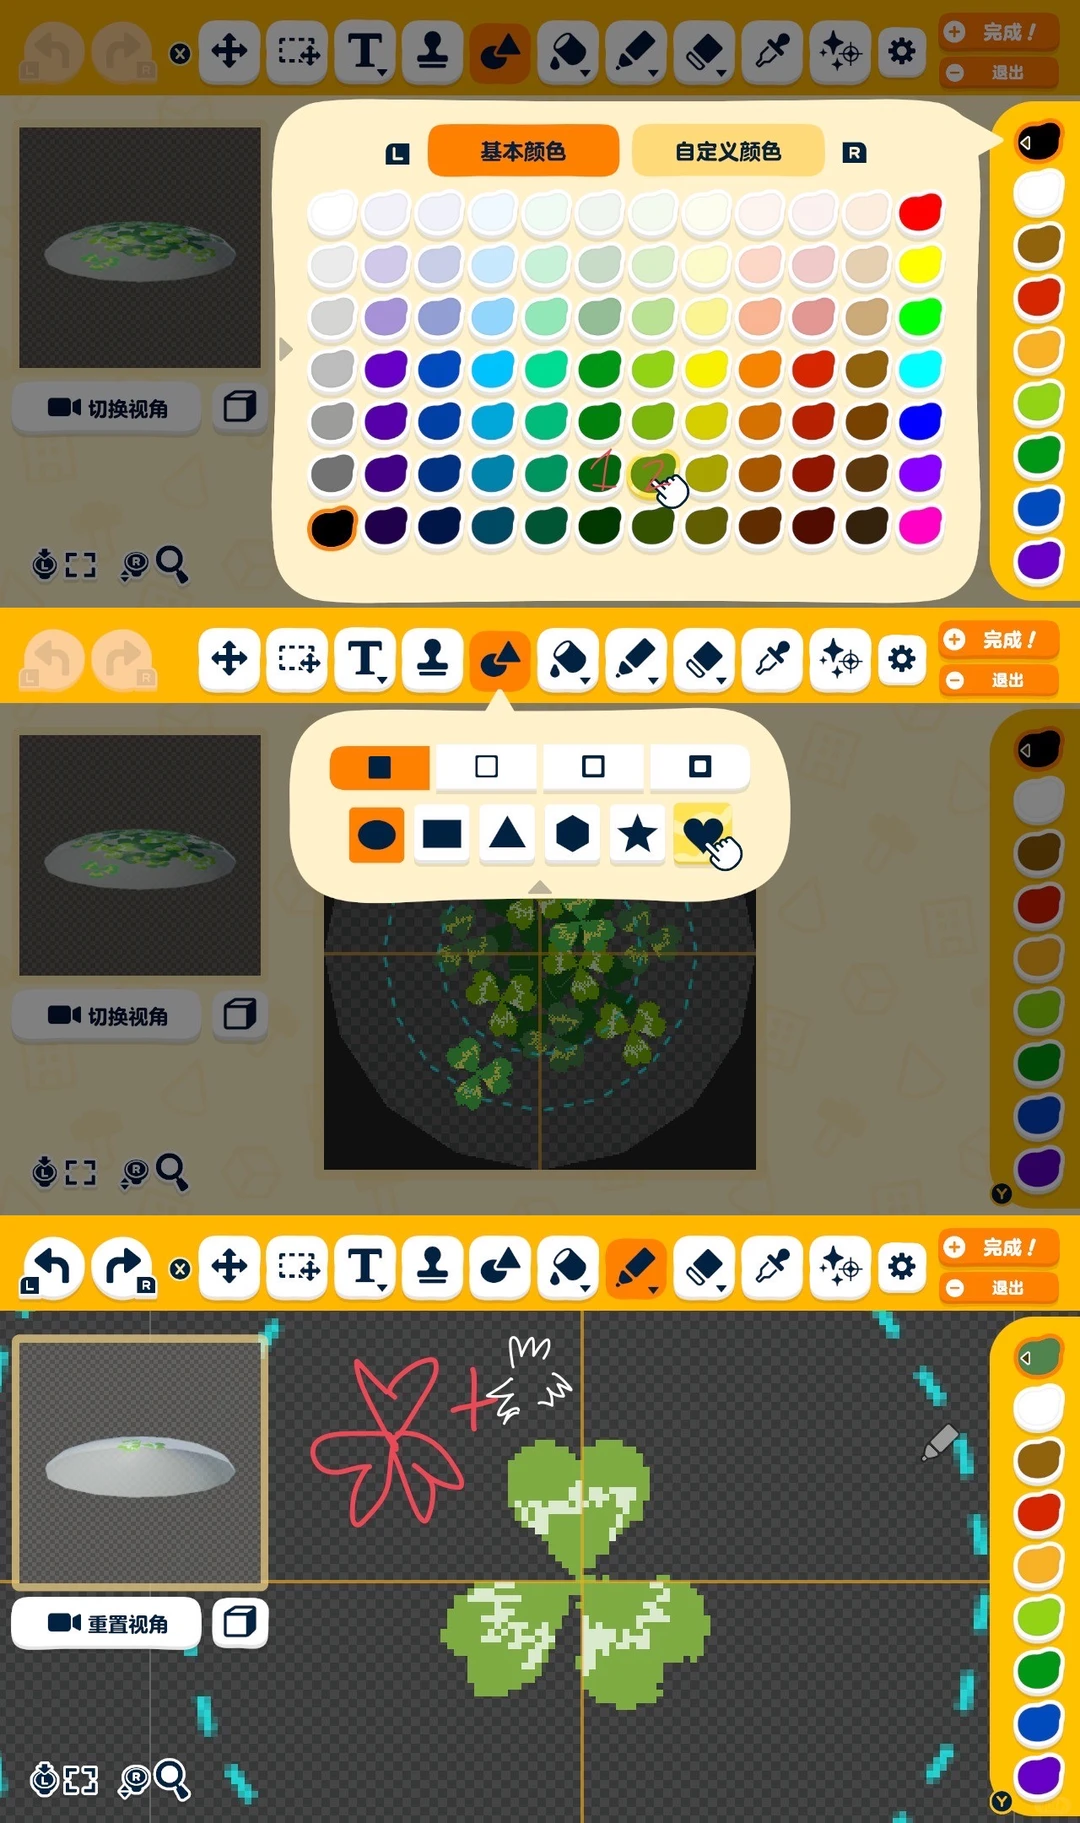
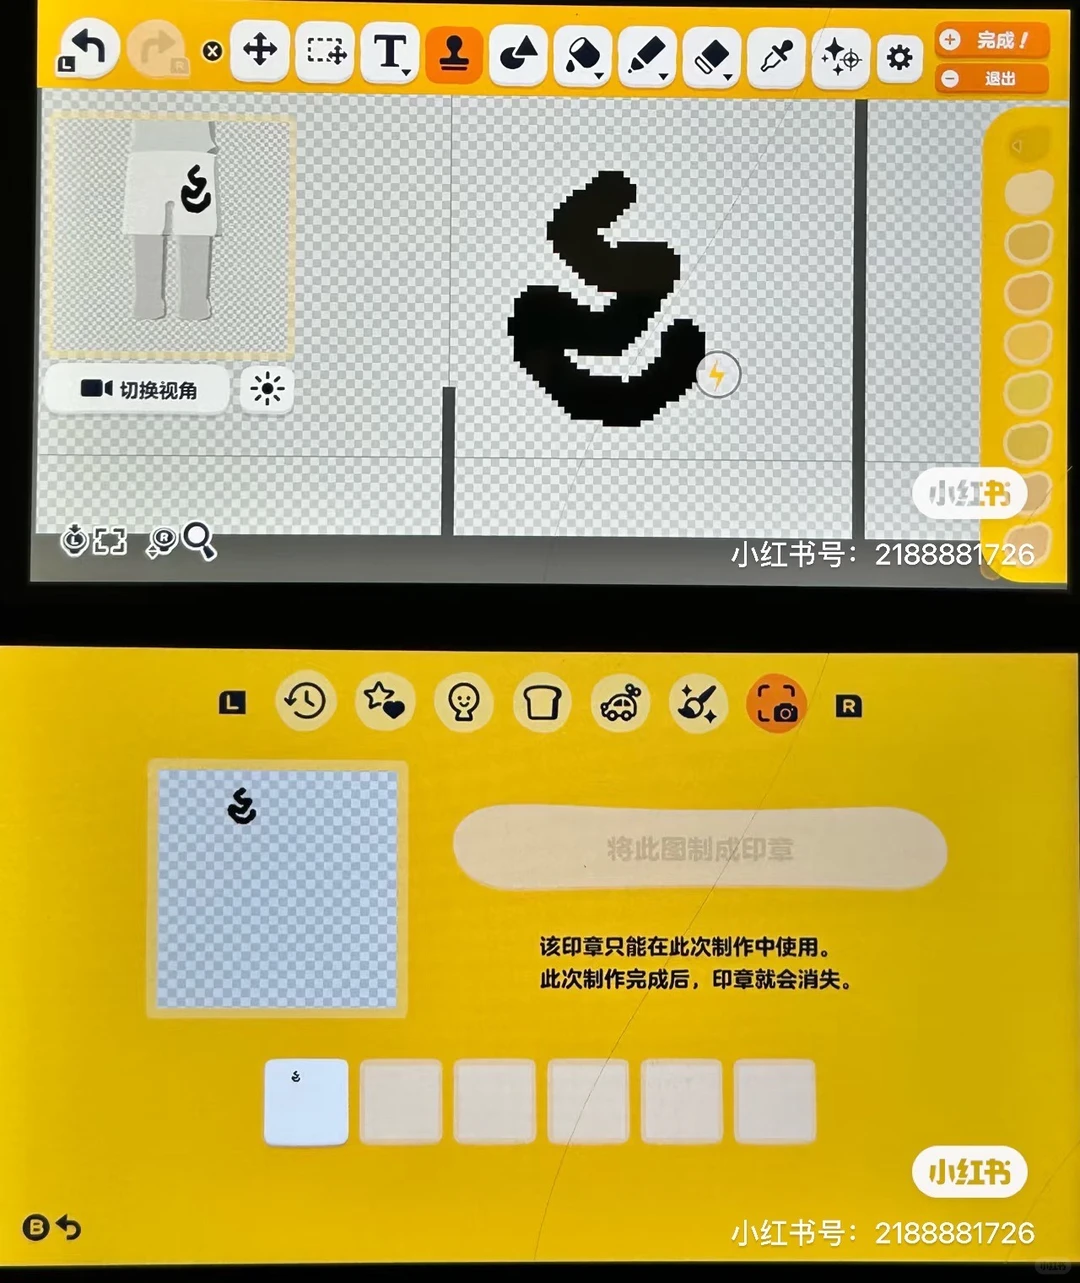
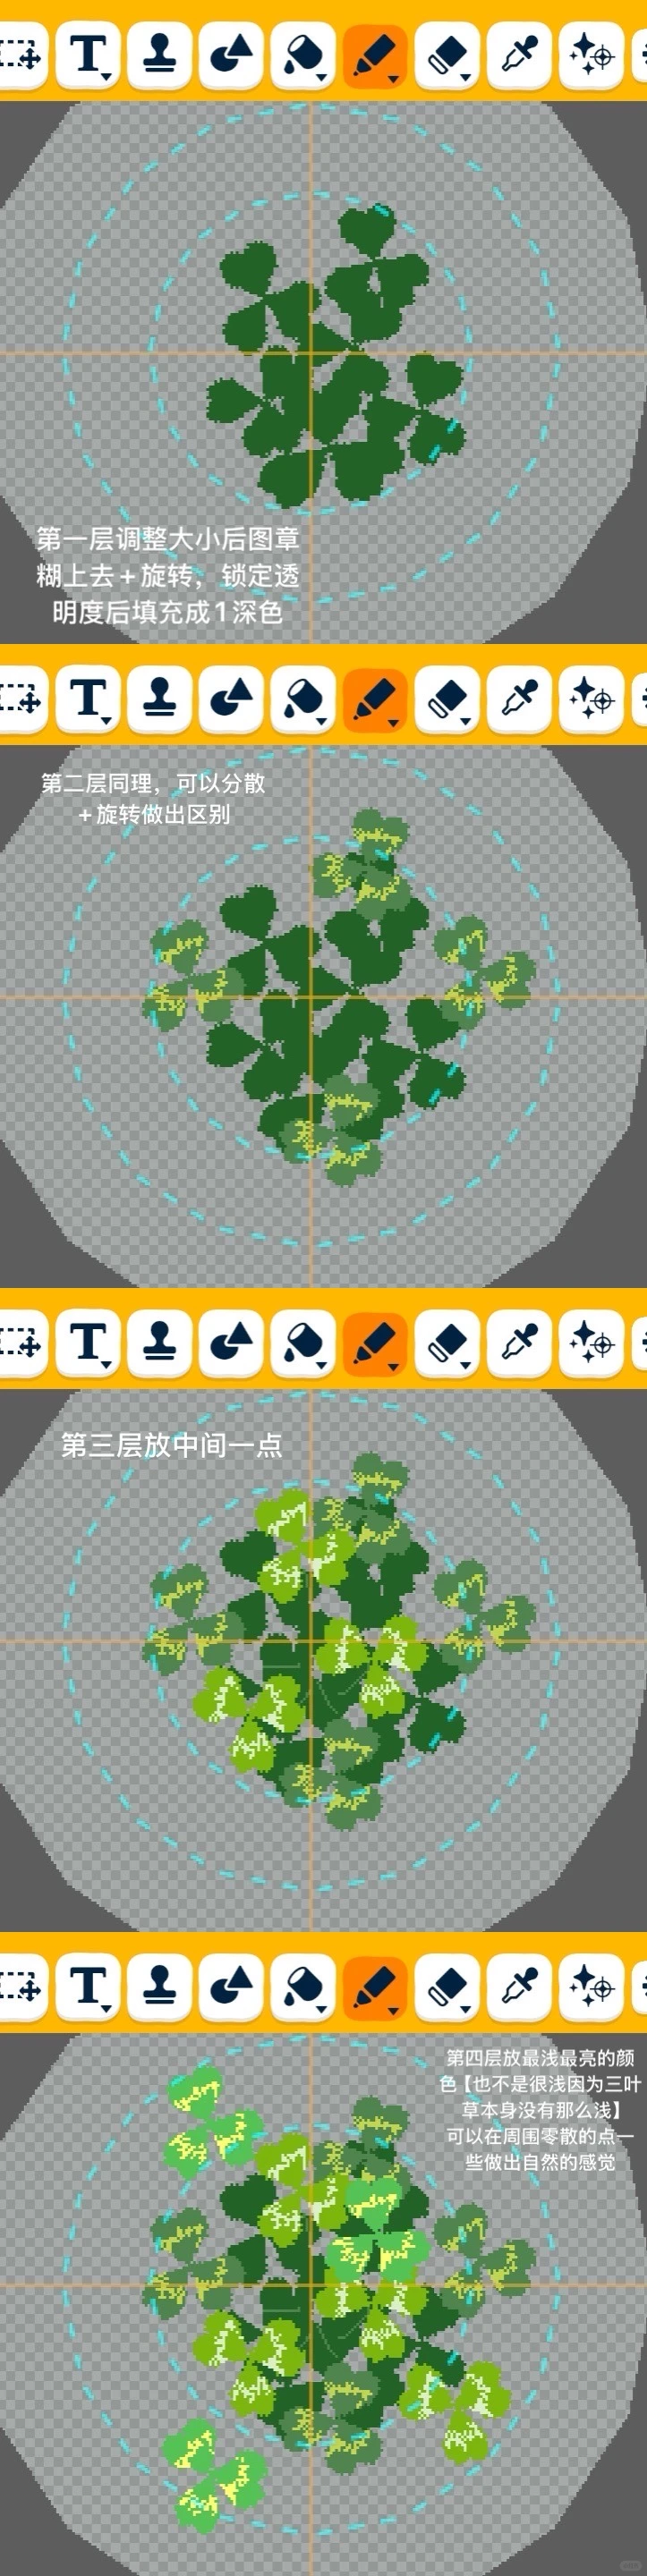
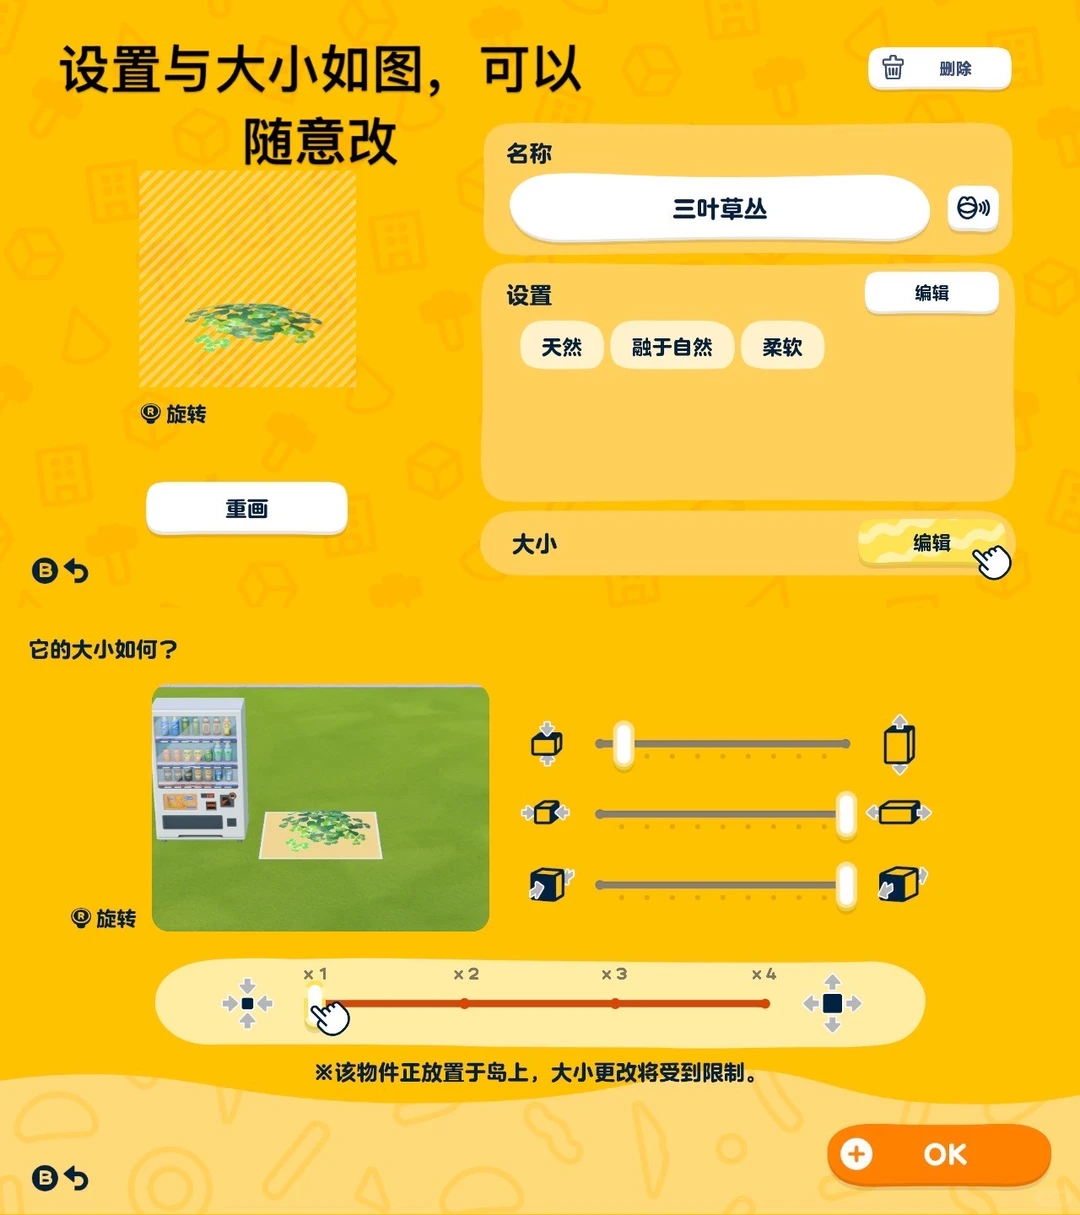
Making Steps
Editorial notes based on creator, source, or submitter information.
Editorial review: Jul 9, 2026
Recreation Notes ?
Tags
Recreation tips from the community
Share what you tried, tricky spots, unclear parts, or adjustment tips for this design.
Comment guidelines
Only share variations or links when the original creator allows copying, edits, or derivative works.
Keep comments on topic. No trading requests, attacks, harassment, spam, or inappropriate content.
Comments appear after review. Published notes are visitor experiences, not official verification.
No published comments yet.
Related patterns
Doraemon Tomodachi Life Pattern Sheet Collection Part 2
by 0705_
More treasures and items added for Doraemon fans. Includes tips on converting photos to pixel pattern sheets.
View Pattern Sheet →
Tomodachi Life Cross-Insert Christmas Tree Build
by 泡菜鱼不愿去太平洋野炊
A 3D Christmas tree made using two cube corners — the cross-insert technique adds shape variety and brings objects to life beyond flat designs.
View Pattern Sheet →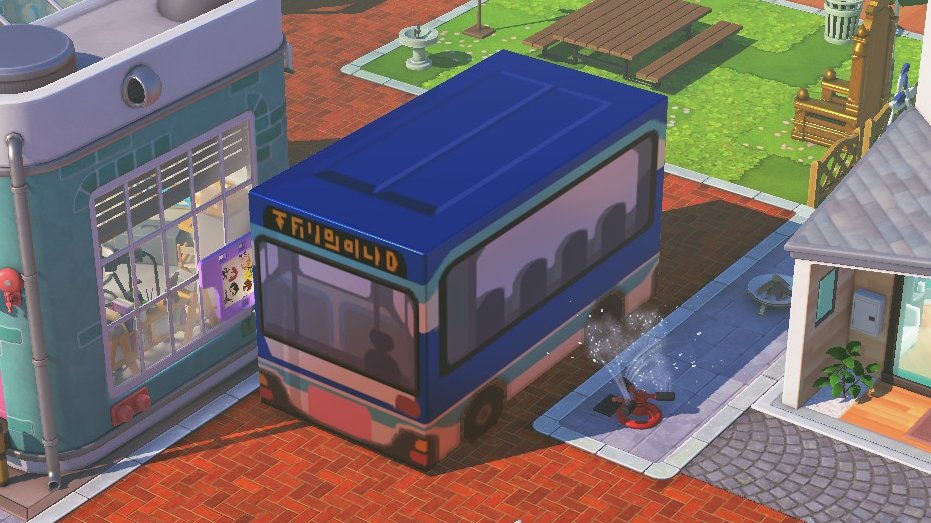
Public Transport Bus Design
by ryangosmii
A public transport bus build with settings and paint images provided in the replies.
View Pattern Sheet →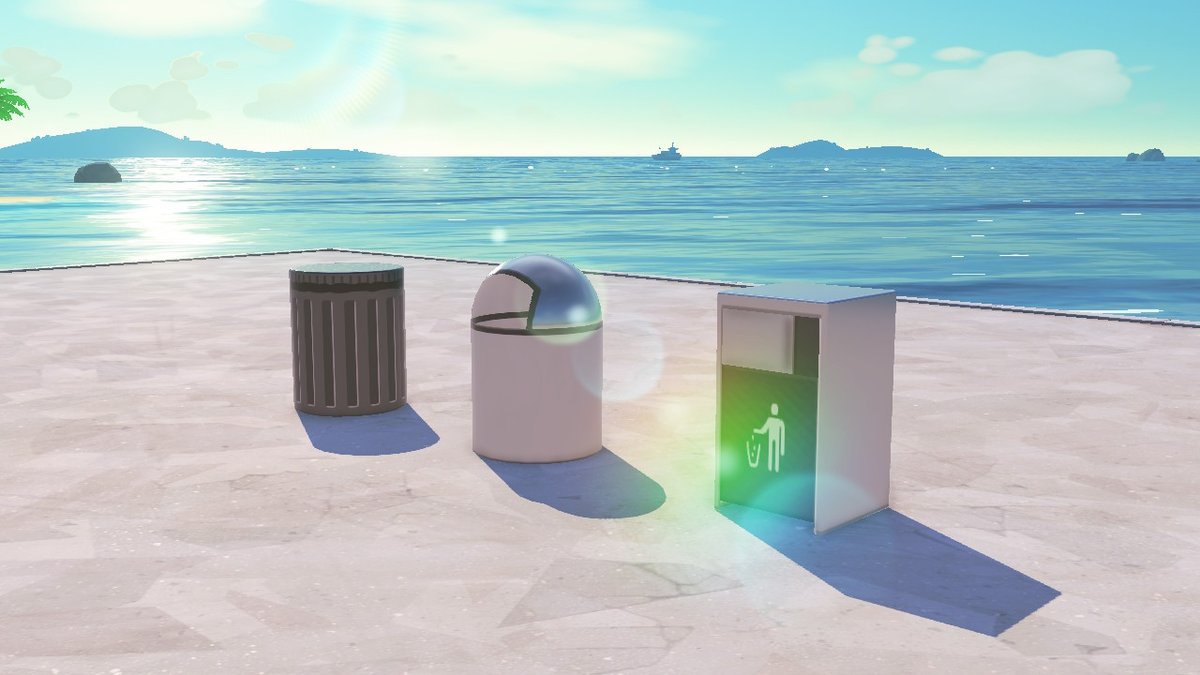
Trash Can Island Objects
by ryangosmii
A small set of trash can objects for streets, shops, or residential builds.
View Pattern Sheet →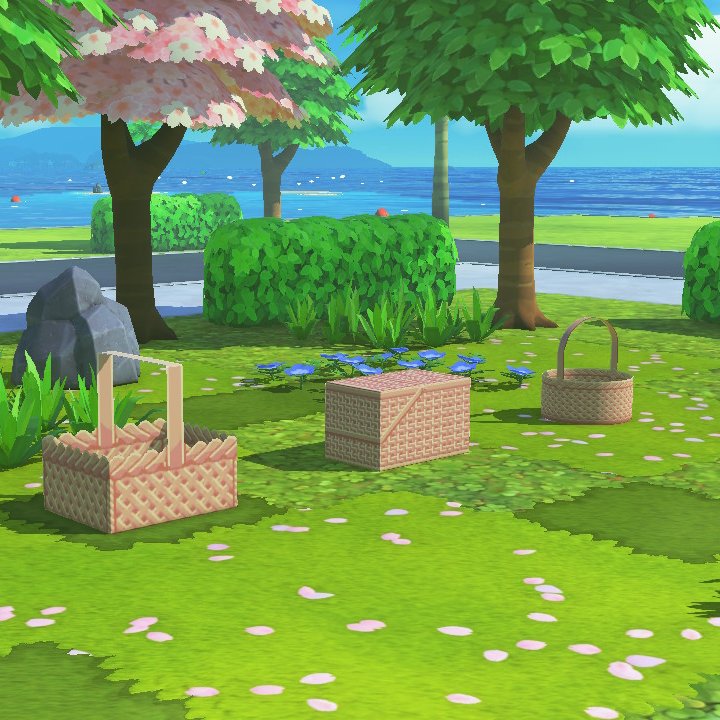
Basket Island Objects
by ryangosmii
Basket objects for island builds, with settings and paint images in the replies.
View Pattern Sheet →